


RB1 6
RAMSEY “LEARN-AS-YOU-BUILD” ASSEMBLY STRATEGY
Be sure to read through all of the steps, and check the boxes as you go to be
sure you didn't miss any important steps. Although you may be in a hurry to see
results, before you switch on the power, check all wiring and capacitors for
proper orientation. Also check the board for any possible solder shorts, and/or
cold solder joints. All of these mistakes could have detrimental effects on your
kit - not to mention your ego!
Kit building tips:
Use a good soldering technique - let your soldering iron tip gently heat the
traces to which you are soldering, heating both wires and pads simultaneously.
Apply the solder to the iron and the pad when the pad is hot enough to melt the
solder. The finished joint should look like a drop of water on paper - somewhat
soaked in.
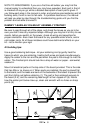
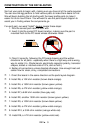
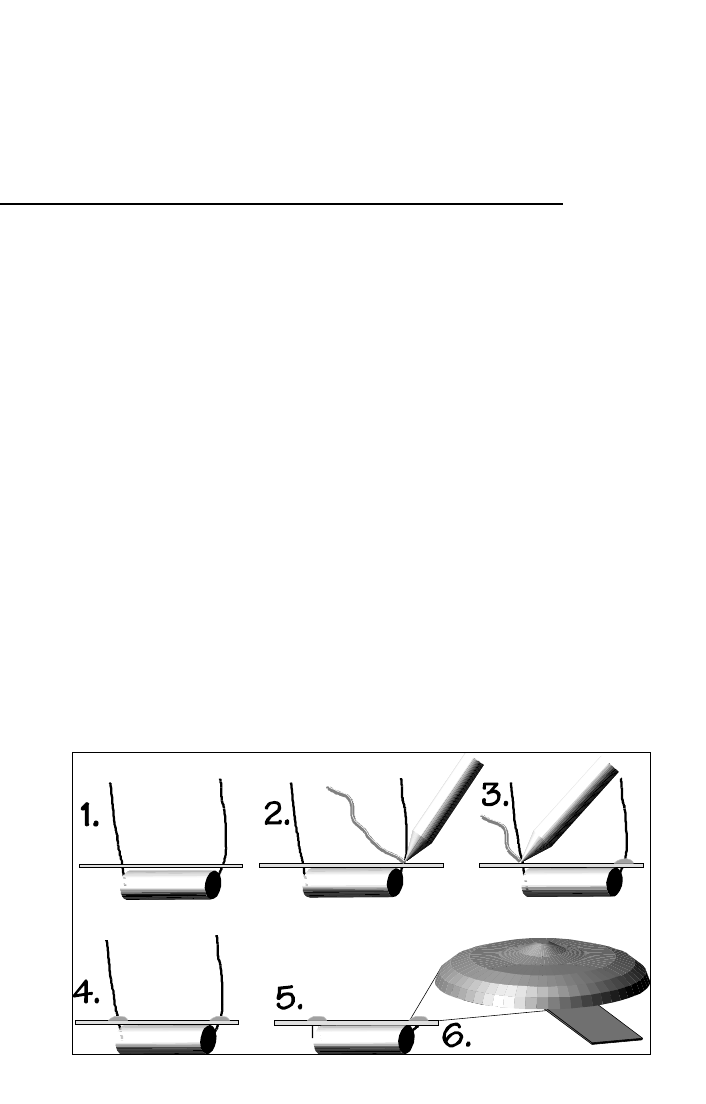
Mount all electrical parts on the top side of the board provided. This is the side
that has little or no traces on it. When parts are installed, the part is placed flat
to the board, and the leads are bent on the backside of the board to prevent the
part from falling out before soldering (1). The part is then soldered securely to
the board (2-4), and the remaining lead length is then clipped off (5). Notice
how the solder joint looks close up, clean and smooth with no holes or sharp
points (6).
NOTE TO NEWCOMERS: If you are a first time kit builder you may find this
manual easier to understand than you may have expected. Each part in the kit
is checked off as you go, while a detailed description of each part is given. If
you follow each step in the manual in order, and practice good soldering and kit
building skills, the kit is next to fail-safe. If a problem does occur, the manual
will lead you step by step through the troubleshooting guide until you find the
problem and are able to correct it.