21
threaded hole. Stop pouring when the oil reaches the
bottom of the threads. Allow a few minutes for the oil
to be absorbed by the filter material.
• Apply a thin coat or new oil on the rubber gasket of the
new oil filter.
• Install the new oil filter on the filter adapter. Hand
tighten until the filter gasket contacts the adapter, then
tighten the filter an additional 3/4-1 turn.
• Refill the engine with the proper type oil. The engine
oil capacity is approximately 1.7-1.9 quarts (1.6 -1.8 L).
Air Cleaner
Check the air cleaner before each use. Check for a
buildup of dirt of debris around the air cleaner system.
Keep the area clean. Keep this area clean. Also check
for loose or damaged components. Replace all bent or
damaged air cleaner components.
WARNING: Operating the engine with
loose or damaged air cleaner compo-
nents could allow unfiltered air into the
engine causing premature wear and
failure.
Servicing the Precleaner
Wash and reoil the precleaner every 25 hours of
operation (more often under extremely dusty or dirty
conditions). Replace the precleaner annually or every
100 hours.
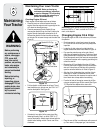
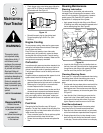
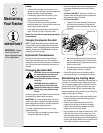
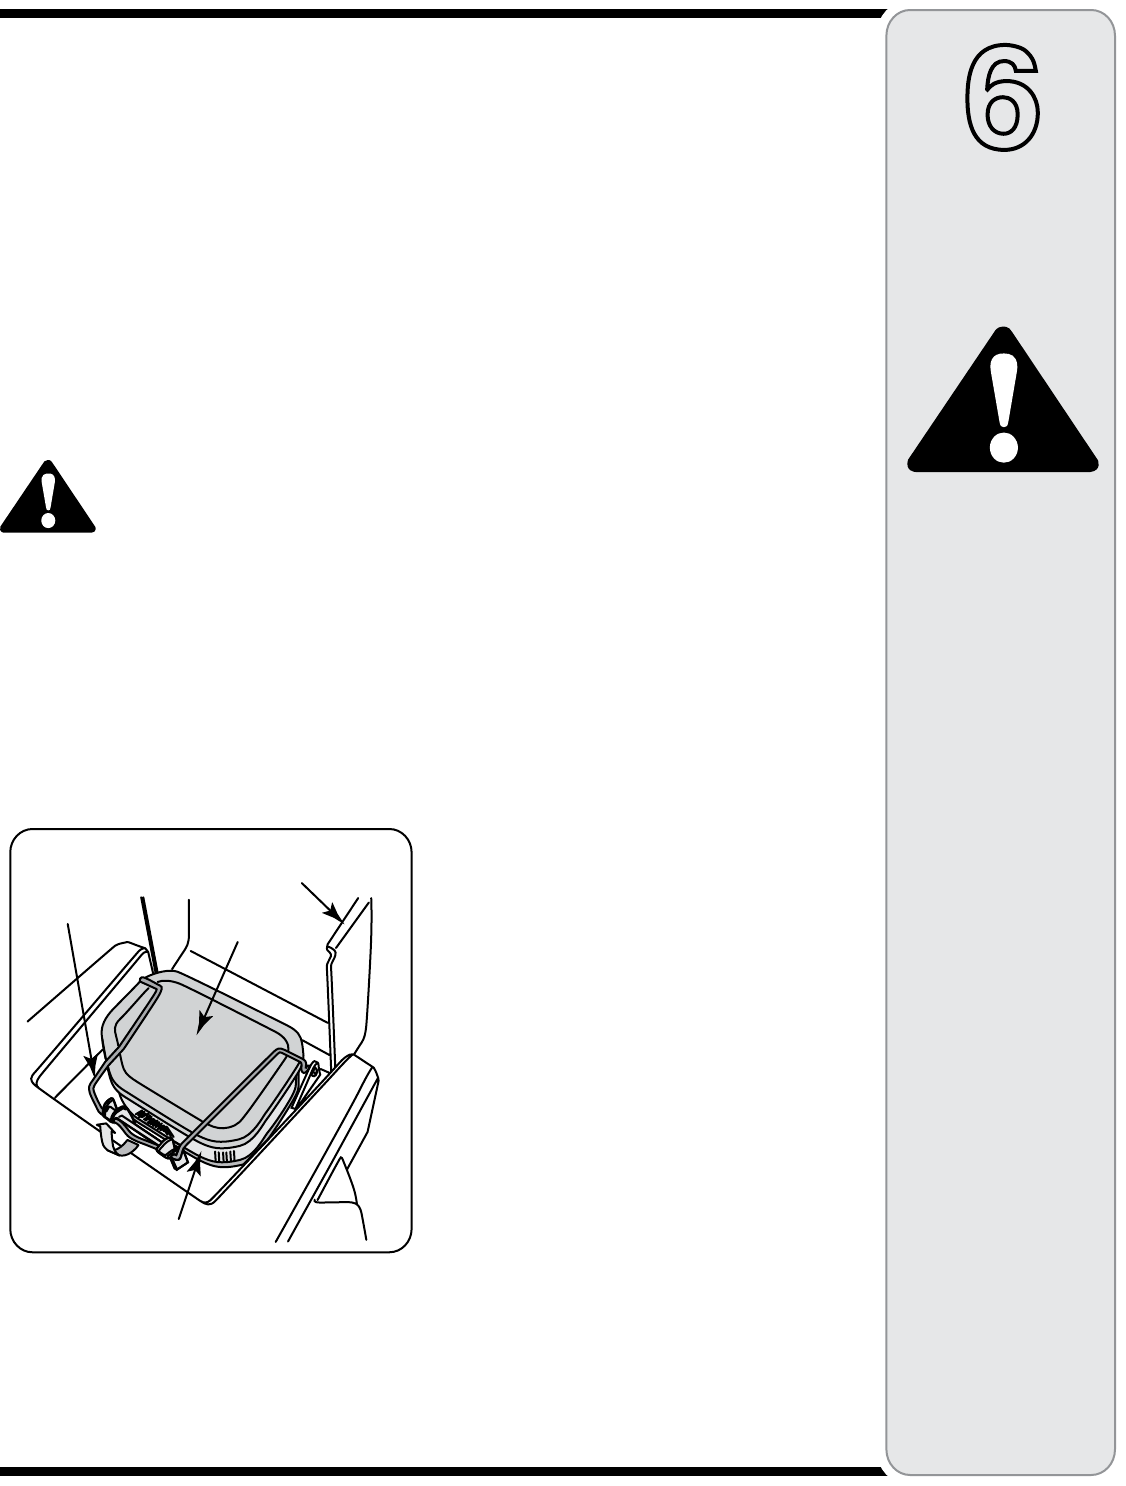
1. Open the door on the blower housing to access the air
cleaner element and precleaner.
2. Unhook the latch and remove the precleaner from the
air filter element. See Figure 18.
NOTE: The air filter element/precleaner assembly can
be removed and the precleaner then removed from the
filter element. Make sure the base and the sealing area is
clean before reinstalling the air filter element/precleaner
assembly.
6
WARNING
Change the engine oil
after every 100 hours
of operation. Failure
to do so will cause
premature wear or
failure of the engine.
Operating the en-
gine with loose or
damaged air cleaner
components could al-
low unfiltered air into
the engine causing
premature wear and
failure.
3. Wash the precleaner in warm water with detergent.
Rinse the precleaner thoroughly until all traces of
detergent are eliminated. Squeeze out excess water
(do not wring). Allow the precleaner to air dry.
4. Saturate the precleaner with new engine oil.
Squeeze out all excess oil.
5. Reinstall the precleaner over the paper element and
secure with the latch.
NOTE: Reinstall the air filter element/precleaner if
removed.
6. Pivot the latch over the filter assembly and press the
latch downward to rehook. See Figure 18.
IMPORTANT: Make certain the latch is secured in the
locked position. Failure to properly hook the latch will
allow unfiltered air into the engine causing damage to
the engine.
7. Close the access door
Servicing Paper Element
Check the paper element every 50 hours of operation
(more often if operated under extremely dusty or dirty
conditions). Clean or replace the element as necessary.
Replace the air cleaner element annually, or every 100
hours of operation.
• Open the access door, unhook the latch, and remove
the air filter assembly as described in the previous
sub-section.
• Remove the precleaner from the filter element.
• Gently tap the paper element to dislodge dirt. Do
not wash the paper element or use pressurized air,
as this will damage the element. Replace a dirty,
bent, or damaged element. Do not use if the sealing
surfaces are bent or damaged.
• Clean the air cleaner base and check its condition.
• Reinstall the precleaner over the paper air cleaner
element and install on base. Secure with the latch
and close the access door.
Spark Plug(s)
Every 100 hours of operation, remove the spark plugs.
Check there condition and reset the gap, or replace with
new plugs.
• Before removing the spark plug, clean the area
around the base of the plug toe keep dirt and debris
out of the engine.
• Remove the plug and check its condition. Replace
the plug if worn or reuse is questionable.
NOTE: Do not clean the spark plug in a machine using
abrasive grit. Some grit could remain in the spark
plug and enter the engine causing extensive wear and
damage.
Maintaining
Your Tractor
Access Door
Latch
Precleaner
Filter
Element
Figure 18


