


THE MINELAB EXPLORER II
38
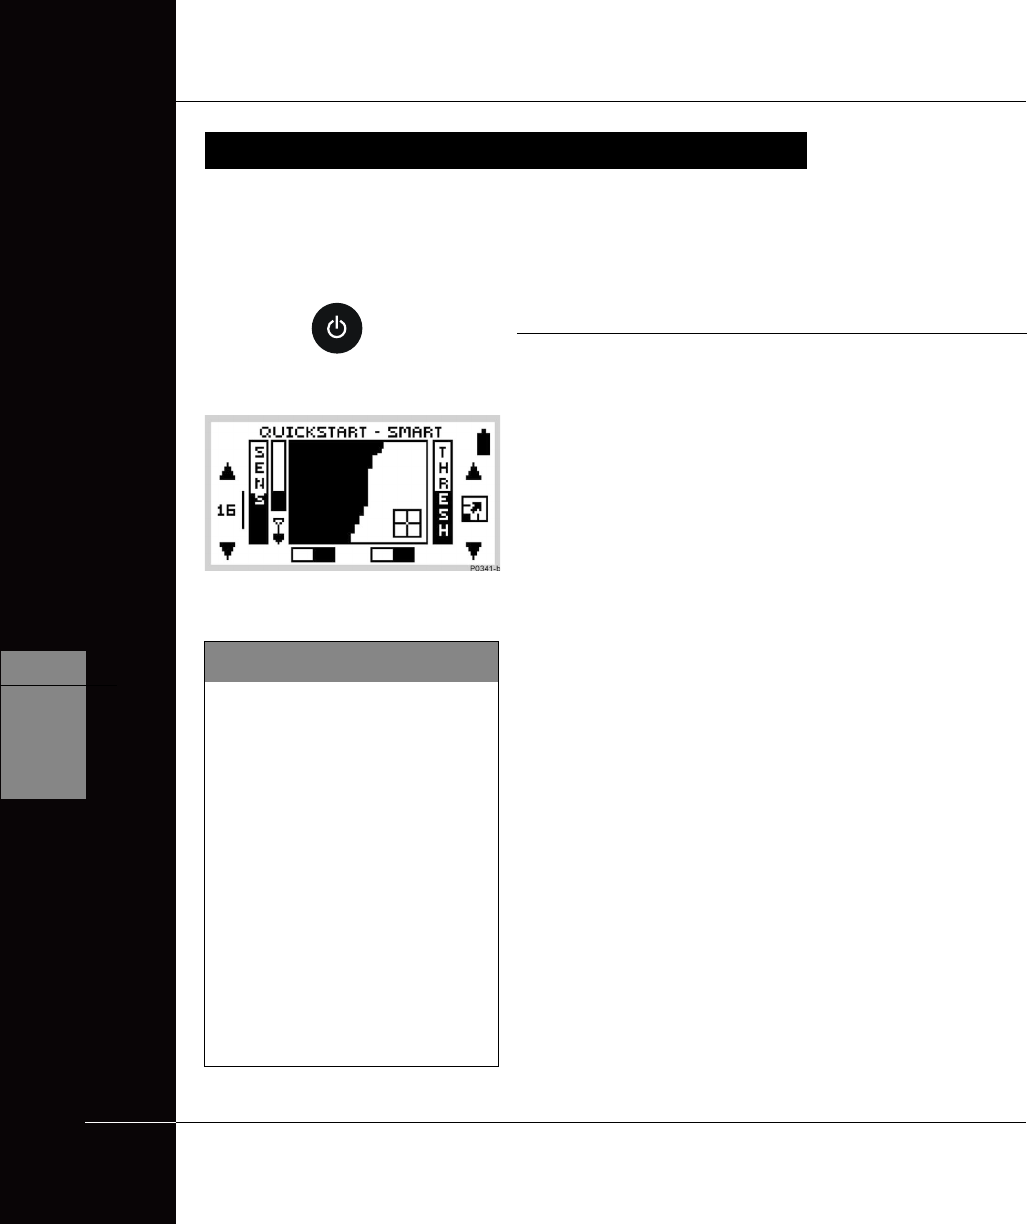
QUICKSTART
5
www.minelab.com
GETTING STARTED
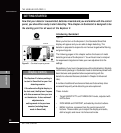
Introducing Quickstart
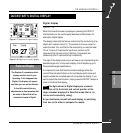
Figure 5.1
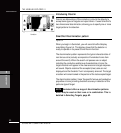
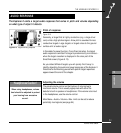
When you first turn on the Explorer II, the Quickstart Smartfind
display will appear and you are able to begin detecting. The
detector is prepared to respond to non-ferrous targets while filtering
out ground signals.
The following pages in this chapter outline the basics of metal
detecting and use of the Explorer II. You will learn how to interpret
its responses to targets and make your own adjustments to the
settings.
Regardless of your level of experience with metal detecting, Minelab
recommends you begin in Quickstart mode to familiarize yourself with
basic features and operation before experimenting with the
detector’s advanced features (detailed in Chapter 6: Advanced
Use).
A number of additional functions and features that are likely to be
accessed frequently while detecting are also explained.
These include:
• Target SENSITIVITY and THRESHOLD levels, adjusted with
shift buttons
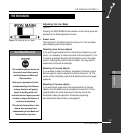
• IRON MASK and PINPOINT, activated by shortcut buttons.
• MENU functions, accessed from the control panel shift
buttons. These enable you to adjust the display and audio,
define targets and move into Advanced mode.
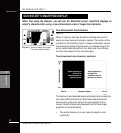
Figure 5.1 Quickstart’s opening screen
Now that your detector is assembled, batteries inserted and you are familiar with the control
panel, you should be ready to start detecting. This chapter on Quickstart is designed to be
the starting point for all users of the Explorer II.
GETTING STARTED
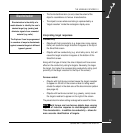
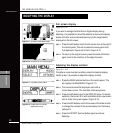
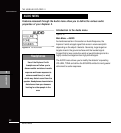
Display memory
The Explorer II’s factory setting is
to start in Smartfind for your first
detecting session.
If the alternative Digital display is
the last used, the Explorer II opens
with this screen next time you turn
on the detector. It also retains all
adjustments to
settings made in the previous
session (including those
made in Smartfind).
POWER
P0400b
P0400-B