


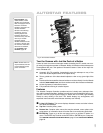

13
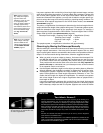
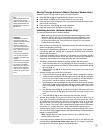
finished observing to protect the eyepiece assembly. Back off the eyepiece
thumbscrews (
1, Fig. 1b) and slide the diagonal into the holder and tighten the
thumbscrews to a firm feel only. Insert the supplied SP 26mm eyepiece (
3, Fig.
1b
) into the the diagonal. Tighten the diagonal's thumbscrews to a firm feel to
secure the eyepiece.
Note: Two eyepiece holders are included with your telescope—for both
1.25" and 2" eyepieces.To change eyepiece holders, unscrew the attached
holder from the focuser and thread on the other holder.
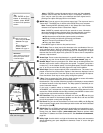
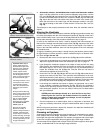
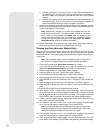
11. Adjust the height of the tripod: Adjust the height of the tripod by loosening the
tripod lock knobs (
Fig. 11). Extend the sliding inner section of each tripod leg to
the desired length; then tighten each knob. Adjust the tripod to a height that is
comfortable for viewing.
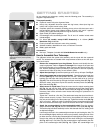
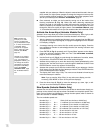
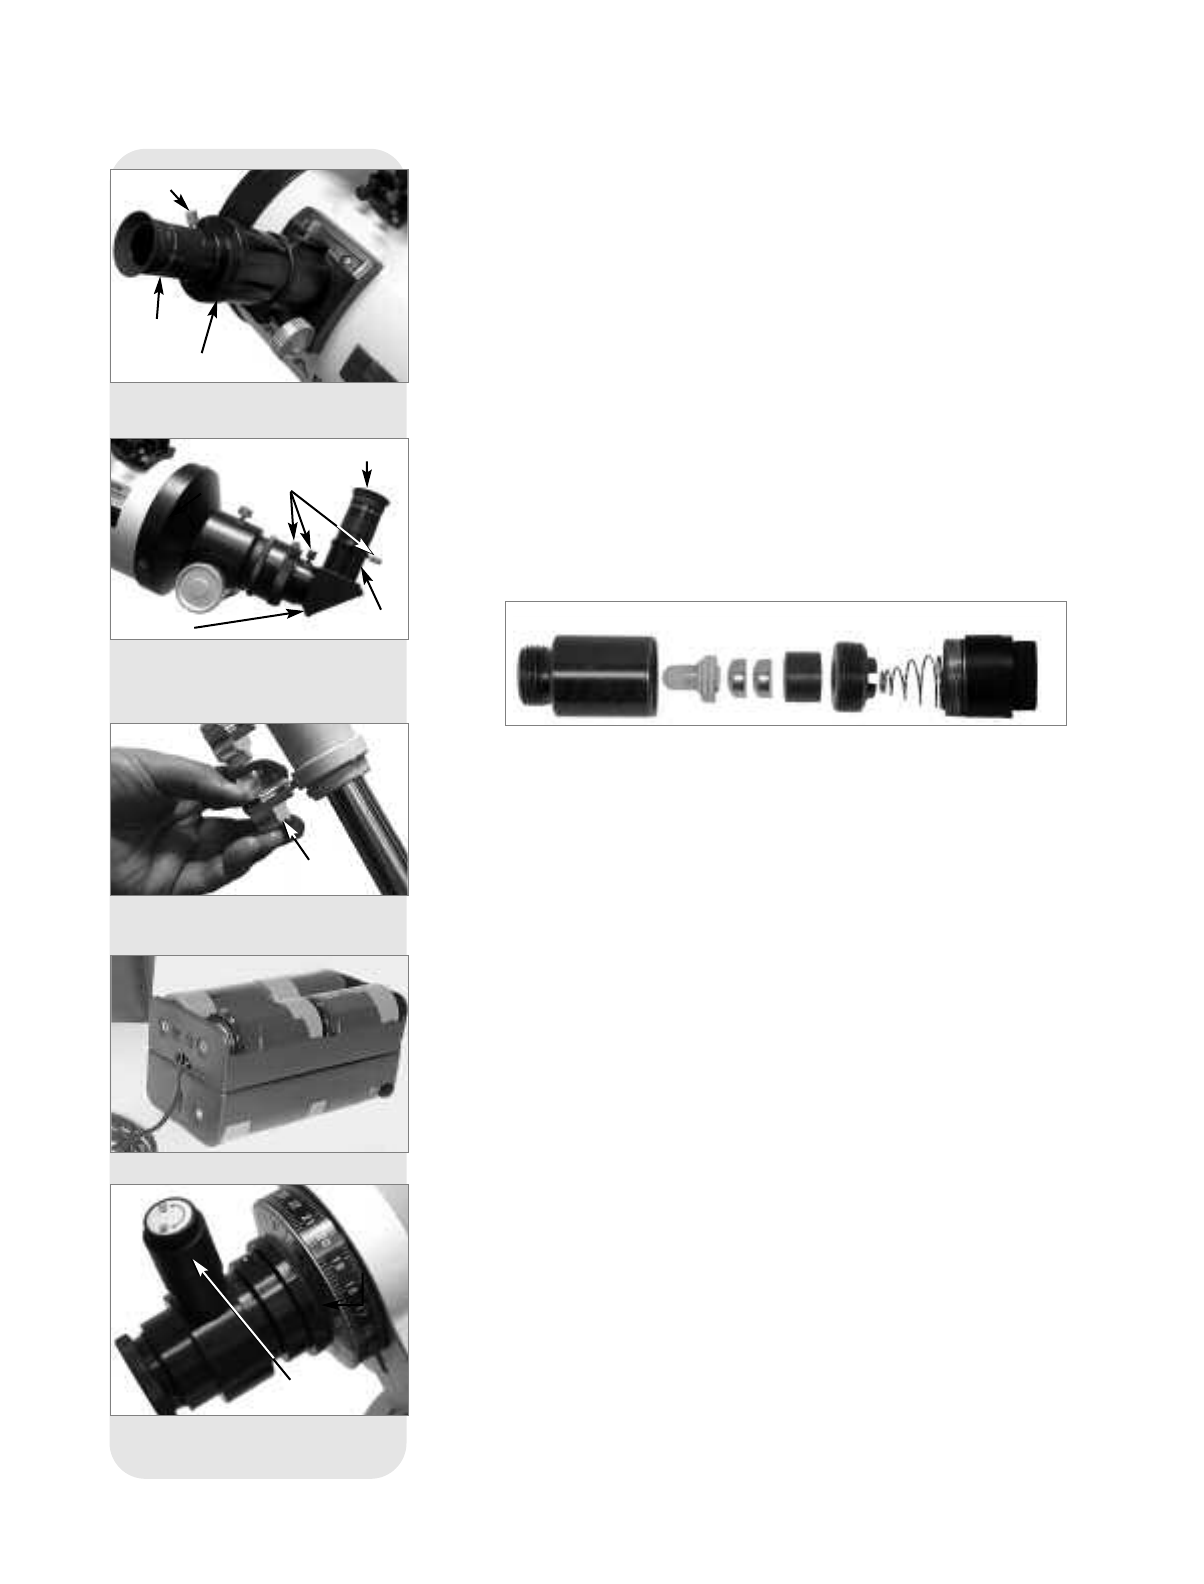
12.
Install Batteries: Insert eight (user-supplied) D-size batteries into the battery
holder, oriented as shown in the diagram on the battery slots of the holder. Plug
the battery pack into the 12v DC connector (
B, Fig. 1e) on the computer control
panel. See
Fig. 12.
Caution: Use care to install batteries as indicated by the battery com-
partment. Follow battery manufacturer's precautions. Do not install bat-
teries backwards or mix new and used batteries. Do not mix battery types.
If these precautions are not followed, batteries may explode, catch fire, or
leak. Improperly installed batteries void your Meade warranty. Always
remove the batteries if they are not to be used for a long period of time.
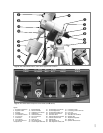
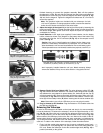
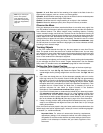
13. Remove Plastic Strip from Reticle LED: The polar alignment reticle LED (30,
Fig. 1d
) contains two watch batteries. The reticle's LED is shipped with a plastic
strip between the two batteries to protect battery life. Unthread both the cap (
F)
and the threaded lid (
E). Remove the plastic strip before using. Refer to the reti-
cle assembly in
Fig. 13b and note the orientation of the batteries. Place the bat-
teries (
C) into the battery holder (D) before inserting into the reticle container (A).
Note: Remember to turn off the LED when you are not using the reticle.
14. Plug in Autostar or EC Handbox: Plug the Autostar or EC handbox cable into
the HBX port (
A, Fig. 1e).
Balancing the Telescope
In order for the telescope to be stable on the tripod and also for it to move smoothly,
it must be balanced. To balance the telescope, unlock the Right Ascension or R.A.
lock (
33, Fig. 1d). When this axis is unlocked, the telescope pivots on the R.A. axis.
Later in the procedure, you will also unlock the Declination or Dec. lock (
17, Fig. 1d).
When unlocked, the telescope pivots on the Dec. axis. Most of the motion of the tel-
escope takes place by moving about these two axes, separately or simultaneously.
Try to become familiar with these locks and observe how the telescope moves on
each axis. To obtain a fine balance of the telescope, follow the method below:
1. Firmly hold the optical tube secure so that it cannot accidentally swing freely.
Loosen the R.A. lock (
33, Fig. 1d). The optical tube now moves freely about the
R.A. axis. Rotate the telescope so that the counterweight shaft (
22, Fig. 1d) is
parallel (horizontal) to the ground.
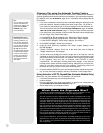
Fig. 10a: Insert eyepiece into holder
and tighten thumbscrews.
Fig. 12: Battery holder.
Fig. 13: Reticle assembly.
Fig. 11: Adjust the tripod height
using the leg lock knobs.
Eyepiece
Holder
Thumbscrew
Leg
Lock
Knob
Reticle LED
Fig. 13b: Reticle LED assembly: (A) Reticle Container; (B) LED;
(C) Batteries; (D) Battery Holder; (E) Threaded Lid; (F) Cap.
Fig. 10b: Insert eyepiece into
diagonal and tighten thumbscrews.
Eyepiece
Holder
Thumbscrews
Diagonal
Ạ ạ Ả ả Ấ ấ