


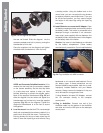

the rear cell thread. Slide the diagonal into the
accessory adapter and lock in place by turning the
thumbscrew to a fi rm feel.
Place the eyepiece into the diagonal and tighten
the attachment thumbscrew to a fi rm feel only.
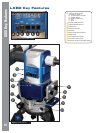
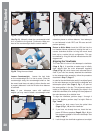
APOS and Coronado SolarMaxII models: Lift to
remove the dust cap from the accessory adapter
on the focuser assembly. Set the dust cap aside
in a safe place and replace it when you have
fi nished observing to protect the delicate optics.
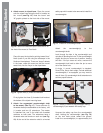
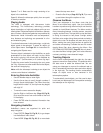
Back off the eyepiece thumbscrews (Fig. 22) and
slide the diagonal into the holder and tighten the
thumbscrews to a fi rm feel only. Insert the supplied
eyepiece (Fig. 23) into the diagonal. Tighten the
diagonal’s thumbscrews to a fi rm feel to secure
the eyepiece.
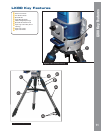
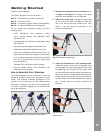
9. Level the mount. Now that the OTA, counterweight
shaft and counterweight have been installed it is a
good time to fi nely level the mount. The three fi ne-
tune leg levelers on the top of each tripod leg will
raise or lower the tripod leg a small amount using
a twisting motion. Using the bubble level on the
mount head, you can now adjust the leg levelers
to achieve precision mount/tripod level. If you are
far off the level position, you may need to adjust
the height of the tripod legs using the tripod leg
lock knobs.
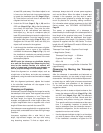
10. Install Batteries or connect an AC Adapter. Open
the battery compartment door and carefully remove
the battery holder. This holder is connected to the
telescope through a standard 9 volt connector.
Insert eight (user-supplied) AA-size batteries into
the battery holder, oriented as shown in the diagram
on the battery slots of the holder.
Caution: Use care to install batteries as indicated
by the battery compartment. Follow battery
manufacturer’s precautions. Do not install batteries
backwards or mix new and used batteries. Do not
mix battery types. If these precautions are not
followed, batteries may explode, catch fi re, or leak.
Improperly installed batteries void your Meade
warranty. Always remove the batteries if they are
not to be used for a long period of time.
If using Meade’s Universal AC Adapter, connect
the 12v connector directly to the computer
control panel.
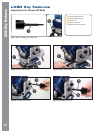
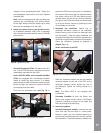
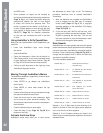
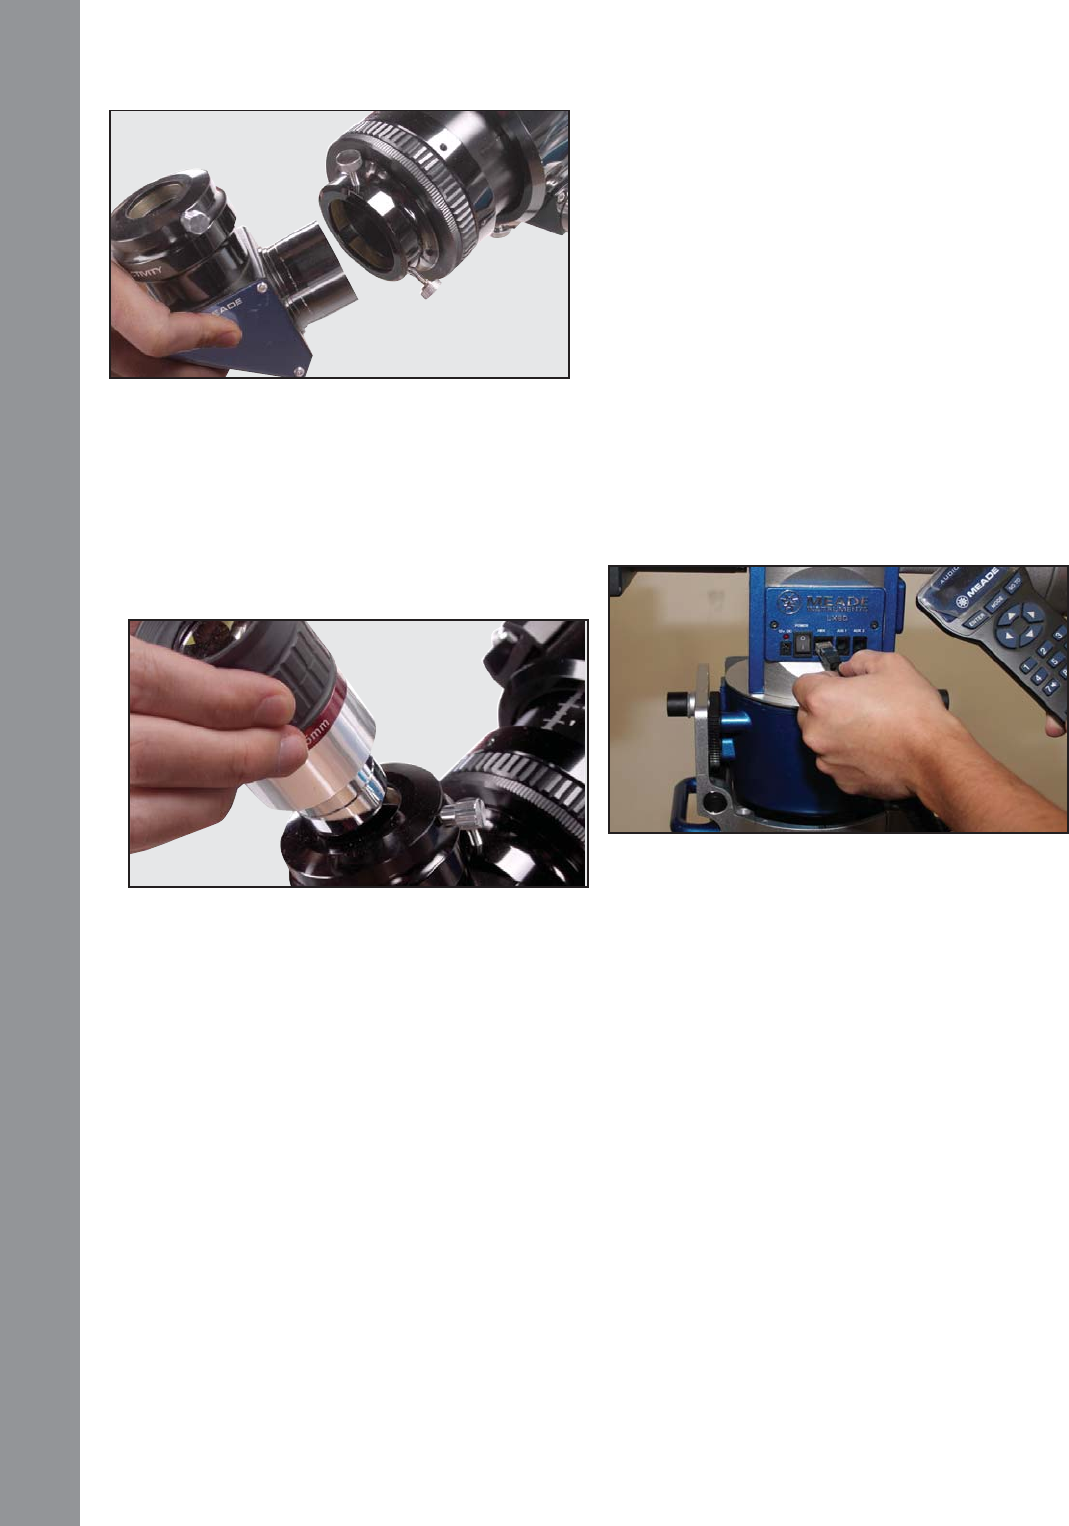
11. Plug in AudioStar. Connect one end of the
AudioStar cable into the bottom of the AudioStar
and other end into the HBX port on the telescope
control panel.
Fig 23: Insert eyepiece into diagonal
Fig 22: Secure diagonal into holder
Fig 24: Plug AudioStar into HBX connector
AudioStar #497 HANDBOX
Getting Started
18