


31
DC-1 Version 4 Digital Controller
System
Configuration
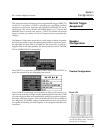
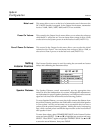
This control allows you to adjust the left/right balance of the front, side and
rear main outputs. This control can also be accessed on the remote by
pressing and holding the Shift button and using DONE to move to the left,
and SELECT to move to the right.
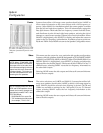
This control allows you to adjust the left/right balance of the Zone 2
outputs. This control can also be accessed on the remote by pressing and
holding the Record/Zone 2 button and using DONE to move to the left, and
SELECT to move to the right.
L/R Balance
Zone 2 Balance
Customization
After you have calibrated and customized the DC-1, there are two addi-
tional steps recommended to safeguard the settings. First, document your
adjustments using the table found at the end of this manual. Second,
consider locking the settings so that they cannot be inadvertently changed.
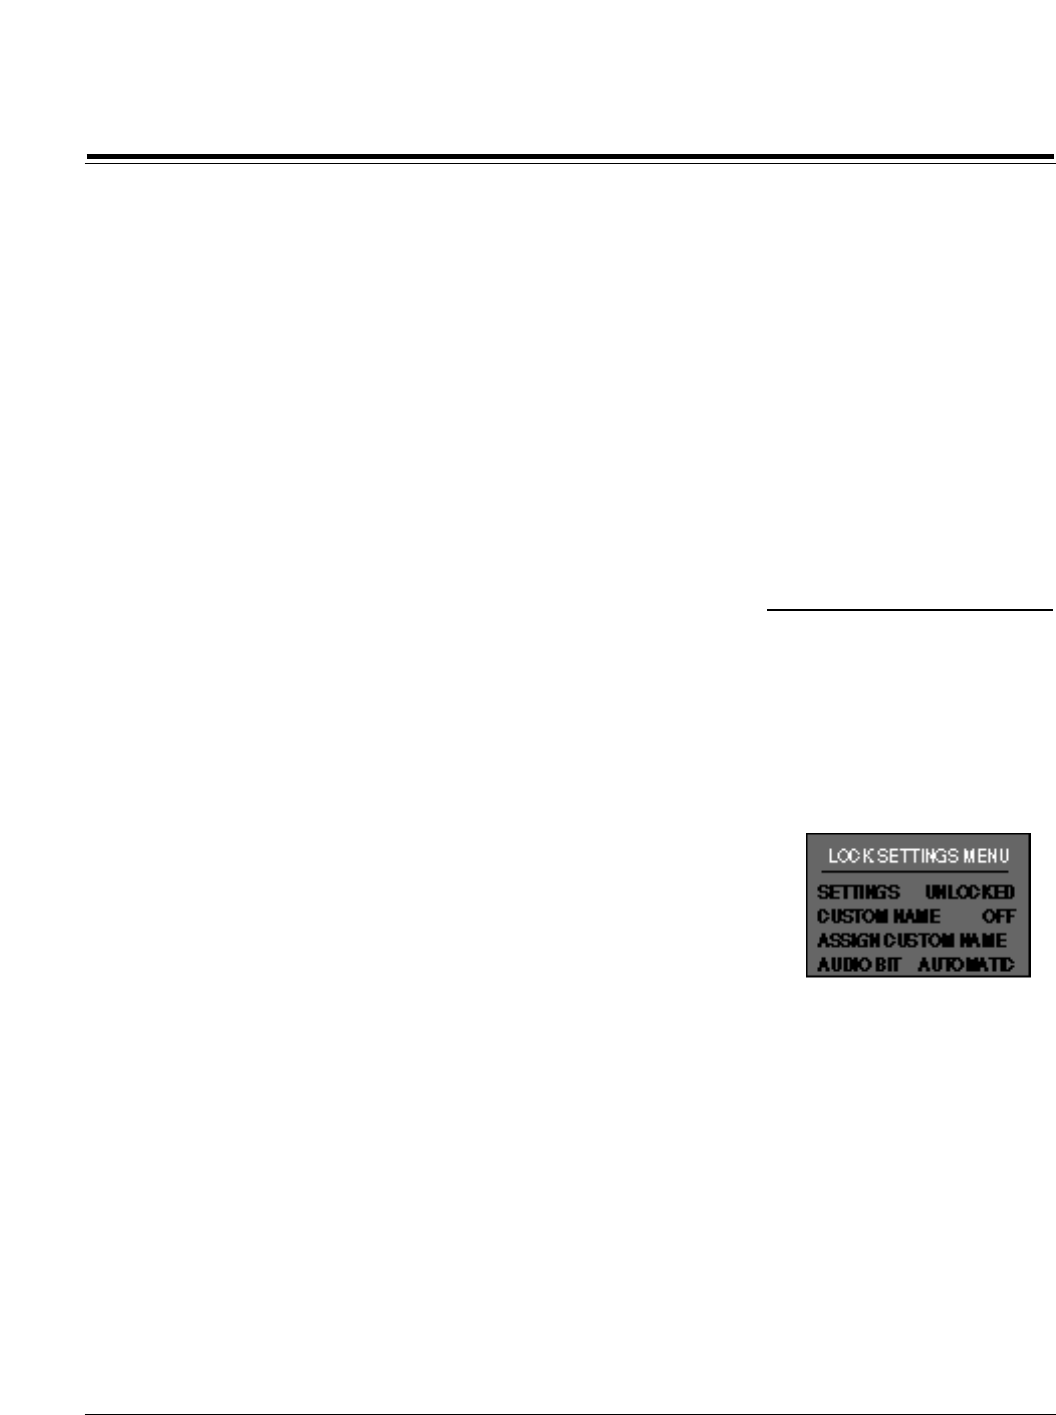
The last item in the Setup menu allows you to lock the DC-1 settings, as well
as to change the name displayed during power up.
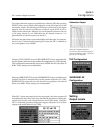
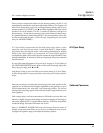
Locking the settings allows full operation of the unit but prohibits the ability
to change effect parameters or setup values. Specifically, with the settings
locked, the unit will allow any Parameter or Setup menu to be displayed, but
attempting to select any item for adjustment will display the message:
SETTINGS ARE LOCKED.
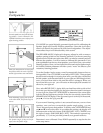
In order to prevent accidental changes, select the SETTINGS parameter and
use ▲ to select LOCKED. A higher level of security can be achieved by
simultaneously pressing Record/Zone 2 on the remote, then pressing
FX ▲ (with SETTINGS selected). Repeat to release lock.
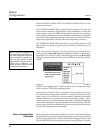
When the DC-1 is first turned on, it displays a copyright notice with the
current software version. You can choose to have it display CUSTOMIZED
FOR DEMONSTRATION with the word DEMONSTRATION scrolled in
from right to left, or you can replace the word DEMONSTRATION with a
custom name of as many as 20 characters. To assign a new name, use ▲ and
▼ to highlight CUSTOM NAME. Press SELECT and press ▲ to turn this
function ON, then press DONE.
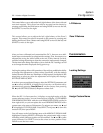
You will return to the Lock Settings menu with ASSIGN CUSTOM NAME
highlighted. Pressing SELECT will display the current name with a cursor
indicating which character position can be modified. Use ▲ and ▼ to select
a new character. Use SELECT to move the cursor to a new position. Press
DONE to save the new name.
Assign Custom Name
Locking Settings