


Section 2: Assembly & Set-Up (Optional)
4/03/08
PSN2096 Primary Seeders 313-306M
Land Pride
9
Table of Contents
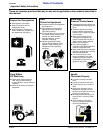
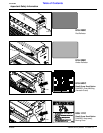
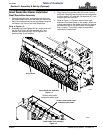
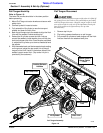
Small Seeds Box Assembly
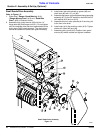
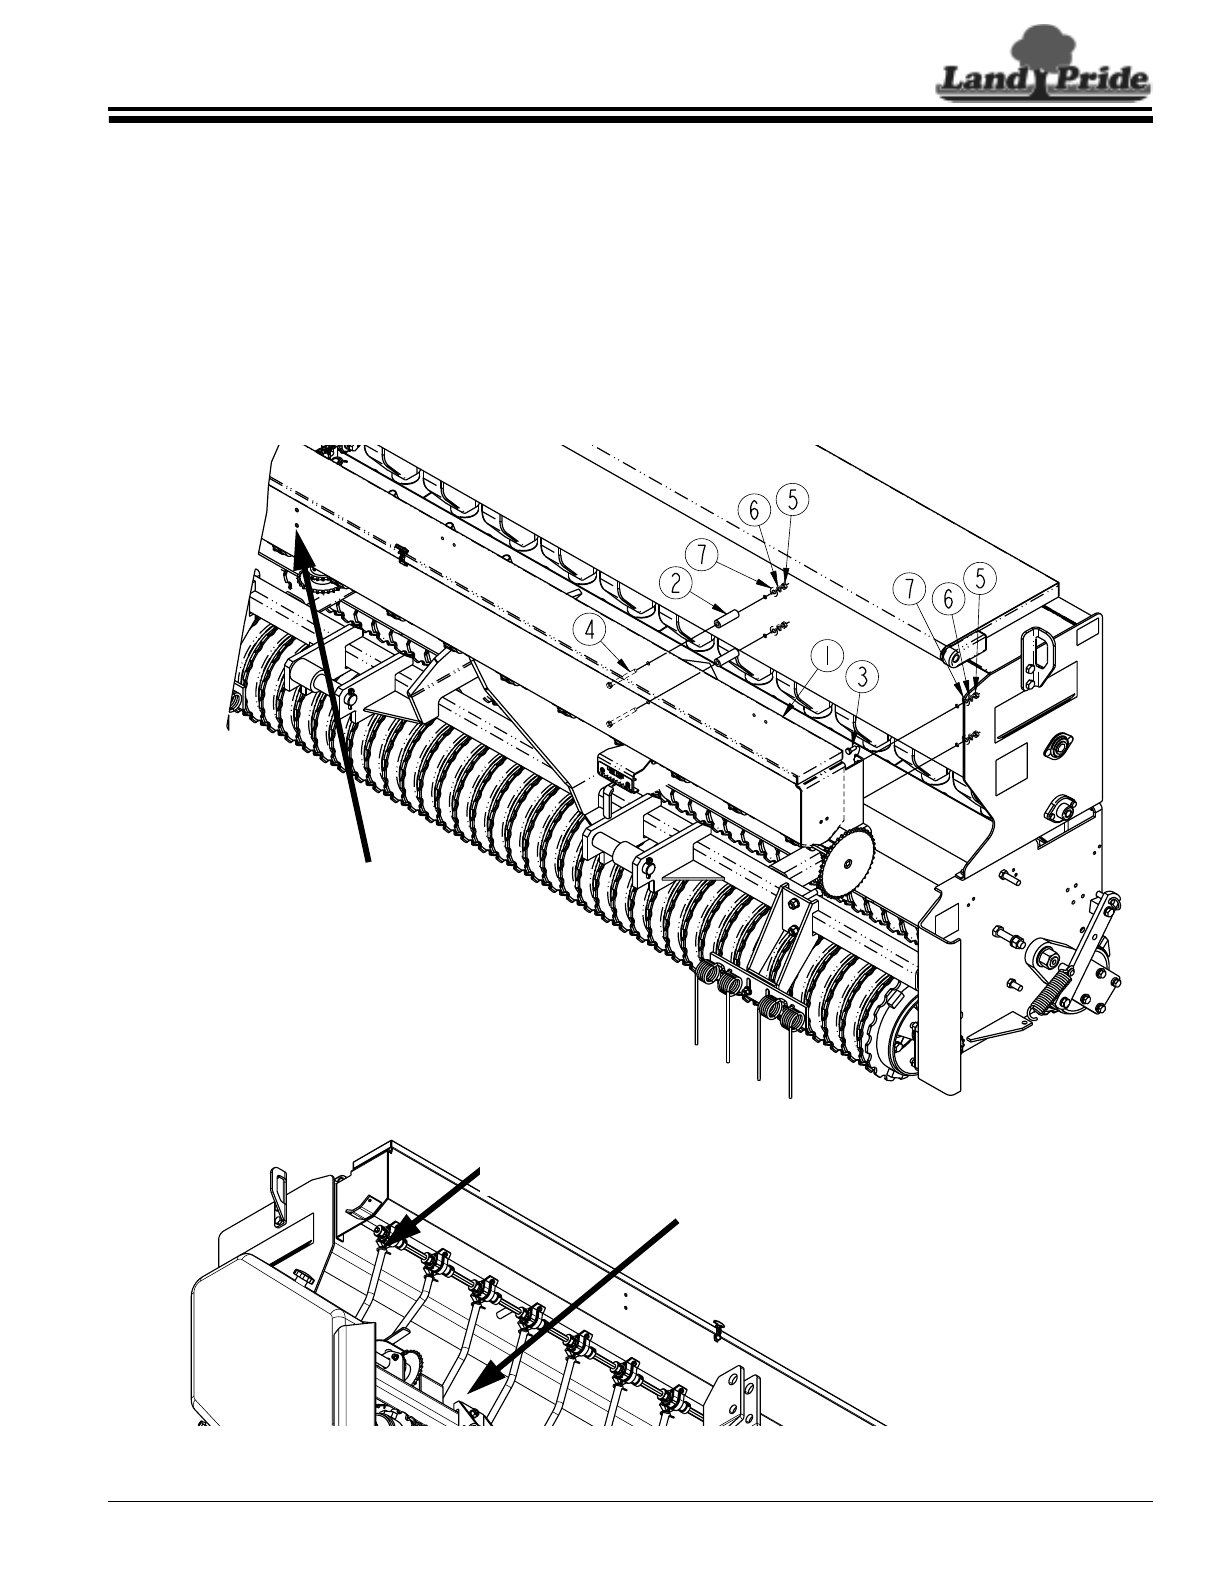
Figure 1-3
20587
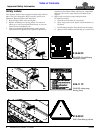
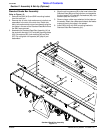
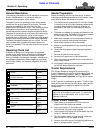
Remove small rubber caps
and attach seed tubes
20596
Plug 2 Holes
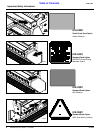
Rubber seed hoses
clamped to feeder cups
Small Seeds Tube Assembly
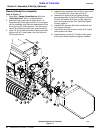
Figure 1-4
Section 2: Assembly & Set-Up (Optional)
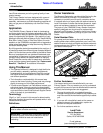
Small Seeds Box Dealer Installation
Small Seeds Box Assembly
1. Remove the eight bolts, lock washers and nuts that
are assembled in the front of the main box. Retain two
bolts, lock washers and nuts and use these to plug the
two holes in the front of the Small Seeds Box.
Refer to Figure 1-3:
2. Assemble the Small Seeds Box (#1) at the ends with
the four 5/16” bolts (#3), flat washers (#7), lock
washers (#6) and nuts (#5). Do not tighten until
spacers (step 3) are installed.
3. Align the four box spacers (#2) to the inner holes of
the Small Seeds Box and the main box and assemble
the four longer 5/16” bolts (#4), flat washers (#7), lock
washers (#6) and nuts (#5).
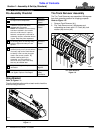
4. Refer to Figure 1-4. Remove small rubber caps
attached to the small tubes on the seeder. Attach the
rubber seed tubes to the feeder cups with the clamps
provided and then to the small tubes in the seeder
with no clamp. Trim rubber hoses as required to
remove any excess slack.