59
J-300
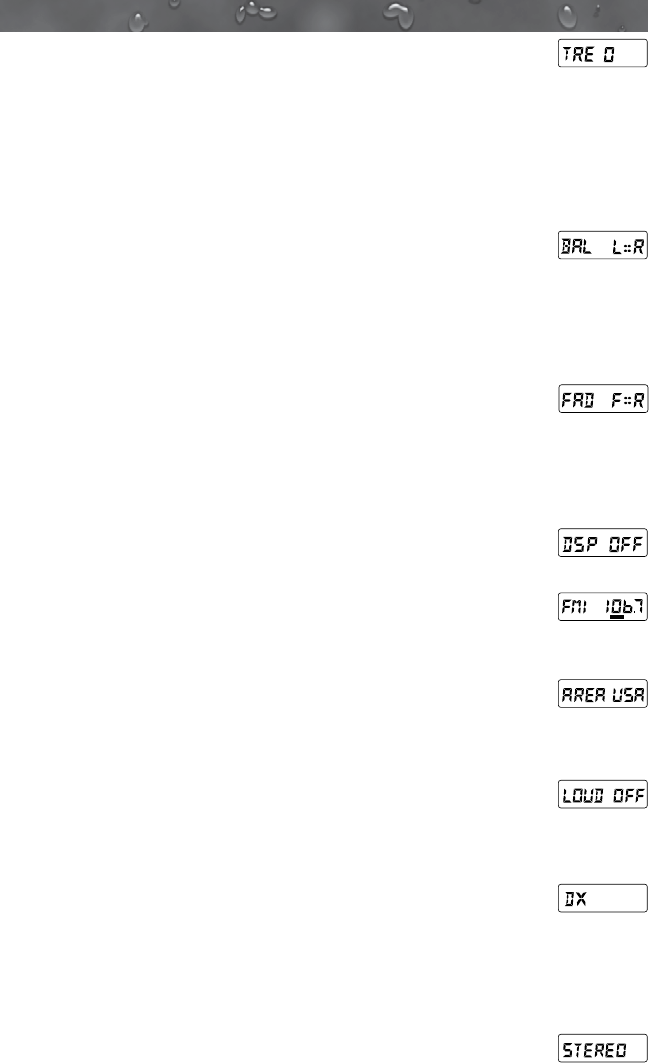
2. Treble Setting: Press the Audio button 2 times to access
the treble setting. The LCD display will change to “TRE 0,”
Figure E. Press the Up button to adjust the setting to a
maximum of +5. Press the Down button to adjust the setting down to
-5.
Note: The default setting is “0.” This feature is disabled when a “Digital
Sound Processor” (DSP) setting is active such as “Rock,” “Classic,” or
“Pop.”
3. Balance Setting: Press the Audio button 3 times to
access the balance setting. The LCD display will change
to “BAL L=R,” Figure F. Press the Up button to adjust the
setting to a maximum of 10R (only the right side speakers will have
volume). Press the Down button to adjust the setting down to 10L
(only the left side speakers will have volume).
4. Fade Setting: Press the Audio button 4 times to access the
fade setting. The LCD display will change to “FAD F=R,”
Figure G. Press the Up button to adjust the setting to a
maximum of 10F (only the front speakers will have volume). Press
the Down button to adjust the setting down to 10R (only the rear
speakers will have volume).
5. Digital Sound Processor (DSP) Setting: Press the Audio
button 5 times to access the DSP setting. The LCD
display will change to “DSP OFF,” Figure H. Press the Up
button to select one of the preset settings such as Rock,
Classic or Pop. If a preset setting is select a small icon will
appear on the LCD display, Figure I.
6. Area Setting: Press the Audio button 6 times to access the
Area setting. The LCD display will change to “AREA USA,”
Figure J. Press the Up button to select either USA or EUR
setting.
7. Loud Setting: Press the Audio button 7 times to access
the Loud setting. The LCD display will change to “LOUD
OFF,” Figure K. Press the Up button to select either OFF or
ON.
8. Distant Setting: Press the Audio button 8 times to access
the Distant setting. The LCD display will change to “DX,”
Figure L. Press the Up button to select either Distant (DX)
or Local for station frequency. The “LOCAL” setting allows for better
FM reception when a local station is too strong. Leave the setting to
“DX” if this condition does not exist.
9. Stereo Setting: Press the Audio button 9 times to access
the Stereo setting. The LCD display will change to
“STEREO,” Figure M. Press the Up button to select either
Stereo or Mono.
Figure E
Figure F
Figure G
Figure H
ROCK
Figure I
Figure J
Figure K
Figure L
Figure M


