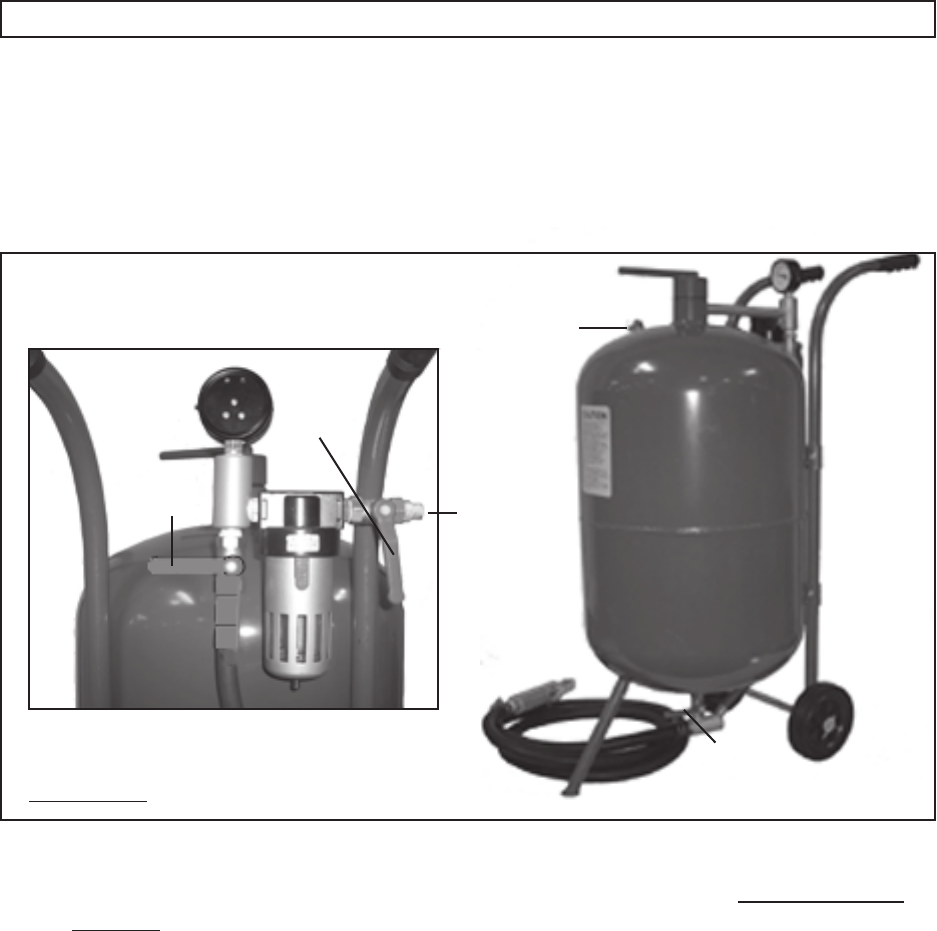
4. Turn the Air Supply Valve (18) and Throttling Valve (18A) to the “ON” position. At
this point, the Tank (1) will begin to pressurize. (See Figure F.)
5. Check for leaks at the Tank Filler Cap (12) and along all hoses and fittings as the
system pressurizes. If leaks are observed, shut off the air compressor. Use the
Safety Valve (10) to release any remaining air pressure within the Tank (1). Turn
the Air Supply Valve (18) and Throttling Valve (18A) to the “OFF” position. Repair
the leaks. Then, turn on the air compressor and resume pressurizing the Tank.
(See Figure F.)
3. Connect the air compressor’s hose to the Inlet Connector (19). Then turn on the
air compressor, and set its regulator between 65 to 125 PSI. Do not exceed
125 PSI. (See Figure F.)
SKU 95014 For technical questions, please call 1-800-444-3353 PAGE 11
2. Turn the Air Supply Valve (18), Throttling Valve (18A), and Abrasive Control Valve
(18B) to the “OFF” position. (See Figure F.)
1. If possible, place the workpiece inside a sandblast cabinet. Otherwise, isolate
the workpiece to make sure no damage can occur to nearby walls, tools, personal
property, etc.
6. Grip the Blast Gun firmly with both hands.
7. Open the Abrasive Control Valve (18B). (See Figure F.)
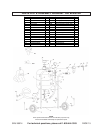
OPERATING INSTRUCTIONS
AIR SUPPLY
VALVE
(18)
THROTTLING
VALVE
(18A)
ABRASIVE
CONTROL
VALVE
(18B)
INLET
CONNECTOR
(19)
FIGURE F
SAFETY VALVE
(10)


