Page 8SKU 93920
For technical questions, please call 1-800-444-3353.
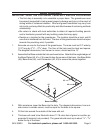
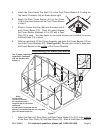
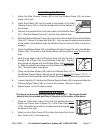
At this point, the completed section of the frame will likely need support. Attach the
second Ceiling Plate the same way.
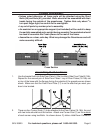
Attach a Corner Bracket (26) at the top of each Corner Stud (1) so that the bracket
faces upwards, see diagram to the right. Leave the bottom holes of the two rear
Corner Brackets (26) empty to allow the rear brace to be attached to those holes
in the next step.
Attach the Rear Brace (23) to the inside of the two Corner Brackets (1) that are over
the Rear Floor Plate (16). Attach each end to the lower hole on the Corner Bracket
(26) using a Long Bolt (60) and Nut (61). (See Figure A.)
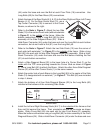
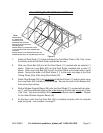
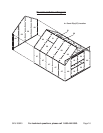
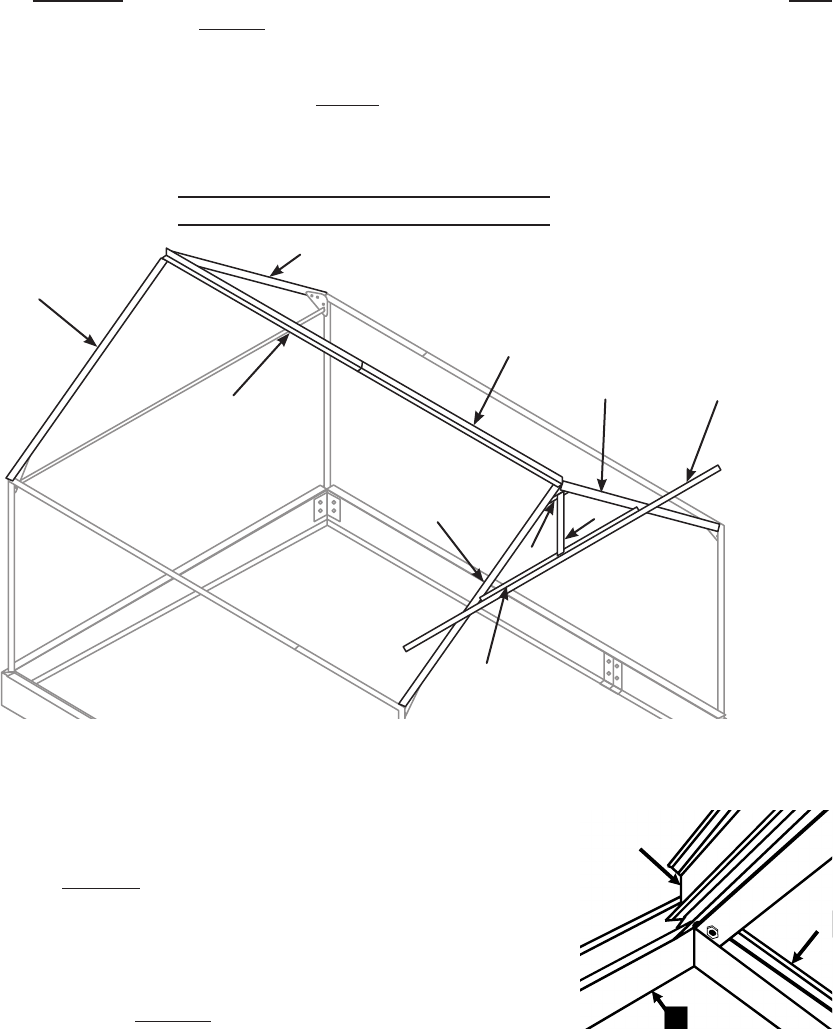
Assembling the Roof Frame
28
14
13
39
3
2
5
4
15b
15a
Figure B
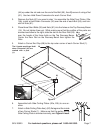
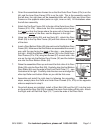
At the side of the Greenhouse: Assemble the Front Crown (15a) to the Rear Crown
(15b) using the attached bracket.
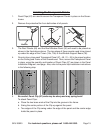
Attach the Front-Right and Front-Left Crown Beams (2,
3) to the outside of the Crown Ass’y (15) with the angled
edges towards the top. See diagram to the right, viewed
from under the Crown, facing forward.
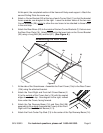
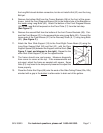
Attach the Top Doorway Beam (14) and Door Rail (28)
assembly to the outside (opposite the Crown) of the Front-
Right and Front-Left Crown Beams (2, 3).
Attach the Front-Center Top Stud (13) to the center of the Top Doorway Beam (14).
8.
9.
1.
2.
3.
4.
15
3
2
15
3
2


