Page 5SKU 93920
For technical questions, please call 1-800-444-3353.
BASE ASSEMBLY
IMPORTANT–READ THE FOLLOWING CAREFULLY BEFORE PROCEEDING
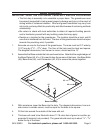
The first step in assembly is to assemble a proper base. The greenhouse must
be properly supported to help prevent property damage and injury in the event of
strong winds or inclement weather. Wind and ground conditions may vary from
site to site, and may affect the practicality and effectiveness of anchoring methods
substantially.
Be certain to check with local authorities to obtain all required building permits
and to familiarize yourself with any building codes that may apply.
Decide on a location for the greenhouse. The location should be a level, well-lit
area that is sheltered from the wind. The door of the greenhouse should not open
towards the prevailing wind, if possible.
Excavate an area for the base of the greenhouse. The area must be 8’ 2” wide by
10’ 2” long by 2
1
/
2
” – 2
3
/
4
” deep. The floor of the hole must be level and square.
The diagonal dimensions, from corner to corner, should each be 13’.
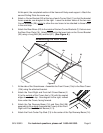
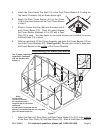
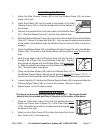
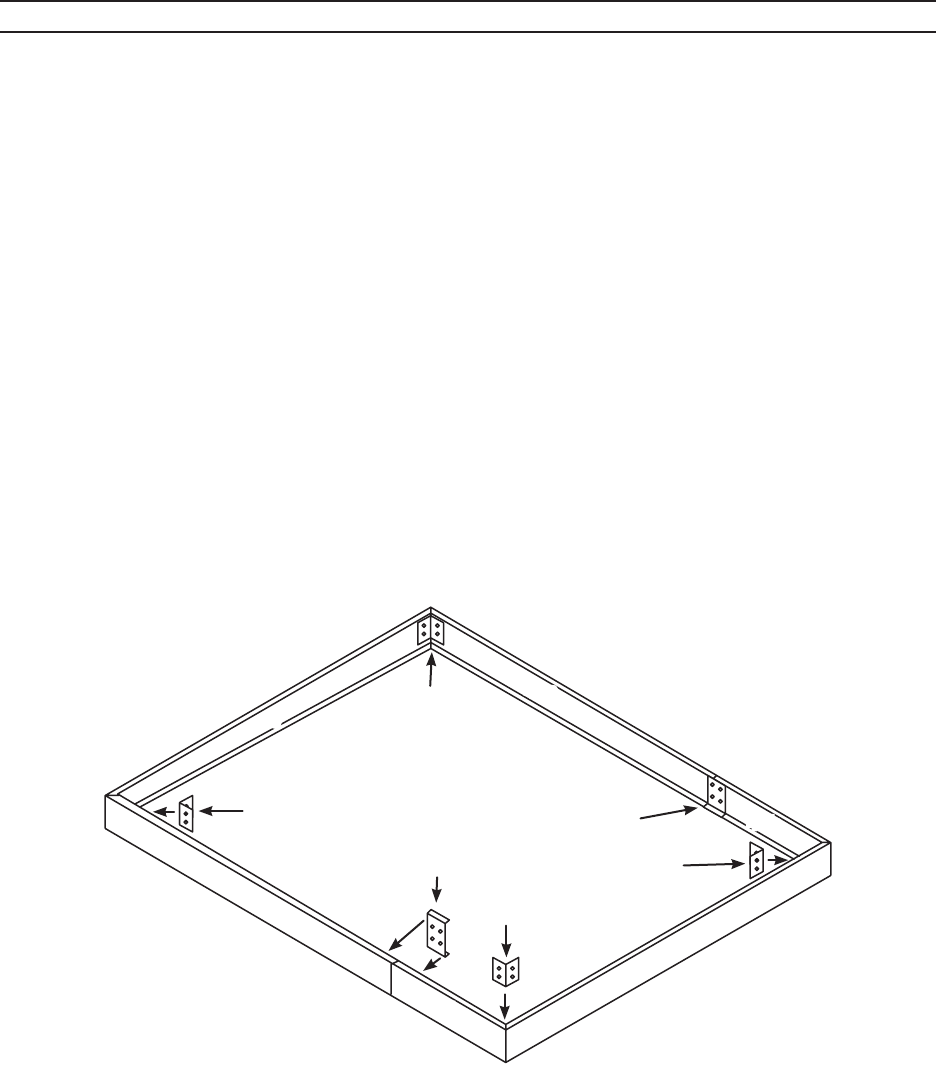
Assemble the Base outside the hole as shown below. Note that the angled edges of
the Base Plates (40, 41a, 41b) need to face the corners of the base. Use Base Bolts
(45), Base Nuts (46), and Connectors (42, 43) to secure the pieces together.
Base Assembly
41a
41a
41b
40
40
42
42
43
43
42
42
41b
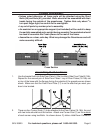
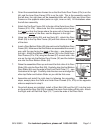
With assistance, lower the Base into the hole. The diagonal dimensions, from out-
side corner to outside corner, must be equal for the base to be square.
Fill the hole around the outside of the base with soil.
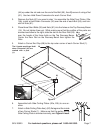
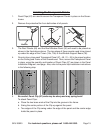
This base will need to be filled with about 17-18 cubic feet of gravel or another ap-
propriate fill material (not provided). The gravel should reach up to about
1
/
2
” –
3
/
4
”
below the lip of the base.
•
•
•
1.
2.
3.
4.
5.


