


108319-01B
9
9
For more information, visit www.desatech.com
For more information, visit www.desatech.com
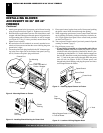
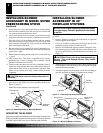
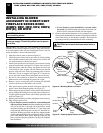
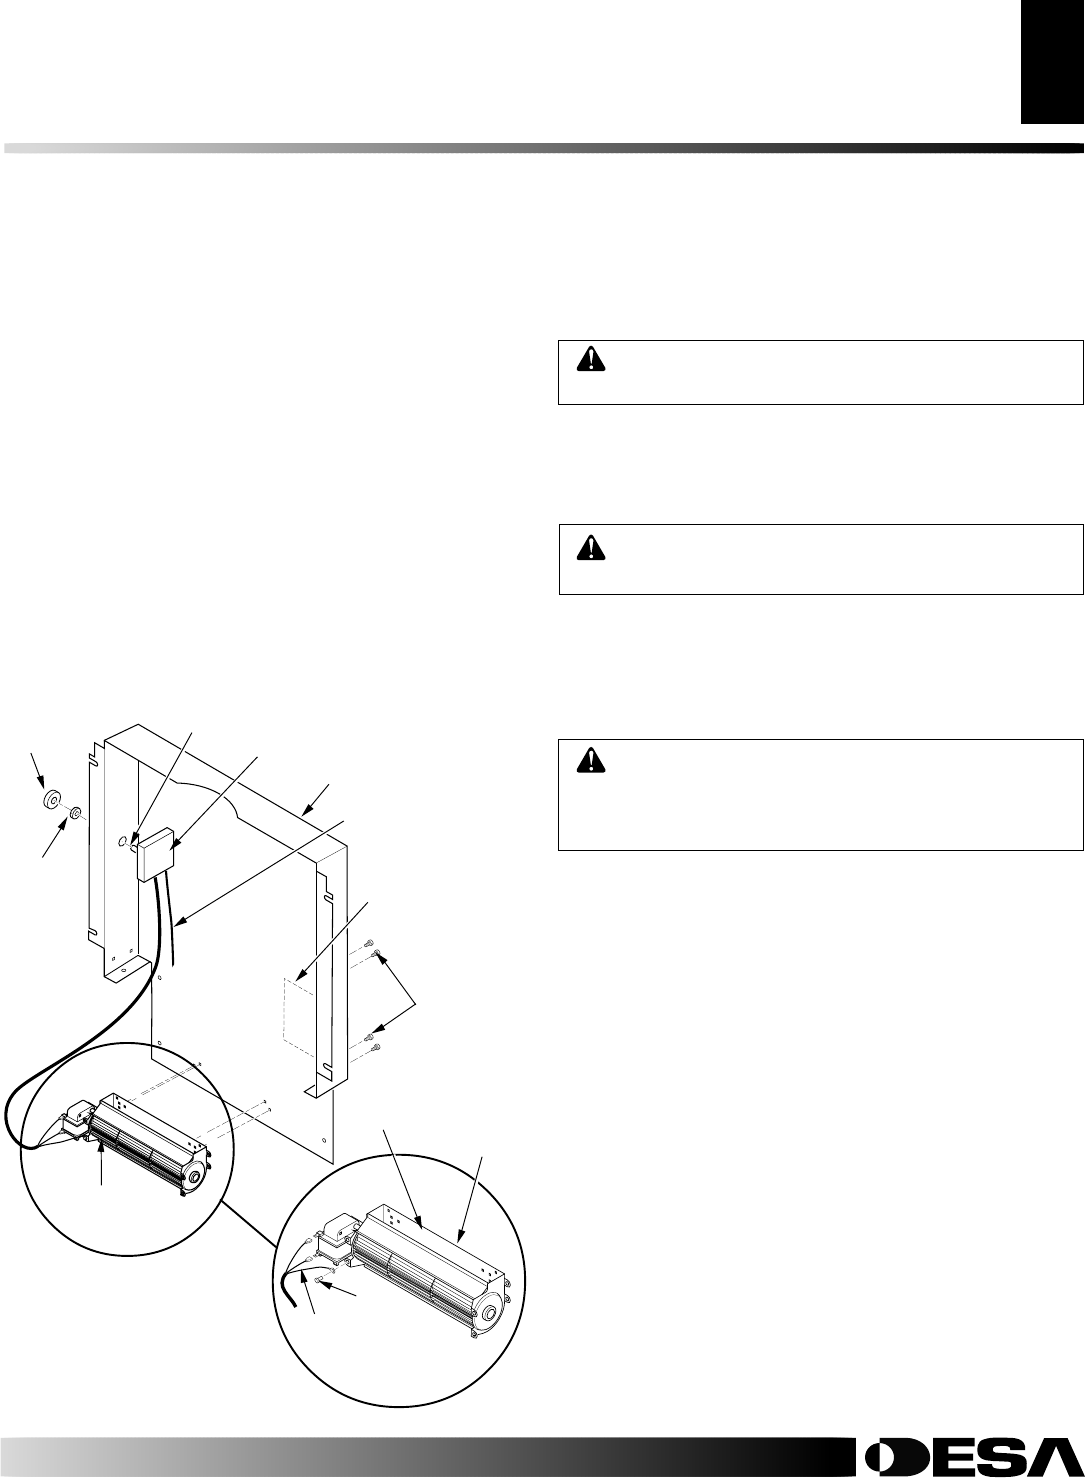
6. Make sure all wire connections to terminals on blower motor
are securely attached and that the screw retaining the green
ground wire is tight.
7. Place speed control on left inside of rear cover and push the
plastic control shaft through opening (see Figure 23).
8. While supporting speed control, secure control shaft with lock
nut by pushing and turning lock nut with pliers clockwise until
tight against the side of rear cover. Place control knob provided
onto shaft (see Figure 23).
9. Plug in blower power cord.
10. Check to make sure that the power cord is completely clear of the
blower wheel and that there are no other foreign objects in blower
wheel. Turn blower on and check for operation. Turn blower off
by rotating knob fully counterclockwise before continuing.
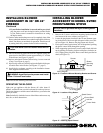
INSTALLING BLOWER
ACCESSORY IN FREESTANDING
STOVE SERIES SDV, MSD,
MSTD, CDV OR CSDBN
Continued
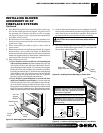
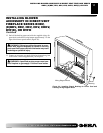
Figure 23 - Installing Optional Blower Accessory
Blower
Assembly
Mounting
Screws
(Included in
Hardware
Pack)
Blower
Control
Knob
Control
Shaft
Rear Cover
Speed Control
Power Cord
Lock Nut
Wiring Diagram
Decal
Screw
Exhaust
Port
Blower
Assembly
Green Ground
Wire
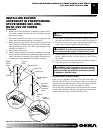
CAUTION: Never touch the blower wheel while in
operation.
WARNING: Failure to position the parts in accor-
dance with supplied diagrams or failure to use only
parts specifically approved with this heater may result
in damage or personal injury.
WARNING: A qualified service person must con-
nect fireplace to gas supply. Follow all local codes.
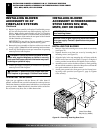
INSTALLING BLOWER ACCESSORY IN FREESTANDING STOVE SERIES
SDV, MSD, MSTD, CDV OR CSDBN
13. Peel off the backing paper and stick the supplied wiring dia-
gram decal on the inside of rear cover as shown (see Figure 23).
14. Connect or reconnect gas supply following instructions given
in the owner’s manual supplied with your fireplace.
15. Reattach bottom cover to rear cover with 8 screws (see Figure 22,
page 8). Make sure that you don’t pinch any wires during
reassembly.
16. Secure rear cover to back of stove chassis (see Figure 22, page 8).
17. Plug in the power cord when ready to use.
OPERATING THE BLOWER
Light your gas appliance with the blower off. After about 15
minutes, turn the blower on to deliver heated air through the
openings in the top of the stove body. The blower features a variable
control which allows you to select the speed you desire.
The blower helps distribute heated air from the fireplace. Periodi-
cally check the openings of the stove top and remove any dust, dirt,
or other obstructions that will hinder the flow of air.