


108319-01B
8
For more information, visit www.desatech.com
For more information, visit www.desatech.com
WARNING: Failure to position the parts in accor-
dance with supplied diagrams or failure to use only
parts specifically approved with this heater may result
in damage or personal injury.
WARNING: A qualified service person must con-
nect fireplace to gas supply. Follow all local codes.
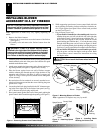
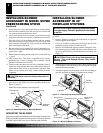
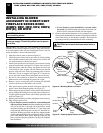
13. Replace log base assembly in fireplace. Feed flexible gas sup-
ply line into fireplace base area while replacing log base as-
sembly. Make sure the entire flexible gas line is in fireplace
base area.
Note:
If firebrick is installed, make sure the back of
the firebox bottom slides under the rear panel of the firebrick
(lift the firebrick up if necessary).
IMPORTANT:
Do not pick up log base assembly by burners.
This could damage burners. Only handle base by grates.
14. Reattach log base assembly to fireplace with screws removed
in step 3, page 5.
Note:
Discard the remaining hardware items.
15. Install logs and fireplace screen per instructions in operating
manual provided with fireplace.
16. Connect gas supply to fireplace per instructions in operating
manual provided with fireplace.
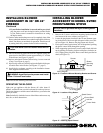
INSTALLING BLOWER
ACCESSORY IN 32"
FIREPLACE SYSTEMS
Continued
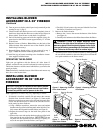
OPERATING THE BLOWER
Light your gas appliance with the blower off. After about 15
minutes, turn the blower on to deliver heated air at the top louvers.
The blower features a variable control which allows you to select the
speed you desire.
Note:
Periodically check the louvers of the fire-
box and remove any dust, dirt, or other obstructions.
NOTICE: Shut off gas supply and disconnect heater
from gas supply. Contact a qualified service person
to do this.
IMPORTANT:
Read all installation instructions be-
fore installing blower.
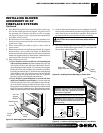
INSTALLING BLOWER
ACCESSORY IN FREESTANDING
STOVE SERIES SDV, MSD,
MSTD, CDV OR CSDBN
INSTALLING THE BLOWER
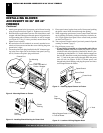
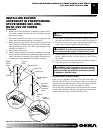
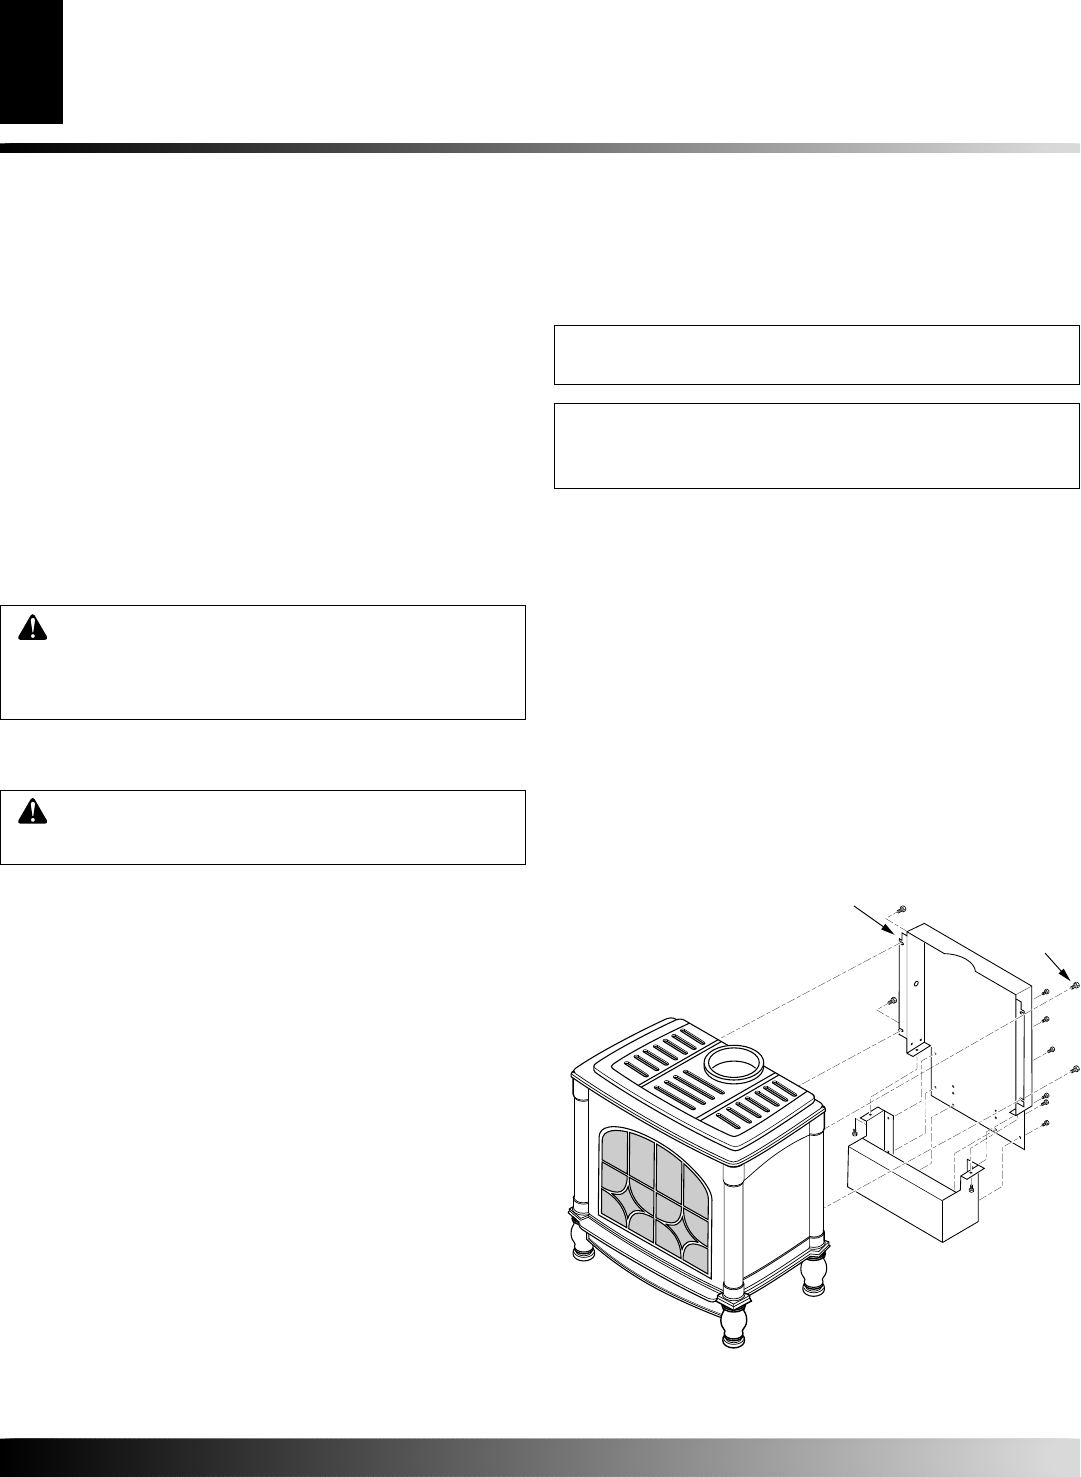
1. Remove 4 hex bolts securing rear cover to back of stove body
(see Figure 22).
2. Separate bottom cover from rear cover by loosening the 8
mounting screws (see Figure 22).
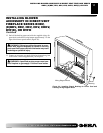
3. Align the holes in the top mounting tabs of blower with the
holes in wall of rear cover (see Figure 23, page 9). Using the 4
screws provided, mount blower and tighten screws securely.
4. Attach the power cord to the blower motor by firmly pushing
the two female terminals at the end of the power cord onto the
two spade terminals on the blower motor.
5. Attach green ground wire from power cord to blower hous-
ing using screw provided (see Figure 23, page 9). Tighten
screw securely.
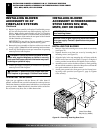
Figure 22 - Removing/ Installing Rear Cover
Screw
Rear Cover
(Note:
Stove Body
May Vary by Model)
INSTALLING BLOWER ACCESSORY IN 32" FIREPLACE SYSTEMS
INSTALLING BLOWER ACCESSORY IN FREESTANDING STOVE SERIES
SDV, MSD, MSTD, CDV OR CSDBN