


21
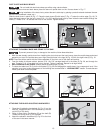
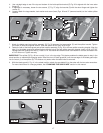
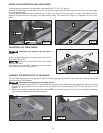
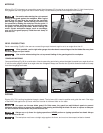
The miter gauge is equipped with adjustable index stops at 90°, 75°, 60°, 45° and 30°.
To rotate the miter gauge, loosen lock knob (A) Fig. 54, push the thumb lever (B) down and move the body of the miter gage
(C) to the desired angle.
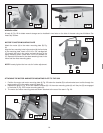
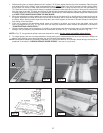
The miter gauge is equipped with a washer (D) Fig. 55 which fits into the T-Slot groove (E) in the table. This allows the miter
gauge to be pulled off the front edge of the table without falling. This allows for a longer cut-off capacity in front of the
blade.
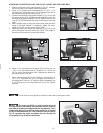
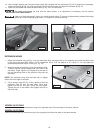
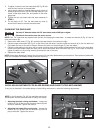
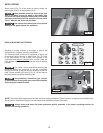
Place a straight edge across the table at both ends of the
table insert (A) Fig. 56.
Make sure that the table insert (A) is always
level with the table.
To adjust, turn the screws (B). The table insert is equipped
with a finger hole (C) for easy removal.
MITER GAUGE OPERATION AND ADJUSTMENT
C
A
B
E
D
A
C
B
B
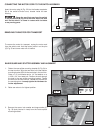
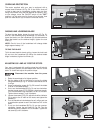
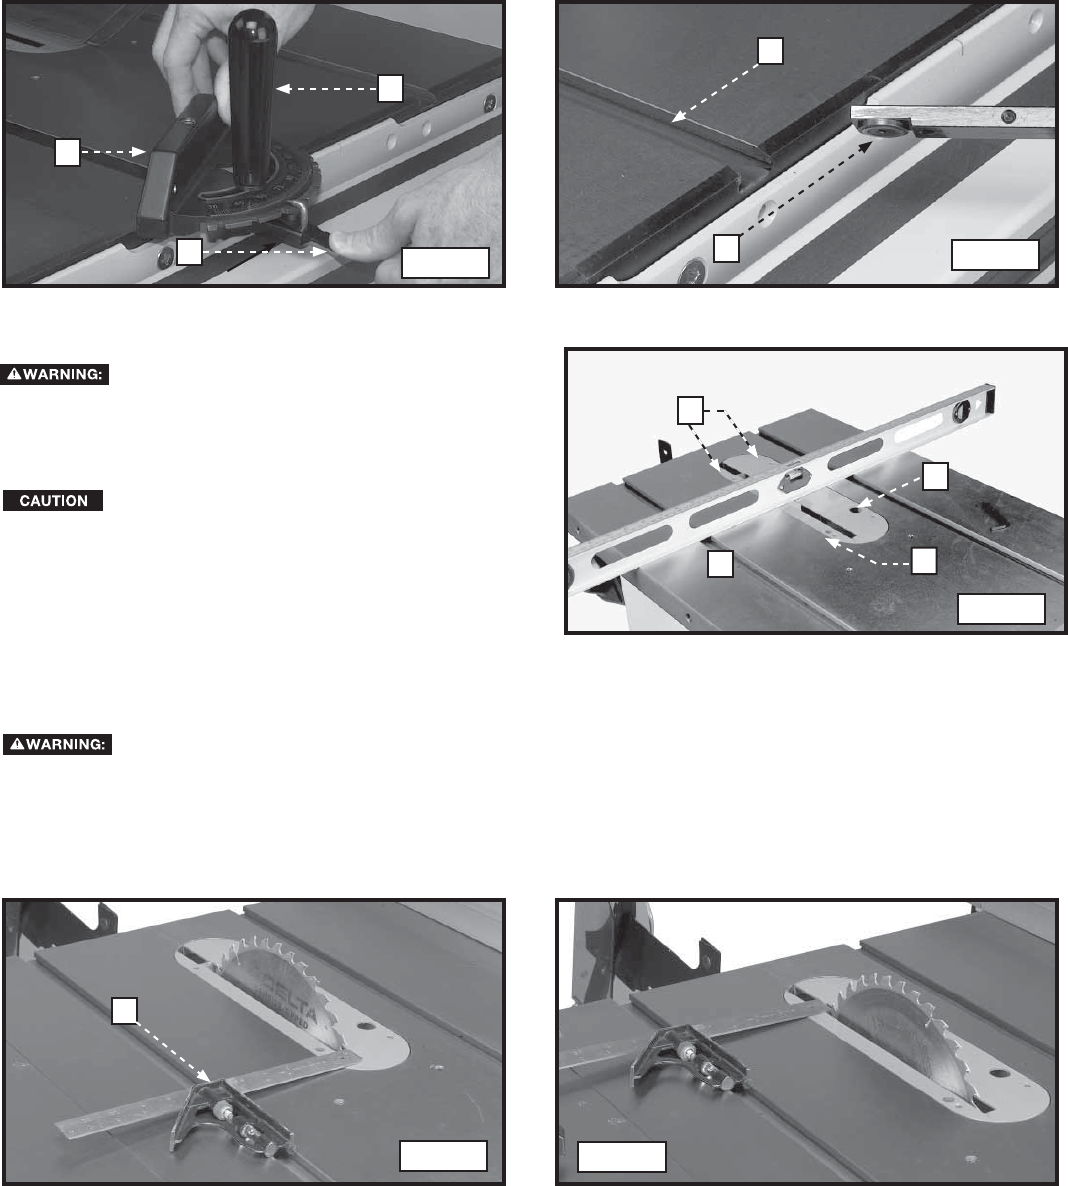
The saw table was aligned at the factory so that the miter gauge slots are parallel to the saw blade. However, check the
alignment before initial operation.
1. Place a combination square (A) Fig. 57 on the table with one edge of the square in the miter gauge slot. Adjust the square
so that the ruler touches one of the teeth on the saw blade at the forward position (Fig. 57). Lock the square in this
position.
2. Rotate the saw blade so that the same tooth used in STEP 1 is in the rear position (Fig. 58). Check this distance. Both the
front and rear measure ments should be identical.
ALIGNING THE MITER SLOTS TO THE BLADE
A
ADJUSTING THE TABLE INSERT
Fig. 54
Fig. 55
Fig. 56
Fig. 57
Fig. 58
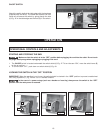
Disconnect the machine from the power
source.
Disconnect the machine from the power source.