


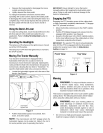


Re-fillingthe Crankcase with Oil
IMPORTANT: On models LT1042 & LT 1045, the engine
(with oil filter) has a capacity of 1.5 liters (50.75 oz.). On
models LT1046 & LT 1050, the engine (with oil filter)
has a capacity of 2.0 liters (67.60 oz.) Do NOT overfill.
Always check the level on the dipstick as instructed on
page 19 before adding more oil.
NOTE: For the proper oil type, refer to the chart on
page 19 of this manual.
• Clean the area around the oil fill tube to prevent
debris from entering the crankcase.
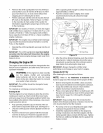
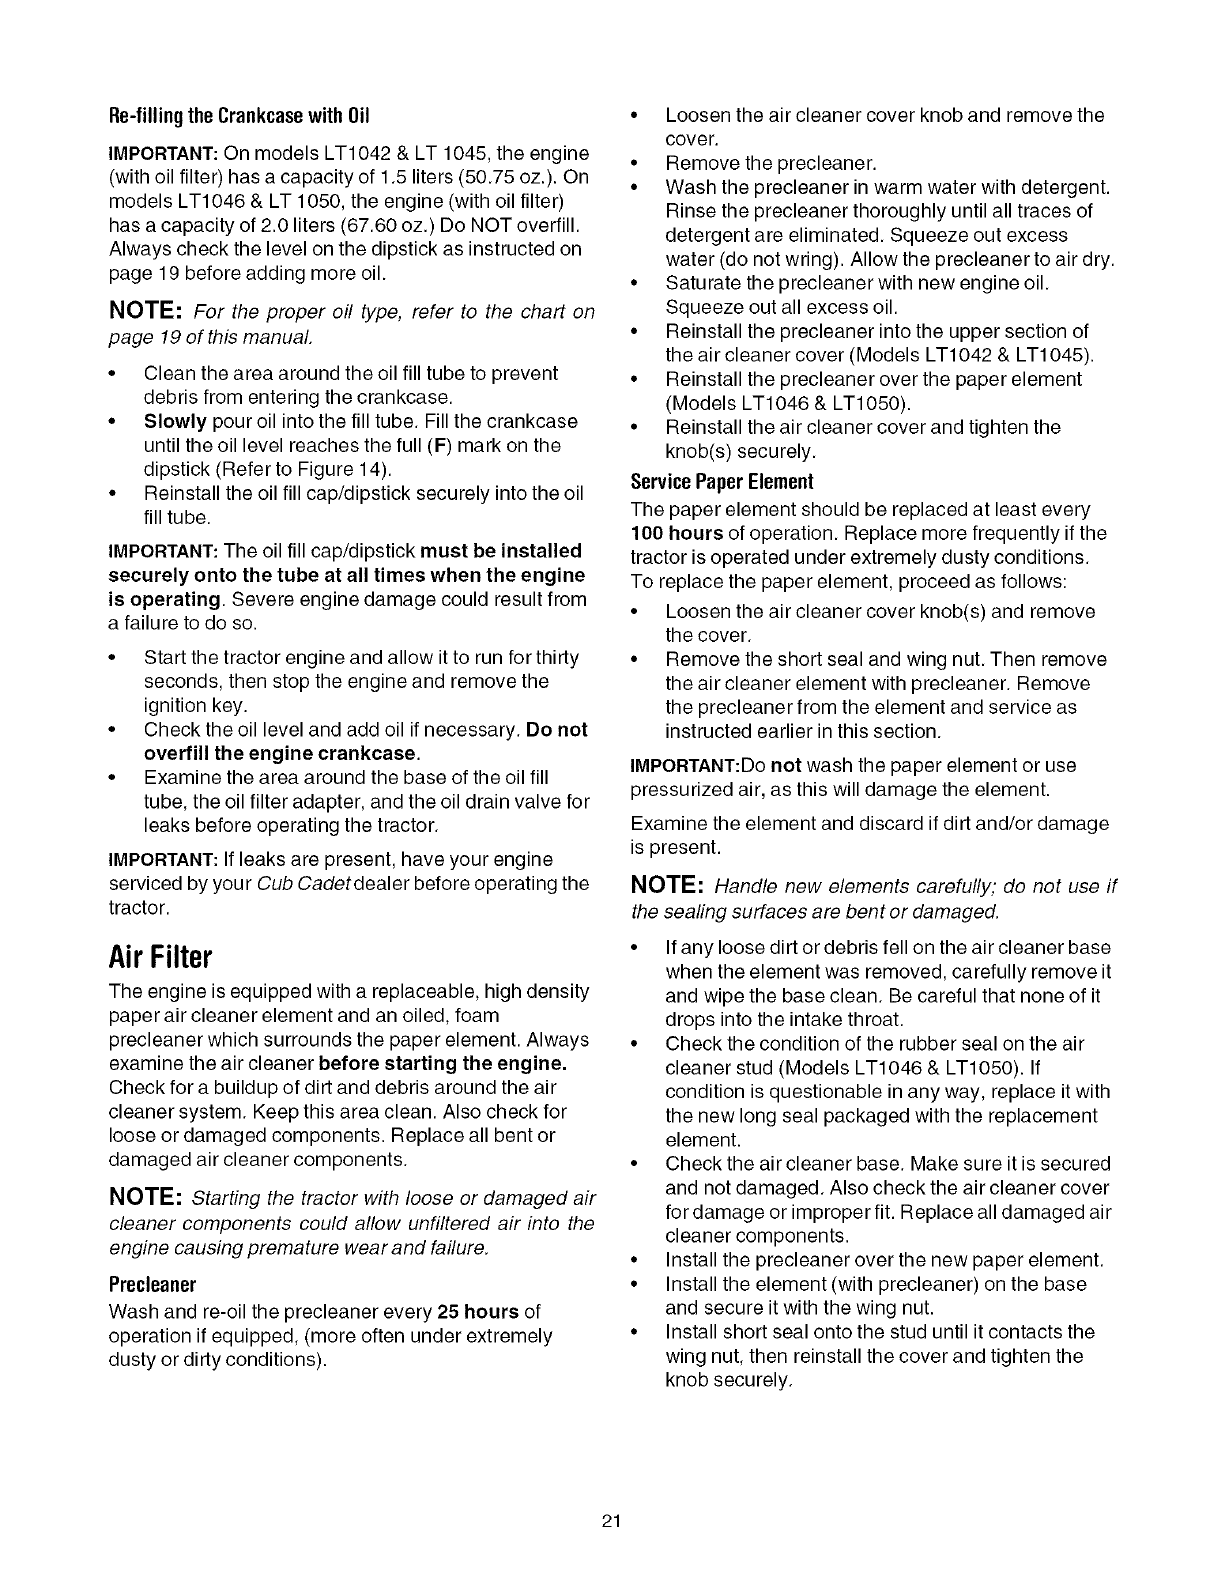
• Slowly pour oil into the fill tube. Fill the crankcase
until the oil level reaches the full (F) mark on the
dipstick (Refer to Figure 14).
• Reinstall the oil fill cap/dipstick securely into the oil
fill tube.
IMPORTANT:The oil fill cap/dipstick must be installed
securely onto the tube at all times when the engine
is operating. Severe engine damage could result from
a failure to do so.
• Start the tractor engine and allow it to run for thirty
seconds, then stop the engine and remove the
ignition key.
• Check the oil level and add oil if necessary. Do not
overfill the engine crankcase.
• Examine the area around the base of the oil fill
tube, the oil filter adapter, and the oil drain valve for
leaks before operating the tractor.
IMPORTANT: If leaks are present, have your engine
serviced by your Cub Cadet dealer before operating the
tractor.
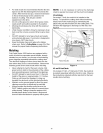
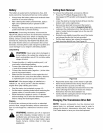
AirFilter
The engine is equipped with a replaceable, high density
paper air cleaner element and an oiled, foam
precleaner which surrounds the paper element. Always
examine the air cleaner before starting the engine.
Check for a buildup of dirt and debris around the air
cleaner system. Keep this area clean. Also check for
loose or damaged components. Replace all bent or
damaged air cleaner components.
NOTE: Starting the tractor with loose or damaged air
cleaner components could allow unfiltered air into the
engine causing premature wear and failure.
Precleaner
Wash and re-oil the precleaner every 25 hours of
operation if equipped, (more often under extremely
dusty or dirty conditions).
• Loosen the air cleaner cover knob and remove the
cover.
• Remove the precleaner.
• Wash the precleaner in warm water with detergent.
Rinse the precleaner thoroughly until all traces of
detergent are eliminated. Squeeze out excess
water (do not wring). Allow the precleaner to air dry.
• Saturate the precleaner with new engine oil.
Squeeze out all excess oil.
• Reinstall the precleaner into the upper section of
the air cleaner cover (Models LT1042 & LT1045).
• Reinstall the precleaner over the paper element
(Models LT1046 & LT1050).
• Reinstall the air cleaner cover and tighten the
knob(s) securely.
Service Paper Element
The paper element should be replaced at least every
100 hours of operation. Replace more frequently if the
tractor is operated under extremely dusty conditions.
To replace the paper element, proceed as follows:
• Loosen the air cleaner cover knob(s) and remove
the cover.
• Remove the short seal and wing nut. Then remove
the air cleaner element with precleaner. Remove
the precleaner from the element and service as
instructed earlier in this section.
IMPORTANT:Do not wash the paper element or use
pressurized air, as this will damage the element.
Examine the element and discard if dirt and/or damage
is present.
NOTE: Handle new elements carefully; do not use if
the sealing surfaces are bent or damaged.
• If any loose dirt or debris fell on the air cleaner base
when the element was removed, carefully remove it
and wipe the base clean. Be careful that none of it
drops into the intake throat.
• Check the condition of the rubber seal on the air
cleaner stud (Models LT1046 & LT1050). If
condition is questionable in any way, replace it with
the new long seal packaged with the replacement
element.
• Check the air cleaner base. Make sure it is secured
and not damaged. Also check the air cleaner cover
for damage or improper fit. Replace all damaged air
cleaner components.
• Install the precleaner over the new paper element.
• Install the element (with precleaner) on the base
and secure it with the wing nut.
• Install short seal onto the stud until it contacts the
wing nut, then reinstall the cover and tighten the
knob securely.
21