Spark Plug(s)
Every 200 hours of operation, remove the spark
plug(s), check condition, and reset the gap or replace
with a new plug(s) as necessary.
• Lift the tractor's hood and locate the spark plug wire
on the front, right area of the engine.
• Carefully pull the spark plug wire boot off of the
spark plug.
• Before removing the spark plug, clean the area
around the base of the plug to keep dirt and debris
out of the engine.
• Using a ratchet with a 5/8-inch spark plug socket,
remove the spark plug and check its condition.
• Replace the plug if worn, dirty of damaged. Reuse
only after resetting the gap as instructed in the
following steps.
NOTE: Do not clean the spark plug in a machine
using abrasive grit. Some grit could remain in the spark
plug and enter the engine causing extensive wear and
damage.
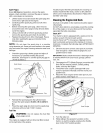
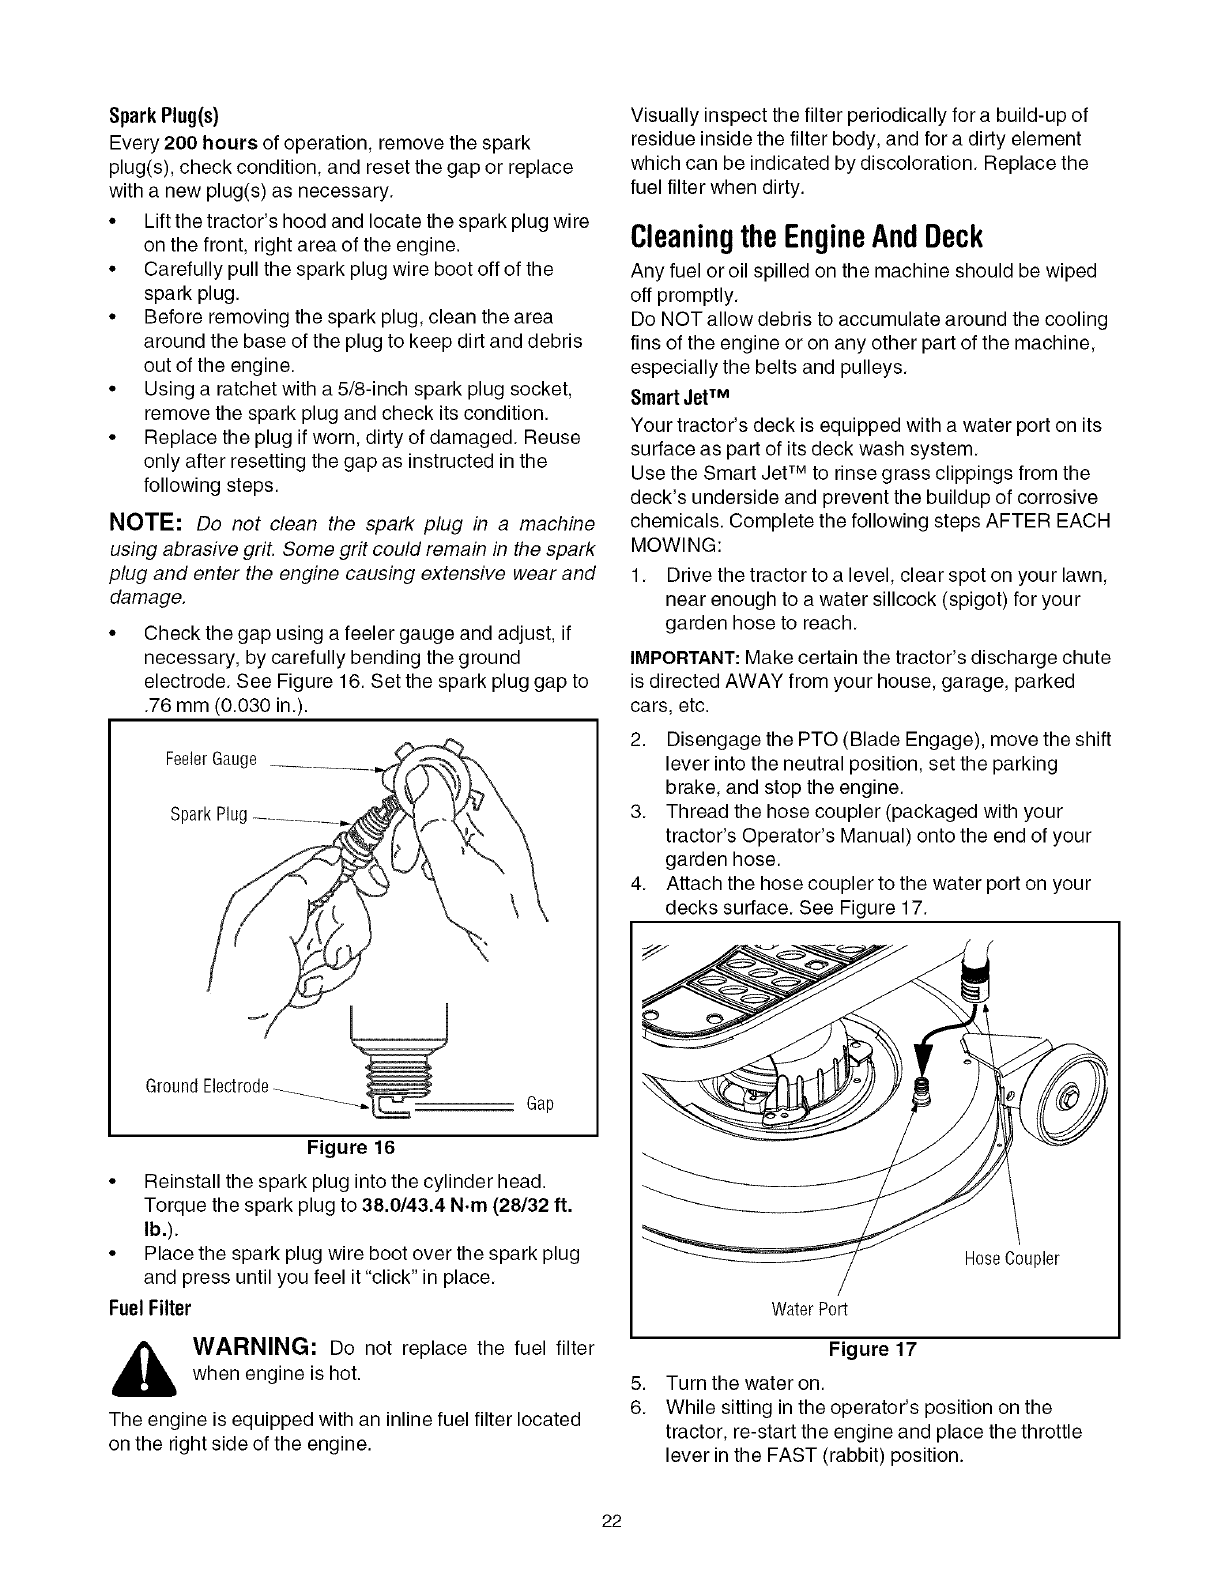
Check the gap using a feeler gauge and adjust, if
necessary, by carefully bending the ground
electrode. See Figure 16. Set the spark plug gap to
.76 mm (0.030 in.).
FeelerGauge
SparkPlu_
Ground Electrode
Gap
Figure 16
• Reinstall the spark plug into the cylinder head.
Torque the spark plug to 38.0/43.4 N.m (28/32 ft.
lb.).
• Place the spark plug wire boot over the spark plug
and press until you feel it "click" in place.
Fuel Filter
,_ WARNING: Do not replace the fuel filter
when engine is hot.
The engine is equipped with an inline fuel filter located
on the right side of the engine.
Visually inspect the filter periodically for a build-up of
residue inside the filter body, and for a dirty element
which can be indicated by discoloration. Replace the
fuel filter when dirty.
Cleaningthe EngineAndDeck
Any fuel oroil spilled on the machine should be wiped
off promptly.
Do NOT allow debris to accumulate around the cooling
fins of the engine or on any other part of the machine,
especially the belts and pulleys.
Smart JetTM
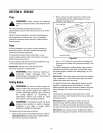
Your tractor's deck is equipped with a water port on its
surface as part of its deck wash system.
Use the Smart JetTM to rinse grass clippings from the
deck's underside and prevent the buildup of corrosive
chemicals. Complete the following steps AFTER EACH
MOWING:
1. Drive the tractor to a level, clear spot on your lawn,
near enough to a water sillcock (spigot) for your
garden hose to reach.
IMPORTANT: Make certain the tractor's discharge chute
is directed AWAY from your house, garage, parked
cars, etc.
2. Disengage the PTO (Blade Engage), move the shift
lever into the neutral position, set the parking
brake, and stop the engine.
3. Thread the hose coupler (packaged with your
tractor's Operator's Manual) onto the end of your
garden hose.
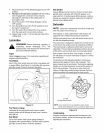
4. Attach the hose coupler to the water port on your
decks surface. See Figure 17.
5.
6.
HoseCoupler
Water Port
Figure 17
Turn the water on.
While sitting in the operator's position on the
tractor, re-start the engine and place the throttle
lever in the FAST (rabbit) position.
22


