BEFORE STARTING THE PRESSURE WASHER
To operate the engine you wilt need to do the following:
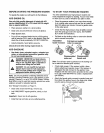
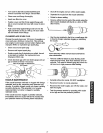
ADD ENGINE OIL
Use only high quality detergent oil rated with API
service classification SF or SG rated SAE 30 weight.
Use no special additives.
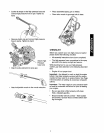
o Place pressurewasher on a level surface
, Clean area around oil fill and remove oil dipstick.
o Wipe dipstick clean.
° Pour oil from enclosed bottle into the oil fill opening
until oil reaches FULL mark on the dipstick. Stop and
check the oil level periodically. DO NOT OVERFILL.
= Install oil dipstick, hand tighten securely.
Check oil level often during engine break in.
ADD GASOLINE
Use fresh, clean, unleaded regular, unleaded pre-
mium, or reformulated automotive gasoline only.
Do not use leaded gasoline.
A
DANGER! NEVER fill fuel tank indoors.
NEVER fill fuel tank when engine is run-
ning or hot, DO NOT light a cigarette or
smoke when filling the fuel tank.
DANGER! Do not overfill the fuel tank.
Always leave room for fuel expansion.
Wipe any fuel spillage from engine and
equipment before starting engine
Note: Do not use gasoline containingmethanol (wood
alcohol). Gasoline containing up to 10% ethanol or grain
alcohol ("Gasohol"), or up to 15% MTBE (Methyl Tertiary
Butyl Ether), may be used but requires special care when
engine is unused for extended periods.
See "Storage" instructionson Page 15.
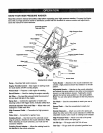
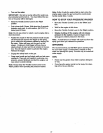
Clean area around fuel fill cap, remove cap.
o Add "UNLEADED" regular gasoline, slowly, to fuel
tank.
Important: Never mix oil with gasoline.
, Install fue! cap and wipe up any spilled gasoline.
TO START YOUR PRESSURE WASHER
You have assembled your high pressure washer and
have prepared the engine for starting. You are now ready
to clean your car, boat or whatever you plan to clean.
Ptace the pressure washer in an area close enough
to an outside water source that can flow at a rate of at
least 2.2 gallons per minute. Connect a garden hose
to the water spout.
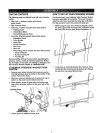
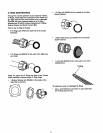
Check that the high pressure hose istightly connect-
ed to the spray gun and to the pump. See ASSEM-
BLY section for illustrations.
e
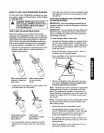
Assembled
Quick-Connect
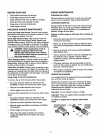
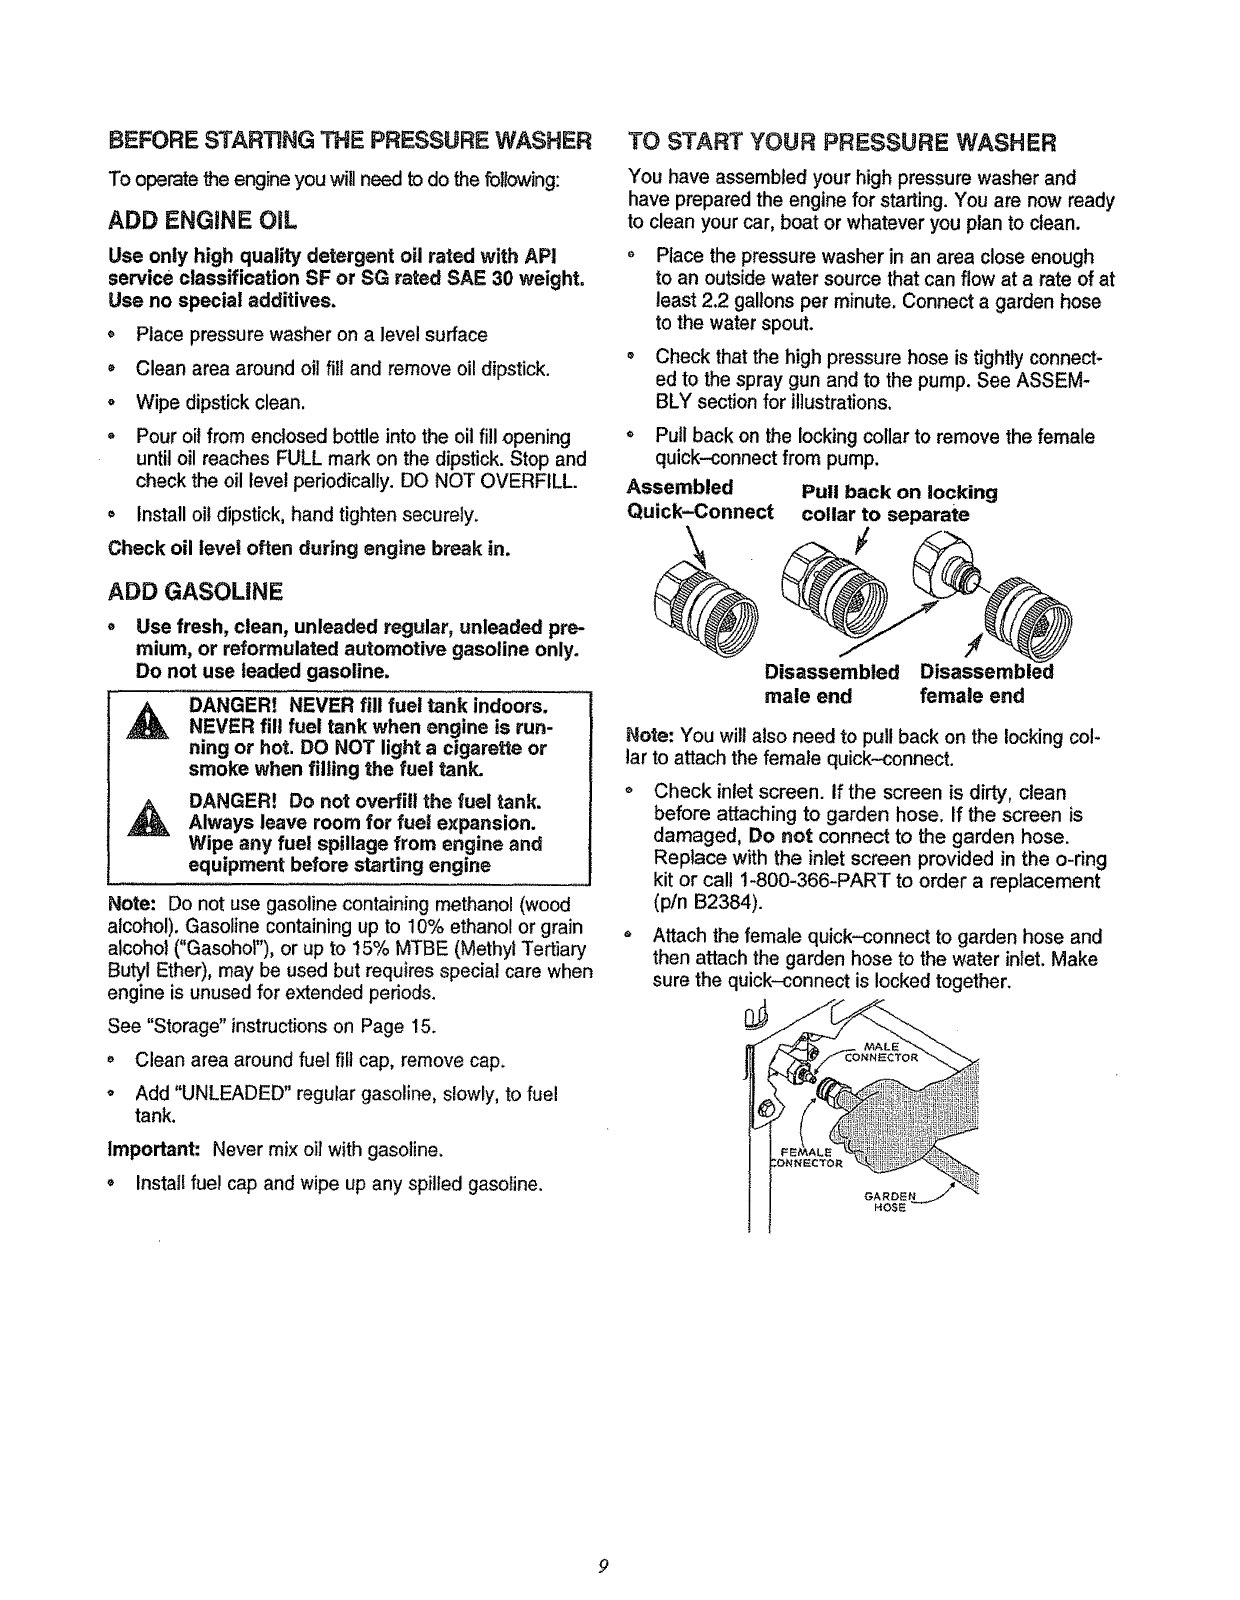
Pull back on the locking collarto remove the female
quick-connect from pump.
Pull back on locking
collar to separate
Disassembled Disassembled
male end female end
Note: You wilt also need to pull back on the lockingco!-
lar to attach the female quick-connect.
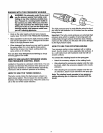
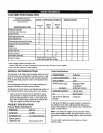
Check inlet screen. If the screen is dirty, clean
before attaching to garden hose. If the screen is
damaged, Do not connect to the garden hose.
Replace with the inlet screen provided in the o-ring
kit or cal! 1-800-366-PART to order a replacement
(pln B2384).
Attach the female quick-connect to garden hose and
then attach the garden hose to the water inlet. Make
sure the quick-connect is locked together.
9


