7
Stealth
®
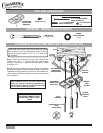
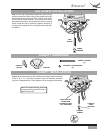
TILT THE FAN TO
INSTALL LAST
CANOPY SCREW
BULB INSTALLATION
CANOPY HATCH INSTALLATION
CANOPY
CANOPY
LOCK
WASHER
CANOPY
SCREW
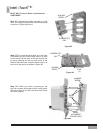
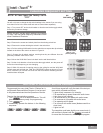
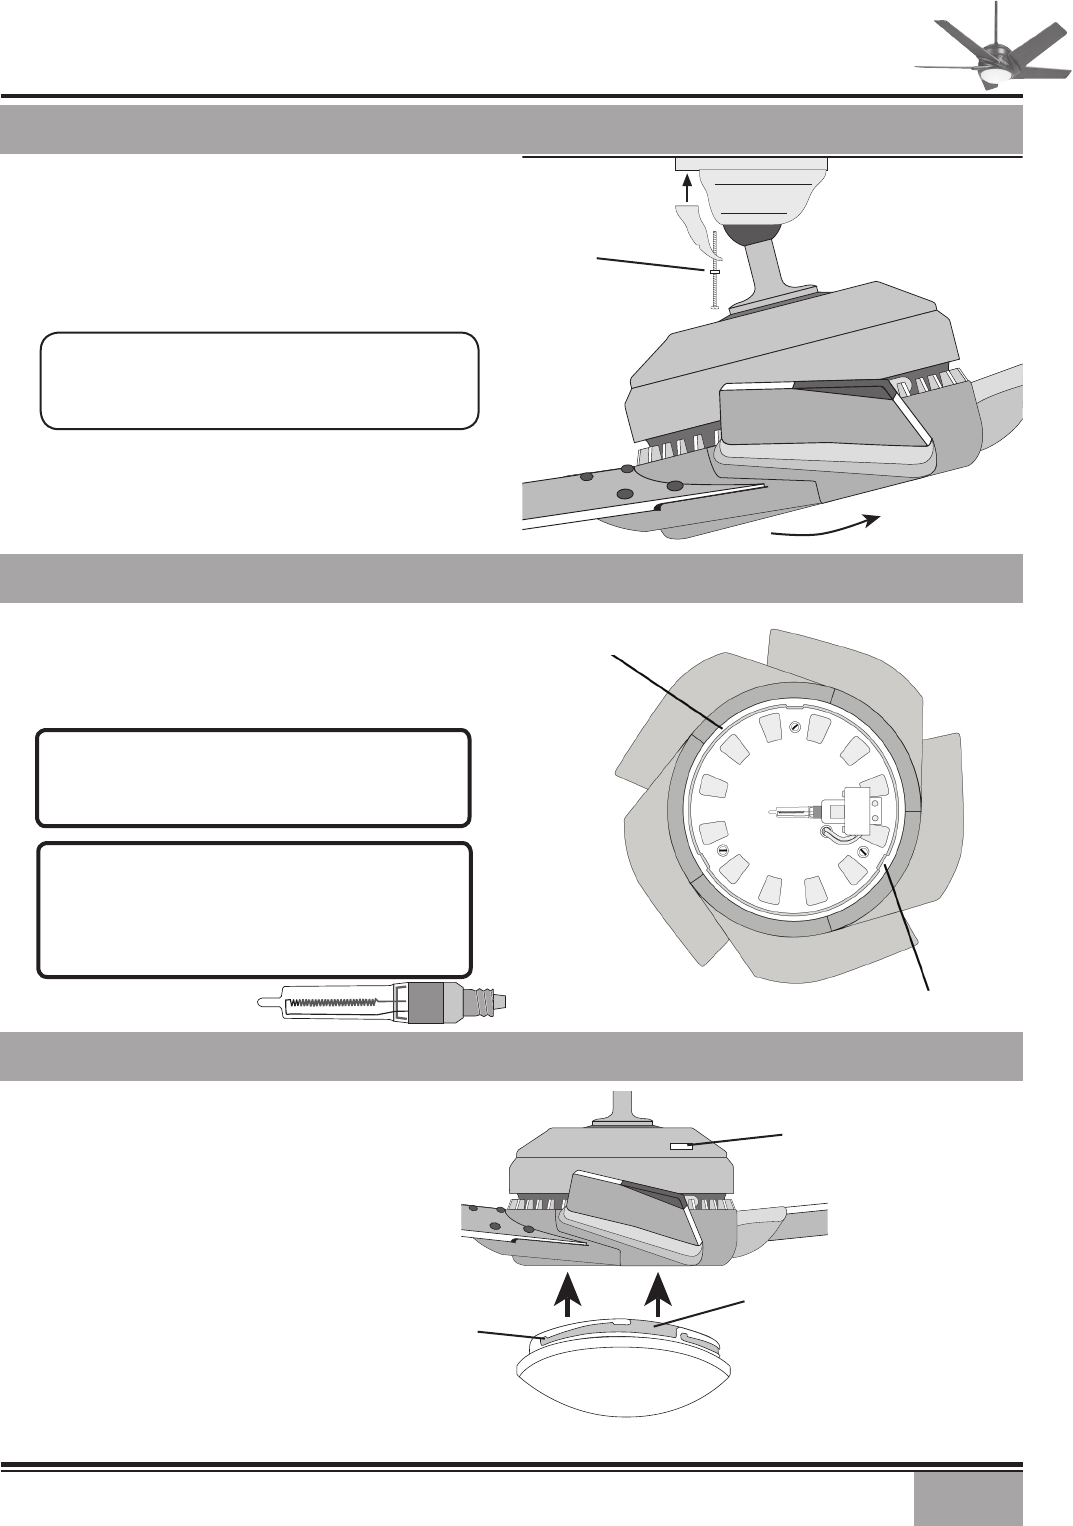
Step 6. Tuck the wires into the canopy with the wire nuts
pointed upwards, so that the white and black wires are
on opposite sides of the canopy and all wires are clear
of the canopy opening.
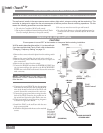
Step 7. Install canopy hatch with the last canopy screw
and lock washer. To do this, tilt the fan body away from
the hatch opening.
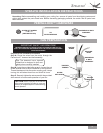
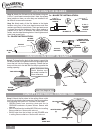
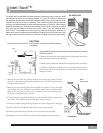
Step 9. Screw the 100-watt Halogen bulb into the socket.
-
tremely important that the glass be clean. If it is touched,
or dirty, clean carefully with a tissue. A dirty glass bulb
will cause the bulb to fail almost immediately.
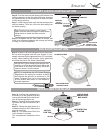
INSTALLING THE GLASS
GLASS
HATCH
Step 8. Straighten the fan, then check to ensure that
there is no movement between the canopy and ceiling
or Hang-Tru ball and downrod.
Tip: Place the lock washer on the canopy
screw, and the screw through the hatch before
tilting the fan to install the hatch onto the
canopy.
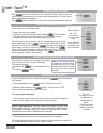
Step 10. Position the indentations in
the outer rim of the glass so that they
line up with the tabs on the inside sur-
Step 11. Carefully lift the glass shade
will go.
Step 12. Rotate the glass shade in a
clockwise direction until it falls into the
notch for each tab.
Step 13. Turn power back ON at the
circuit breaker or fusebox.
This completes the installation of the
fan.
carefully cut off the end of the plastic sleeve the
bulb comes in and hold the bulb by the plastic
sleeve to screw it into the socket.
NOTE: In compliance with US Federal Energy
Regulations, this ceiling fan contains a device
that restricts the light kit to a maximum of 190
watts. Exceeding that limit or the marked limit
improper operation.
INDENTATION
FOR TAB
NOTCH
FOR TAB
MODEL AND
SERIAL NUM-
BER PLATE
GLASS HOLDER
TABS
HALOGEN BULB
100 WATT MAX.


