2011 Portable Spa
LTR20111000, Rev. D
Preparing for Your New Portable Spa
www.calspas.com
10
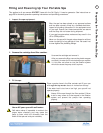
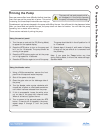
Prime the pump.5.
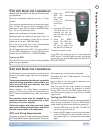
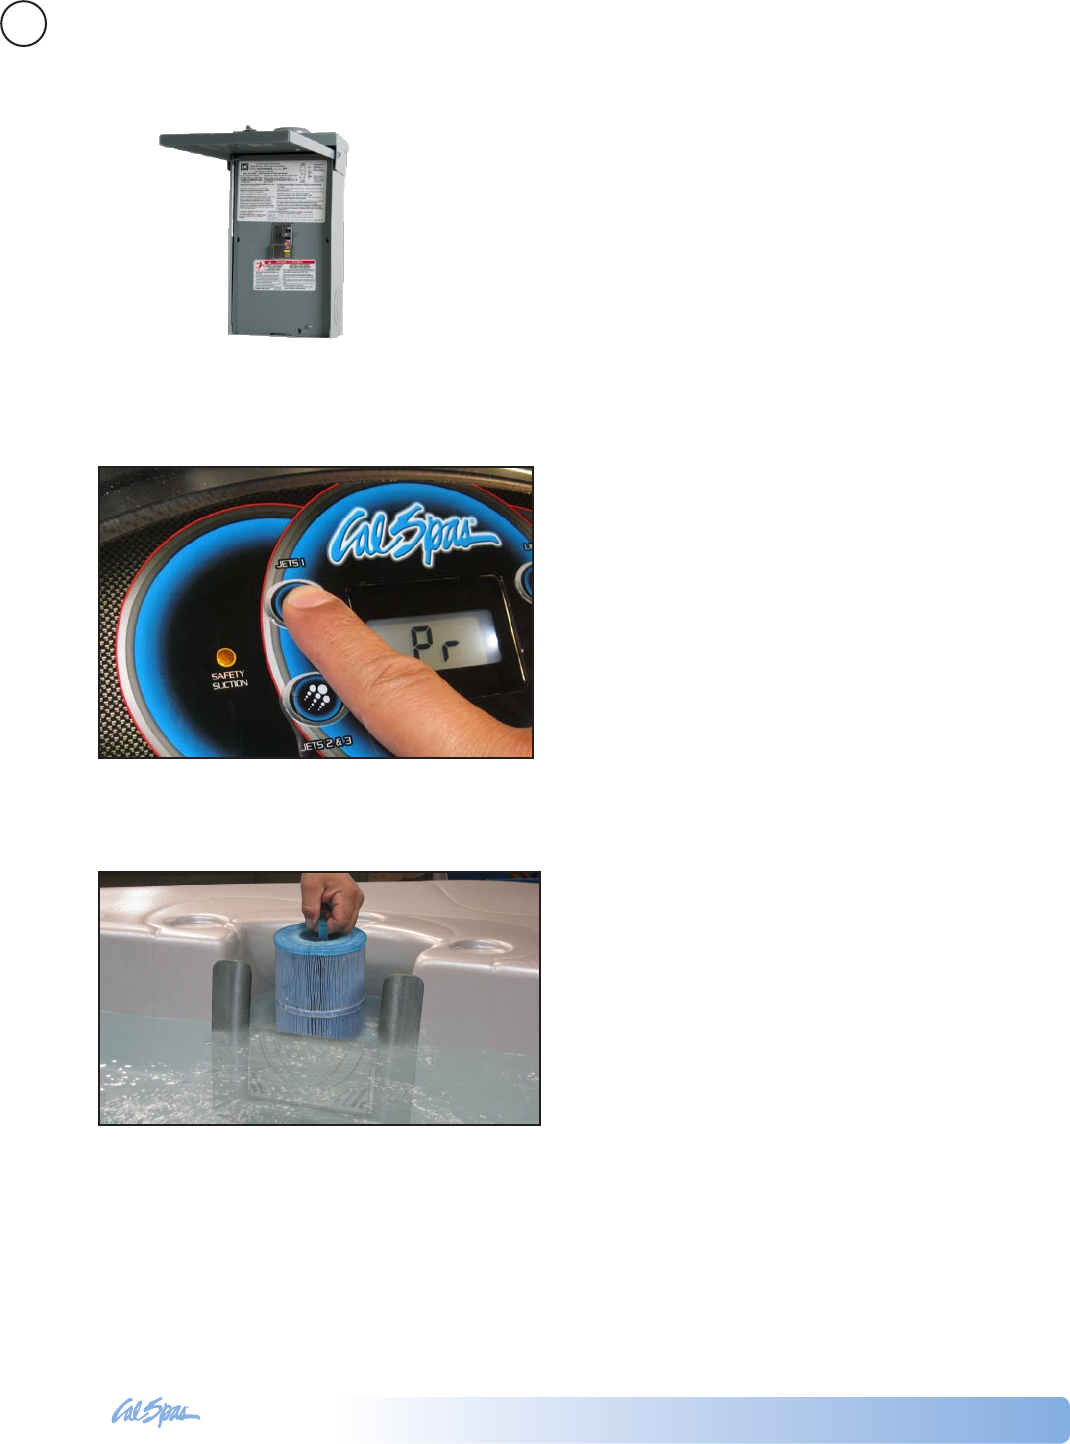
Your spa will perform a self-diagnostic check and go into priming mode. When the control panel displays
PR, do the following:
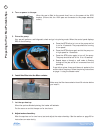
Turn on power to the spa.4.
When the spa is lled to the correct level, turn on the power at the GFCI
breaker. (Ensure that the 120V spas are connected to the proper electrical
outlet.)
Install the lter into the lter canister.6.
Make sure the lter has soaked at least 30 minutes before
you install it.
Press the JETS button to turn on the pump and let a.
it run for 10 seconds. The pump should be running
in low speed.
Press the JETS buttons again and let the pump run b.
in high speed for 10 seconds.
Press the JETS button again to turn off the pump. c.
The pump should be left off for 10 to 15 seconds.
Repeat steps a through c until water is owing d.
through all the jets and all air is removed from the
plumbing.
If spa fails to prime, there could be an air pocket at the
suction side of the pump. Follow the priming instructions
on page 11 using the bleeder valve.
Let the spa heat up.7.
When the spa has nished priming, the heater will activate.
Put the cover on and let the spa run for two hours.
Adjust water chemistry.8.
After the spa has run for two hours, test and adjust the water chemistry. See the section on page 23 for
instructions on water clarity.


