


16
17
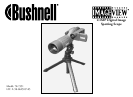
SPOTTING SCOPE INSTRUCTIONS
MOUNTING
Remove the spotting scope from the packaging. Attach the tripod with the provided screw to the tripod mount hole located on the base of the spotting scope. Spread
the tripod legs and set on a solid surface.
MAGNIFICATION
Note: Some specialized spotting scopes have a fixed magnification with no zoom. For zoom magnification scopes, grasp and rotate magnification ring to change
power. The magnification ring is typically found near the eyepiece. When rotating this ring, the image appears to zoom in and out. It may be necessary to re-focus
when the magnification is changed.
FOCUSING
Most focus rings are found in front of the eyepiece on the spotting scope body. By turning this adjustment, the image will sharpen until in focus. On some spotting
scopes, the focus ring is on or near the eyepiece.
USING THE TRIPOD
(Included with most spotting scopes, except special use spotting scopes)
To pan side to side or up and down, unloosen the tripod control handle by rotating it counterclockwise. To lock into a desired position, rotate the tripod control handle
clockwise.
CARE
The lenses of your spotting scope are coated for highest light transmission. As with any coated optics, special care must be taken in cleaning the lenses. Moisten the
surface of the lens slightly and wipe dry using a circular motion starting at the center of the lens. Wipe or brush off any dirt or dust on the outside of the spotting
scope.
CAUTION
Never disassemble your spotting scope. Special tools and equipment are required for service and irreparable damage can result from untrained attempted service.
Unauthorized service may also void the warranty.
CAUTION: DO
NOT LOOK AT THE SUN THROUGH THIS SPOTTING SCOPE AS SEVERE DAMAGE TO YOUR EYES MAY RESULT!
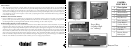
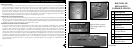
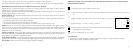
Remote Shutter Release Note
Whenever possible, using the included remote shutter release cable is recommended to avoid accidentally jarring the camera
when the SNAP button is pressed. Due to the high magnification of the camera, any motion when the shutter is open can
result in photos with a blurred or shaky appearance. The remote cable is plugged into the jack on the bottom of the camera
pod as shown below. Pressing the button on the remote will then take a photo, just as if SNAP was pressed. If the remote
shutter cable is not available, you may instead use the self-timer (as previously described in the manual) to trip the shutter
without touching or jarring the camera. However, the timer will not allow you to take a photo at the exact moment you
choose, as the remote cable will.
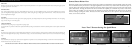
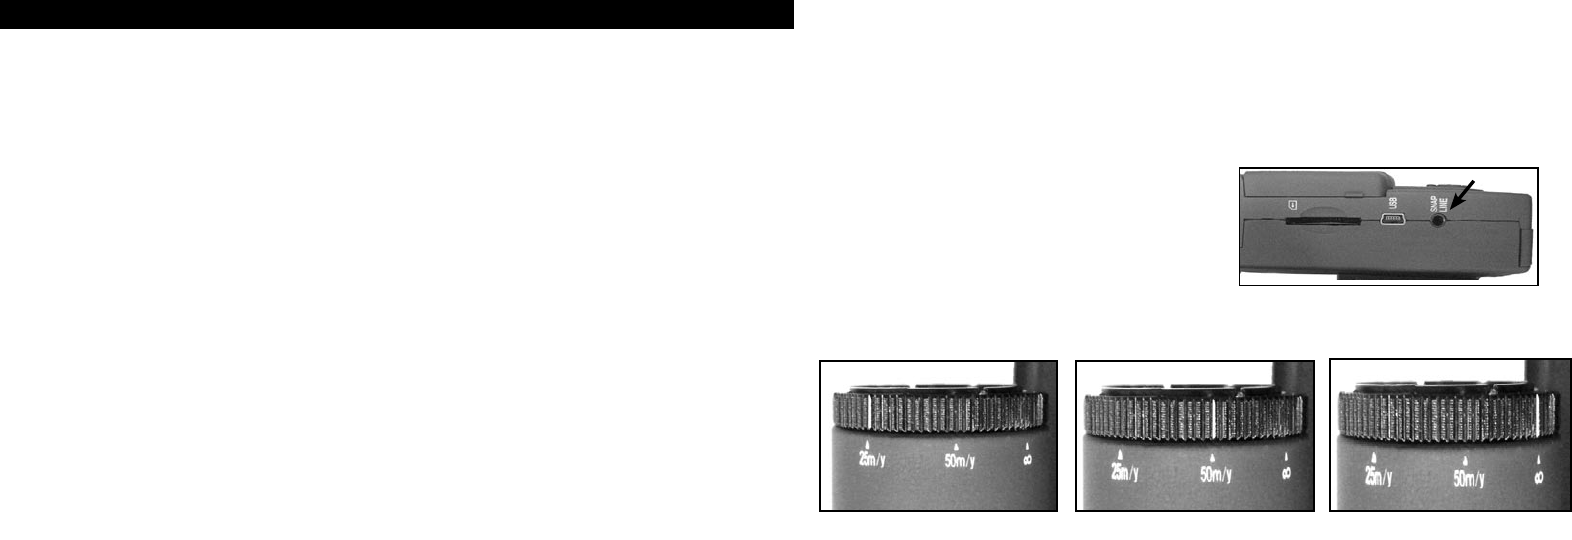
Focus “Zone” Shortcut Settings For Quick Photos
Close Subjects Mid-Distance
Distant Scenes