1. ENGINE:
For complete maintenance and operating infor-
mation for your engine, please refer to your
engine operating and maintenance instructions
furnished by the engine manufacturer and includ-
ed in your Zero Turn mower information packet.
NOTE
Air intake screen must be kept clean. If
plugged, engine may be seriously dam-
aged by over heating.
2. BATTERY:
When taking the battery out of the mower for ser
vicing, make sure to reconnect the cables to the
battery exactly as they were prior to removal.
Keep the battery clean. Remove the corrosion
around the battery terminals by applying a solu-
tion of one part baking soda to four parts water.
Coat all exposed terminal surfaces with a light
layer of grease or petroleum jell to prevent corro-
sion.
NOTE
At temperatures below 32 degrees F (0 deg
C) the full charge state must be maintained to
prevent cell electrolyte from freezing and
causing permanent battery damage.
3. TIRES:
Correct tire pressure is essential for efficient
operation of the mower. Check tire air pres-
sure periodically. Inflate tires to the pressure
listed:
TIRE PRESSURE
Front Tires
Drive Tires Rear Tires
11” Sealant Filled 20” 13” 18 psi
22 psi Turf Tire - 22 psi
Bar Tire - 22 psi
Knobby Tire (ATV Type) - 5 psi
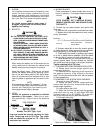
AVOID SERIOUS INJURY OR DEATH:
● THE BATTERY CONTAINS SULFURIC ACID.
AVOID CONTACT WITH SKIN, EYES OR CLOTHING.
EYES - FLUSH WITH WATER AND GET PROMPT MED-
ICAL ATTENTION.
ANTIDOTE: INTERNAL - DRINK LARGE QUANTITIES
OF WATER OR MILK. FOLLOW WITH MILK OF MAG-
NESIA, BEATEN EGG OR VEGETABLE OIL. CALL A
PHYSICIAN IMMEDIATELY.
● BATTERIES PRODUCE EXPLOSIVE GASES.
KEEP SPARKS, FLAMES AND SMOKING MATERI-
ALS AWAY. VENTILATE WHEN CHARGING IN AN
ENCLOSED SPACE. WEAR EYE PROTECTION
WHEN WORKING NEAR BATTERIES.
● KEEP OUT OF REACH OF CHILDREN.
4. MOWER BLADES:
Check sharpness of mower blades after every 10
hours of operation. To sharpen blades proceed as
follows:
A. Tilt deck up into raised position and secure with
deck pins.
B. Remove bolt, cup washer, and blade from shaft.
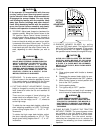
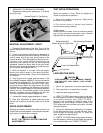
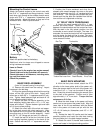
C Blades should be discarded when worn exces-
sively. See sketch.
D. Sharpen blade with a hand file, electric grinder
or blade sharpener. Wear gloves and eye protection
when sharpening. Grind blade at original bevel.
E. Check balance of blade by positioning the blade
on a nail or blade balance pedestal. Grind the blade
on the end that is heavier until both sides balance.
F. Install blades with the concave side of the cup
washer against blade. Be sure blades are installed
with uplifts and cutting edges in the proper directions.
Tighten retaining bolt to 76 ft./lbs.
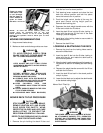
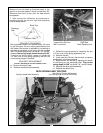
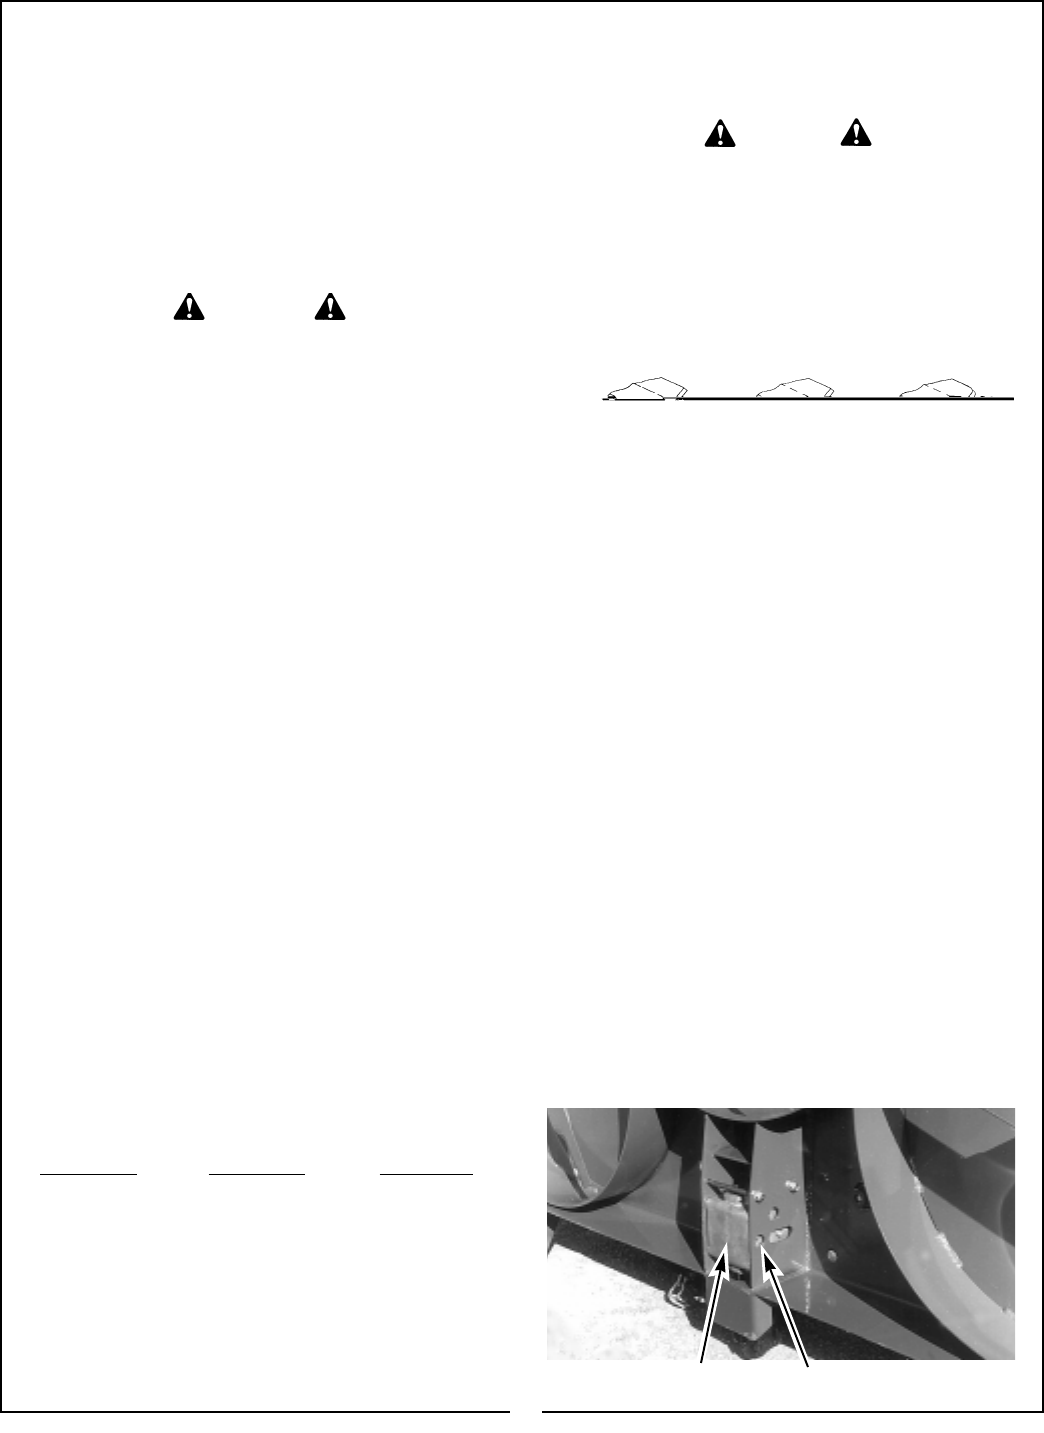
5. CHECKING DECK DRIVE GEARBOX FLUID LEVEL
A. Rotate deck into the upright position and
secure with deck pins.
B. Remove the hex head plug at the low end of
the gearbox housing. (Plug closest to the drive
shaft.) The fluid level should be level with the bottom
of the threaded hole.
6. CHANGING FLUID IN DECK DRIVE GEARBOX
(Annually or every 500 hours)
A. Rotate the deck into the upright position,
secure deck with pins and remove drain plug from
bottom edge of gearbox.
B. Lower deck to drain fluid.
C. When the fluid has drained from the gearbox,
raise deck back up and fill with Mobil SHC 630
synthetic motor oil (or EP 80W90). Fill to the bot-
tom of the hole that the plug was removed from.
D. Reinstall drain plug.
14
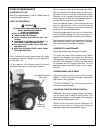
CAUTION
STOP ENGINE, SET PARKING BRAKE,
REMOVE IGNITION KEY AND SPARK PLUGS
FOR SAFETY.
New Blade
Dangerous!
25 Degrees
When Notch Starts
Discard Blade
Deck Drive Gearbox Drain/Fill/Check Plug
WARNING
Lug nuts should be checked regularly for tight-
ness. Torque lug nuts to 50 ft./lbs. The center
hub nut should be torqued to 175 - 200 ft./lbs.
and cotter key installed.


