210
Creating Custom Stitch Patterns (Programmable Stitch Creator)
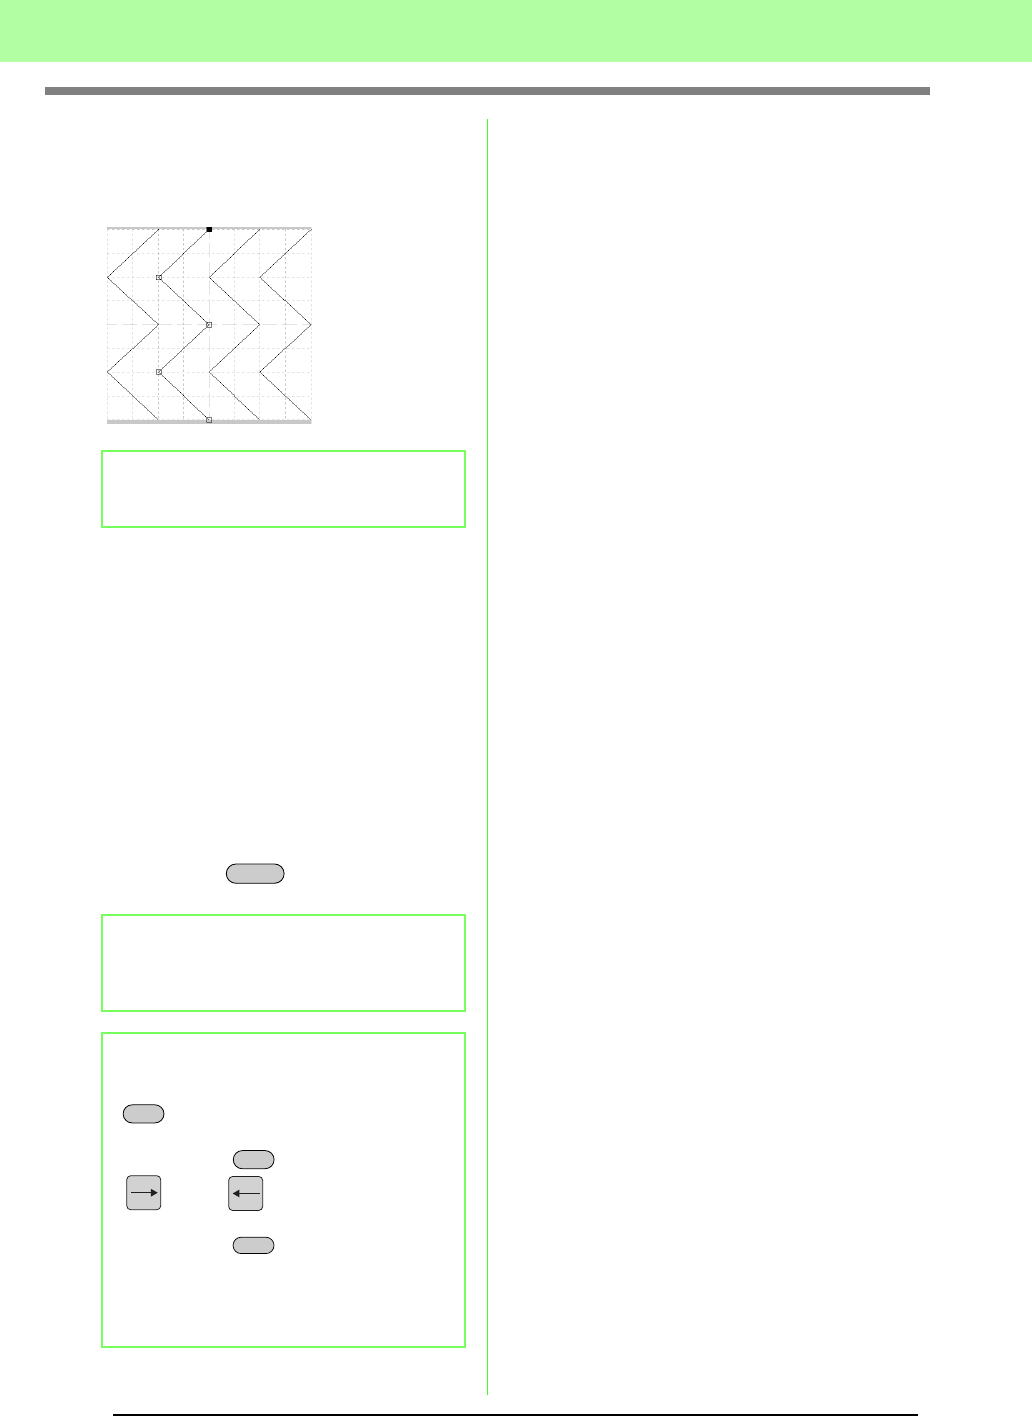
2. Click the broken line.
→ The points in the broken line appear as
small white squares.
3. To edit a point, click the point to select it.
→ The selected point appears as a small
black square.
• To move the point, drag it to the new
location.
→ All of the selected points move in the
same direction.
• To insert a point, click the line to add a new
point.
→ A new point appears selected (as a small
black square).
• To delete the point, click Edit, then Delete,
or press the key to remove the
point.
b Memo:
You can only select one broken line at a time.
b Memo:
If a line is composed of two points and you
delete one of them, the entire line is deleted.
b Memo:
• To select multiple points, hold down the
key while clicking the points, or
dragging the pointer over the points.
• Hold down the key while pressing the
key or key. The selection
direction changes to the end or start point.
• Hold down the key while dragging the
points. The points are moved horizontally or
vertically.
• Press an arrow key. The points move in the
direction of the arrow on the key.
Delete
Ctrl
Ctrl
Shift


