206
Creating Custom Stitch Patterns (Programmable Stitch Creator)
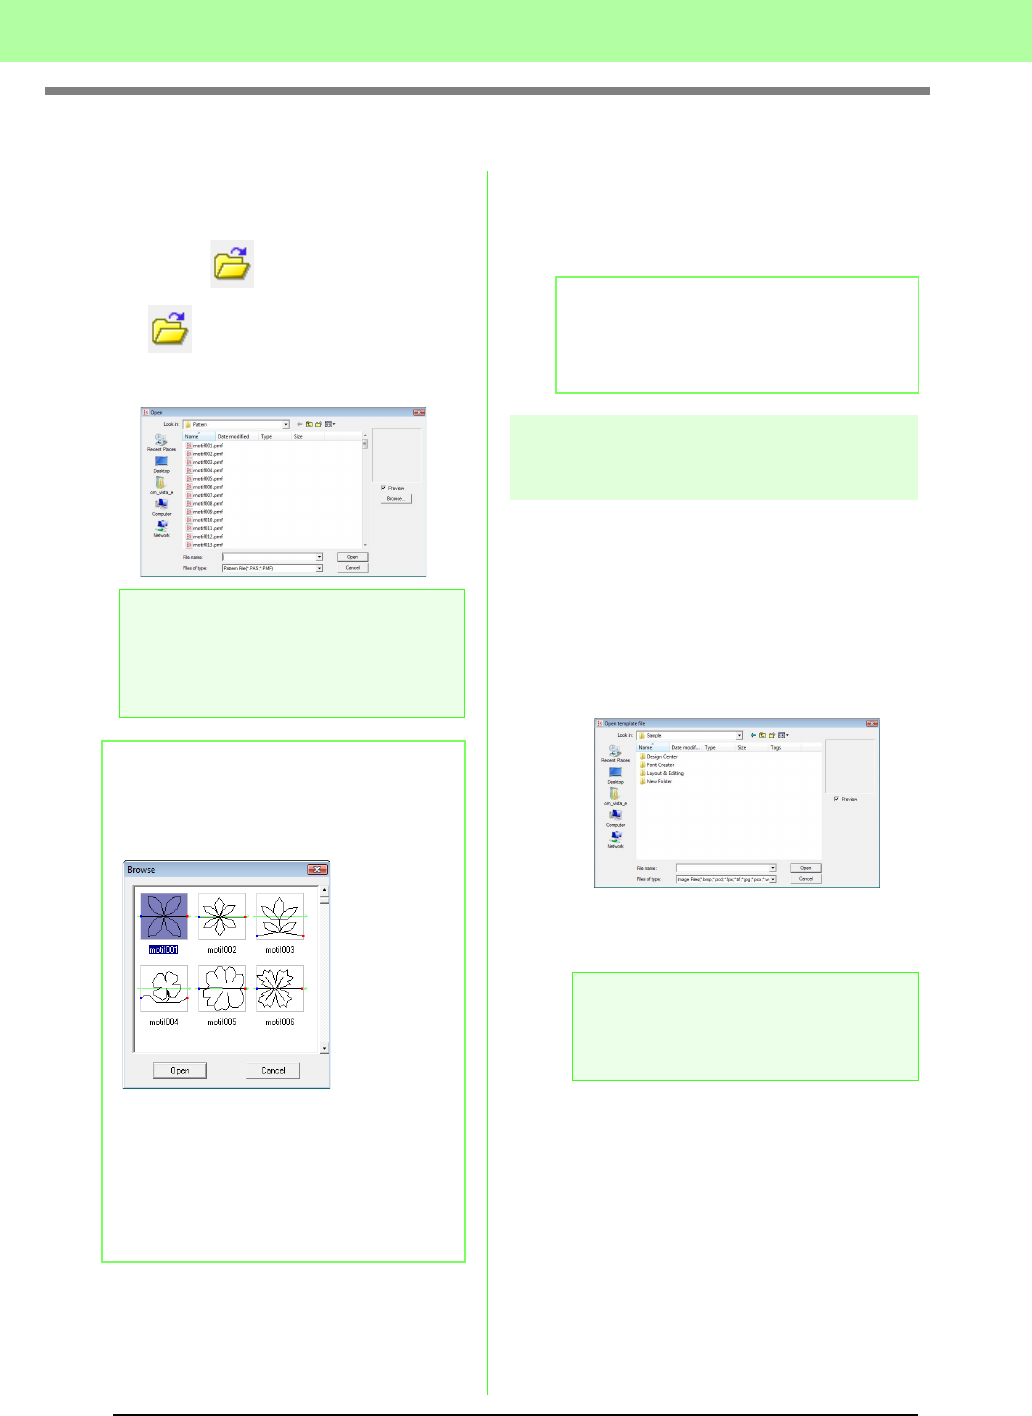
Opening a Pattern File
A previously saved pattern file can be opened to be
edited.
Toolbar button:
1. Click , or click File, then Open.
2. Select the drive and the folder.
3. To open a file, select it, and then click Open,
or double-click the file’s icon.
→ The contents of the selected file appear in
the work area.
Opening an image in the
background
You can open a background image that can be used
as a guide to draw a new fill/stamp and motif stitch
pattern. There are many different types of files that
can be opened.
c
“Image file formats” on page 19.
1. Click File, then Template Open.
2. Select the drive, the folder and the desired file.
3. Click Open to open the file.
→ The image fills the work area.
a Note:
To open a fill/stamp stitch pattern, be sure to
select a
folder that contains .pas files. To
open a motif stitch pattern, be sure to select
a folder that contains .pmf files.
b Memo:
• To view the data in the selected folder as
thumbnails in the
Browse
dialog box, click
Browse
.
• A green arrow through the middle of the
stitch pattern indicates motif stitch patterns
(.pmf). Otherwise, the data is a fill/stamp
stitch pattern (.pas).
• Stamps are identified by the red- (engraving
effect sewn with the fill stitch) and blue-filled
areas (embossing effect sewn with satin
stitching).
b Memo:
The mode will automatically change to match
that of the selected pattern (
Fill/Stamp
for
.pas files or
Motif
for .pmf files).
a Note:
Only one image can be added to the work
area. If you try to display a different image, it
will replace the previous one.


