


16
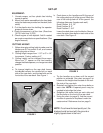
MAINTENANCE
6. Engine oil: Change oil to manufacturers speci-
fications. Stop engine and remove key. Drain
oil when engine is warm. Loosen the 3/8” hex
head on the oil drain valve at the right rear of
the engine block. Be sure that the oil drain
hose is on the drain and securely tight-
ened. Retighten the valve after oil is drained.
Remove oil filter. After oil is drained, put a light
coat of clean oil on the new filter gasket before
installing. Install on engine. Thoroughly clean
around the cap before removing the dip-
stick. Fill engine with oil, using manufacturers
specs, see Engine Owners Manual. Start en-
gine and idle slowly to allow the oil to recoat
the interior of the engine and then inspect for
leaks.
7. Tire pressure: Check every 25 to 50 hours.
Rear tires require 15 psi and caster tires 15
psi
8. Belts: Check every 75-100 hours. Stop engine
and remove key. Check the condition of all belts.
9. Lubrication (every 25 hours): Caster tires and
front caster pivots spring loaded idler on deck.
(Clean grease zerk thoroughly before greas-
ing)
10. Fuel filter: 100 hours.
11. IZT’S are maintenance free and DO NOT re-
quire service.
12. Tracking Plate: Grease every 50 hours. The
tracking plate is welded to each drive lever. The
tracking knob and tracking bolt move on this
surface. Failure to grease regularly may re-
sult in premature neutral and tracking mis-ad-
justment.
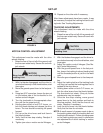
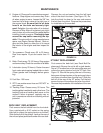
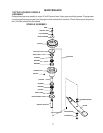
DECK BELT REPLACEMENT
First remove the belt shield from the front deck.
Use a ratchet with a 9/16” socket on the spring
idler bolt to relieve the spring tension on the belt.
Slide the belt off of the pulleys. Jack up the rear of
the unit and place jack stands under the rear deck.
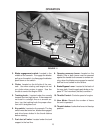
IZT BELT REPLACEMENT
First remove the deck belt (see Deck Belt Re-
placement). Be sure the unit is still on jack stands.
Use a 1/2” breaker bar on the spring idler arm and
relieve the spring tension from the IZT belt. See
Figure 13. Secure the spring idler out of the way
being sure to keep tension on the spring so it does
not come unhooked from the idler arm. Slide the
belt off of the rear of the IZT pulley. Pull the belt
across the top of the pulleys and over the clutch.
Reverse the procedures for installation of the new
belt.
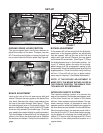
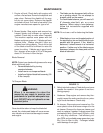
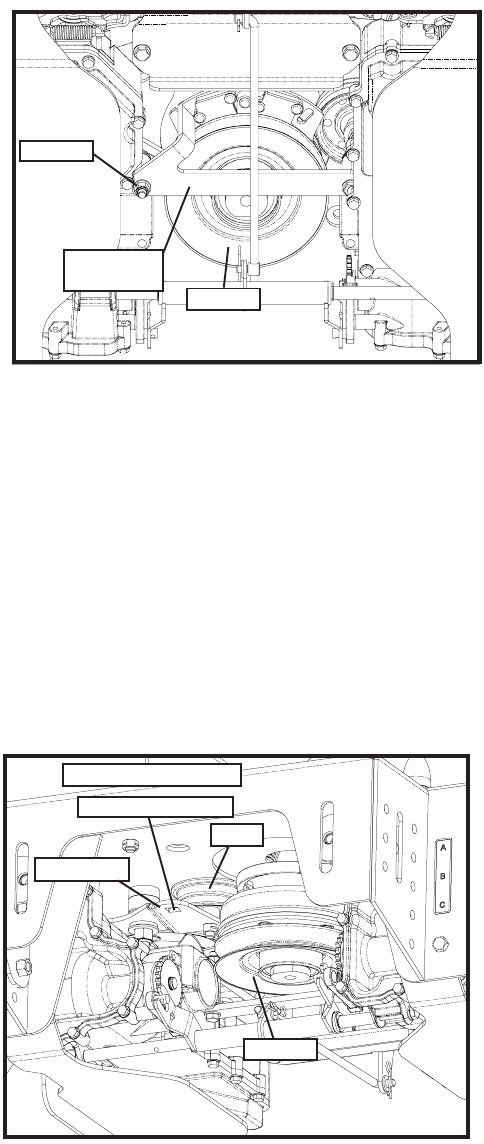
FIGURE 14
CLUTCH TIE
DOWN
CLUTCH
REMOVE
FIGURE 15
CLUTCH
IDLER
FRONT OF REAR DECK
1/2” SQUARE HOLE
IDLER ARM
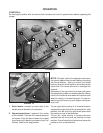
Remove the nut and washer from the left hand
side of the clutch tie down. (See Figure 12). Ro-
tate the clutch tie down to the rear and remove
the belt from the clutch. Reverse the procedures
for installation of the new belt.