20
PN-51210 (Rev. 7/98)
H
YDRAULIC
F
EED
I
NSTALLATION
Install the 6.6" Pulley
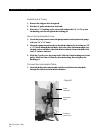
1. Remove the chipper drive belt guard.
2. Put the 6.6" pulley on the rotor shaft end.
3. Place the 1.75" bushing on the rotor shaft and put the 3/8" x 1/4" key into
the bushing slot. Do not tighten the bushing yet.
Mount the Hydrostatic Pump
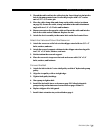
1. Attach the pump control arm to the pump control on the hydrostatic pump
with two 1/4" x 1/2" bolts.
2. Mount the pump mount bracket to the hitch weldment by inserting two 3/8"
x 1-1/2" bolts through the bolt holes. Place the cable attachment angle over
the bolt ends on the other side of the hitch weldment. Secure the bolts with
two 3/8" washers and nuts.
3. Slide the 4" pulley over the pump shaft. Slide the 15mm bushing next to the
pulley. Place the 5mm x 25mm key into the bushing. Do not tighten the
bushing yet.
Connect the Hydrostatic Cable
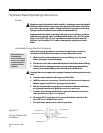
1. Insert the hydrostatic control cable end (the end without nuts attached)
through the cable hole in the hitch weldment.
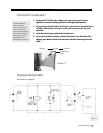
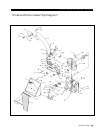
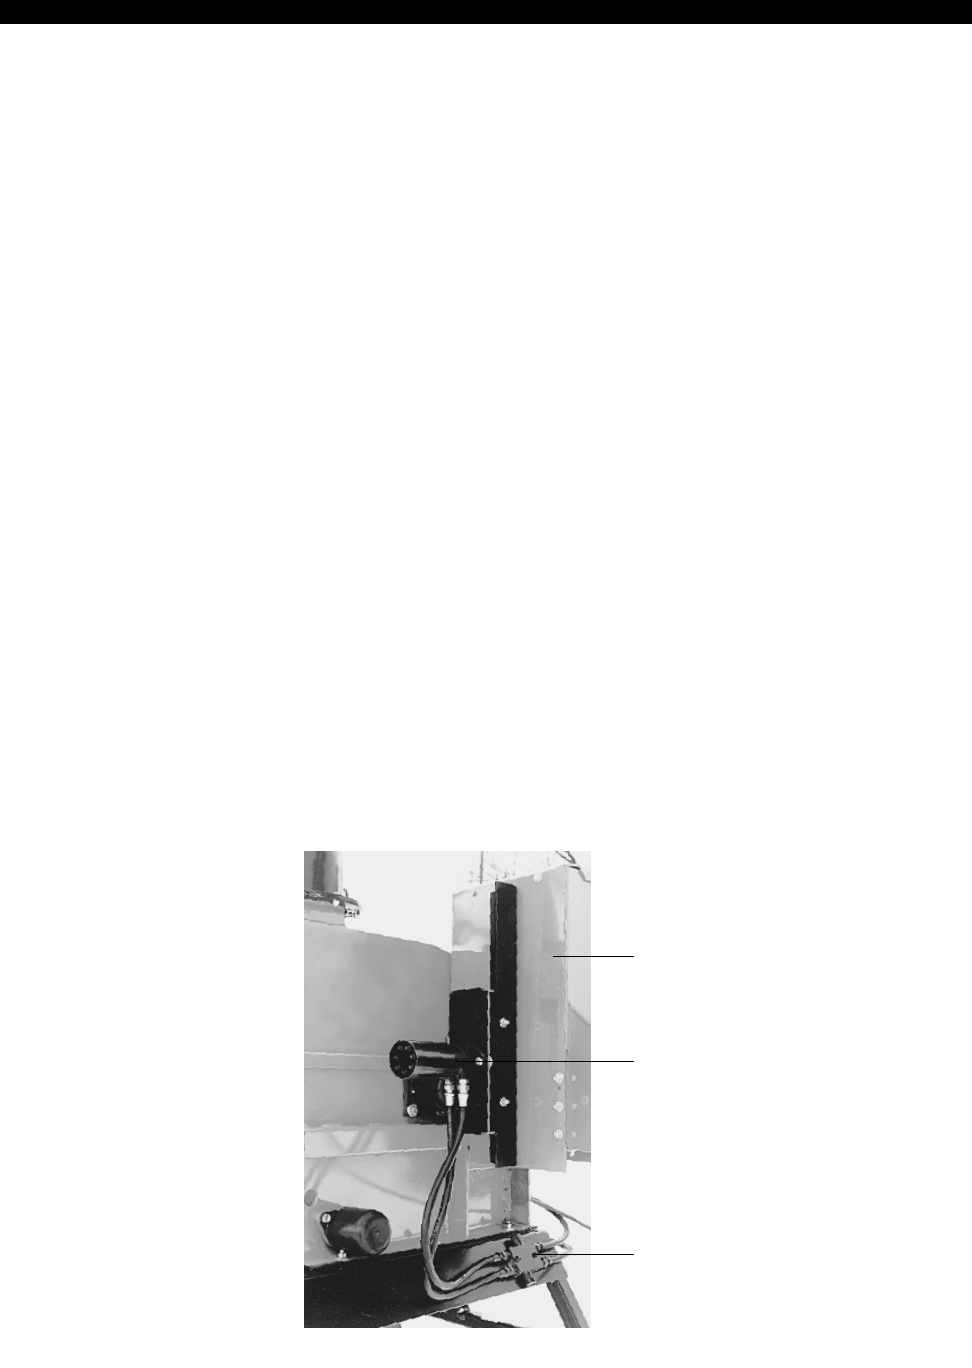
Hydrostatic
Motor
Roller
Assembly
Crossover
Relief Valve
Figure 9


