16
PN-51210 (Rev. 7/98)
S
ERVICE
AND
M
AINTENANCE
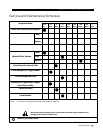
Check the condition of the drive belts annually or after every 30 hours of
operating, whichever comes first. Replace cracked, frayed, or worn belts.
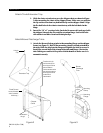
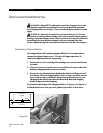
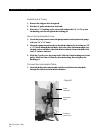
Proceed as follows to replace or adjust the drive belt:
1. Disengage PTO and shut off tractor engine.
2. Remove PTO shaft from tractor; disconnect machine from 3 pt. hitch.
3. Remove round shield connected to belt guard covering the PTO shaft by
removing two 5/16" nuts.
4. Remove PTO shaft from chipper by removing two set screws and pulling
shaft off.
5. Remove belt guard covering pulleys and belts.
6. Lift spring loaded idler pulley off of belt and remove belt.
7. Install new belt and reverse above instructions to complete belt
replacement.
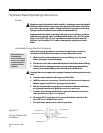
WARNING: Shut off the tractor engine and allow the machine to
completely stop before clearing debris if the machine plugs. Do not operate
the machine without proper guards and screens in place.
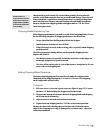
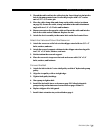
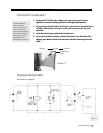
The chipper can plug if too large or too much material is fed into it. Proceed
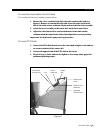
as follows to clear plugged rotor:
1. Disengage PTO and shut off tractor engine.
2. Lift rotor access cover.
3. Clean the debris out of the chipping rotor. Turn the rotor by hand to be
sure it is free to rotate.
4. Replace rotor access cover.
5. Start tractor, engage PTO, and resume operation.
Adjusting or Replacing Drive Belts
Clearing Plugged Rotor


