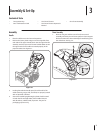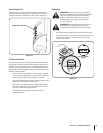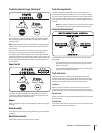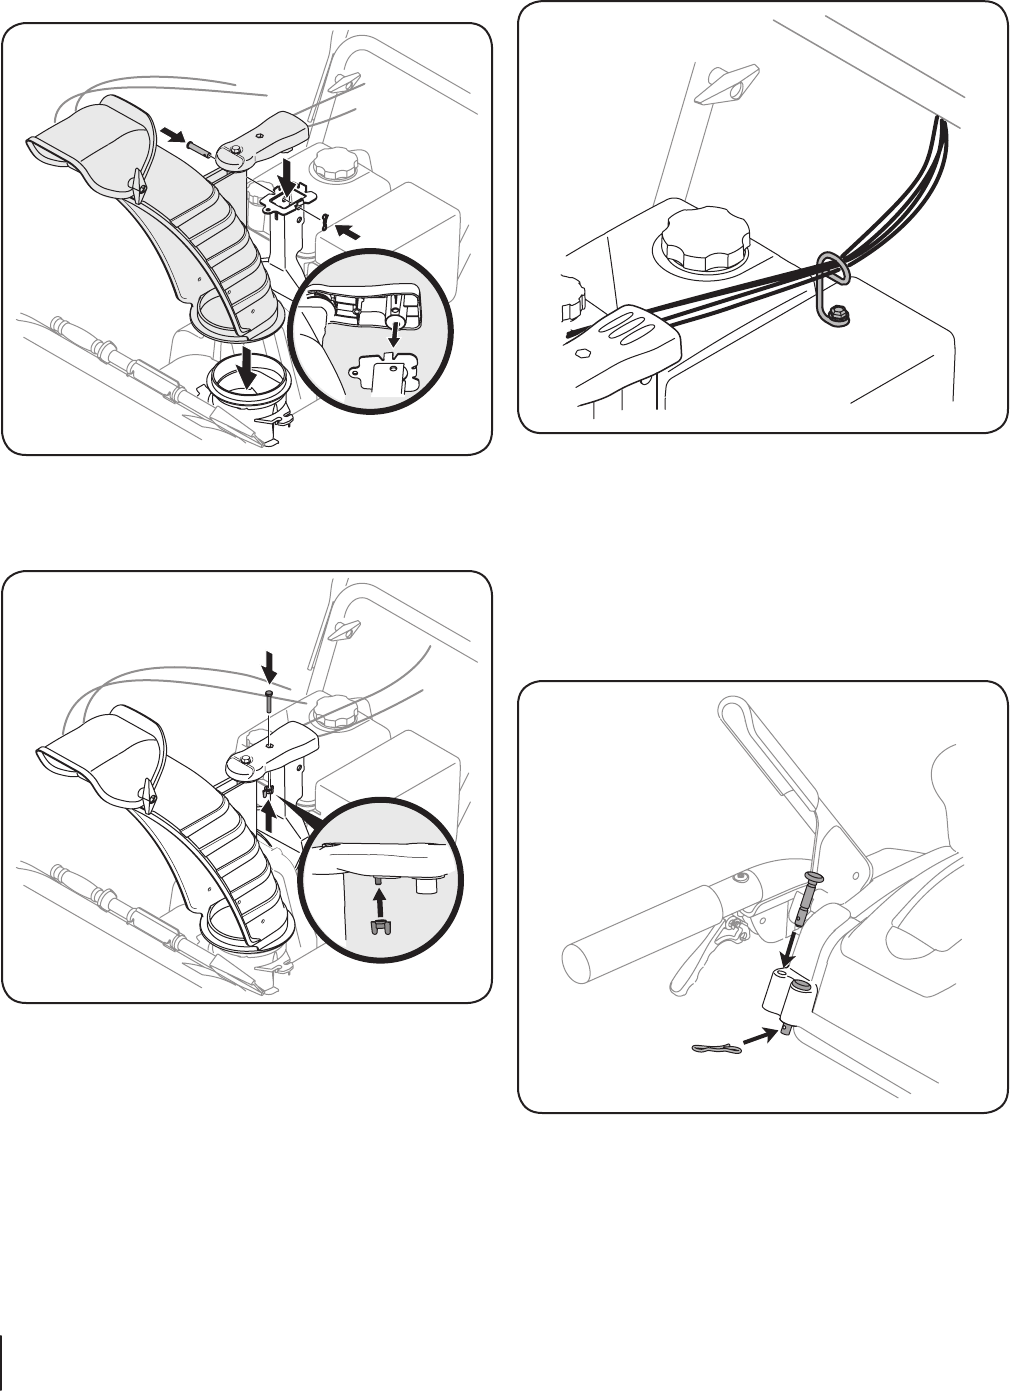
Place chute assembly onto chute base and secure chute 2.
control assembly to chute support bracket with clevis pin
and cotter pin removed earlier. See See Fig. 3-3.
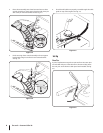
Finish securing chute control assembly to chute support 3.
bracket with wing nut and hex screw removed earlier.
See Fig. 3-4.
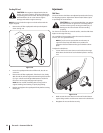
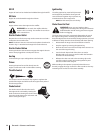
Check that all cables are properly routed through the cable 4.
guide on top of the engine. See Fig. 3-5.
Set-Up
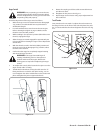
Shear Pins
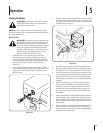
A pair of replacement auger shear pins and bow tie cotter pins
are included with your snow thrower in the manual bag. Store
them in your snow thrower’s dash panel until needed. See Fig.
3-6.
Figure 3-4
Figure 3-5
Figure 3-6
Figure 3-3
8 se c t i O n 2— as s e M b l y & se t-up


