12
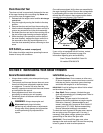
Chute Clean-Out Tool
The clean-out tool is conveniently fastened to the rear
of the auger housing with a mounting clip. Never use
your hand to clean a clogged chute.
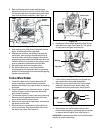
1. Release both the auger control and the
drive/auger
control lock.
2. Stop the engine by moving the throttle to the stop
position.
3. Remove the clean-out tool from the mounting clip.
4. Use the shovel-shaped end of the clean-out tool to
remove any snow and ice in the chute assembly.
5. Re-fasten the clean-out tool to the mounting clip on
the rear of the auger housing and restart engine.
6. While standing in the operator’s position (behind
the snow thrower), engage the auger control for a
few seconds to clear any remaining snow or ice
from the chute assembly before continuing to clear
snow.
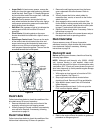
Drift Cutters (on models so equipped)
Drift cutters should be used when operating the snow
thrower in heavy drift conditions.
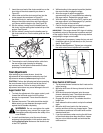
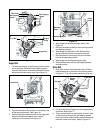
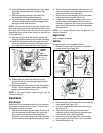
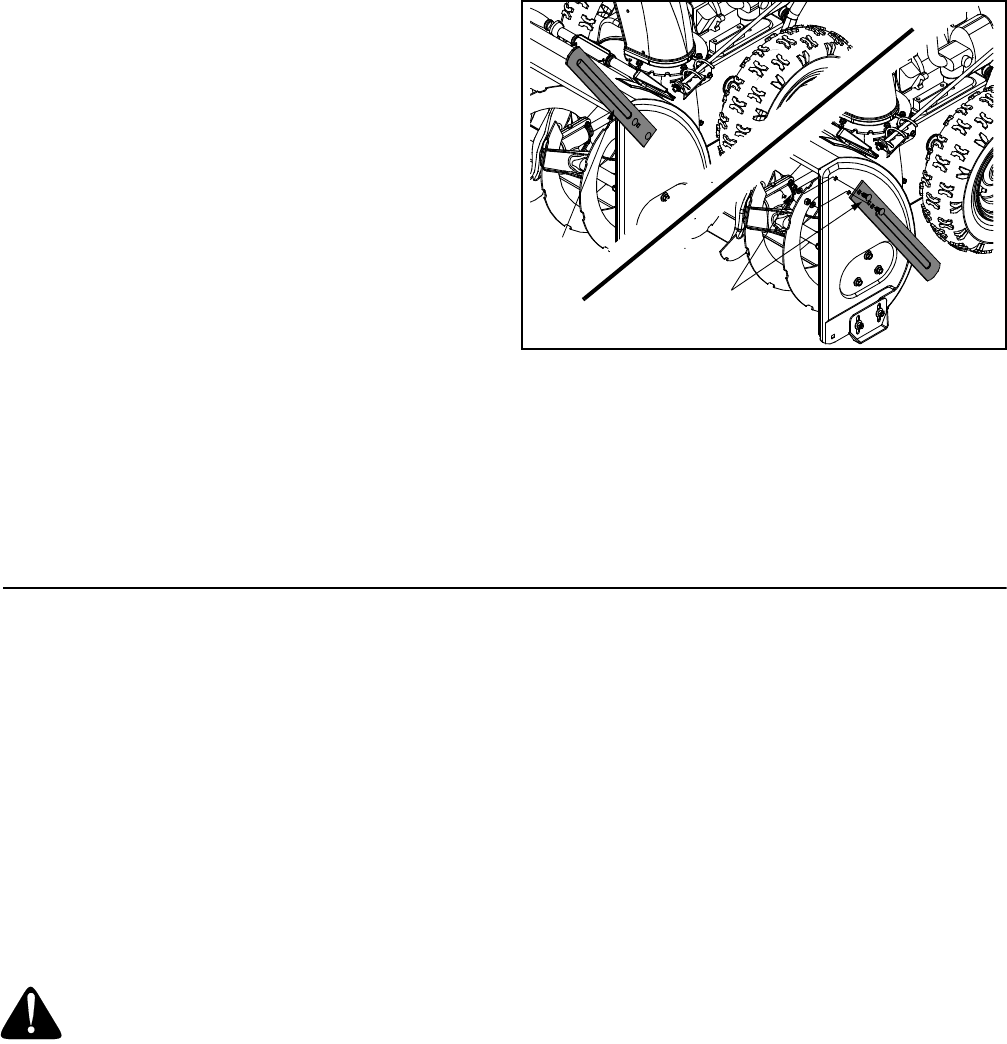
On models so equipped, drift cutters are assembled to
the auger housing inverted. Remove the carriage bolts
by unthreading the hex nuts which secure them, and
reinstall the drift cutters in their proper position before
operating the snow thrower. See Figure 9 .
Figure 9
If your unit is not equipped with drift cutters, contact
Customer Support as instructed on page 2 for
information regarding price and availability.
Snow Thrower ModelDrift Cutter Kit:
All models-OEM-390-679
SECTION 3: MAINTAINING YOUR SNOW THROWER
General Recommendations
• Always observe safety rules when performing any
maintenance.
• The warranty on this snow thrower does not cover
items that have been subjected to operator abuse
or negligence. To receive full value from the
warranty, operator must maintain the snow thrower
as instructed in this manual.
• Some adjustments will have to be made
periodically to maintain your unit properly.
• Periodically check all fasteners and make sure
these are tight.
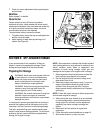
Lubrication (See Figure 10)
• Drive Mechanism: Once a season or after every
25 hours of operation, remove rear frame cover and
lubricate any chains, sprockets, gears, bearings,
and shafts with engine oil or lubricant spray.
IMPORTANT:
Avoid oil spillage on rubber friction wheel
and aluminum drive plate.
• Gear Shaft: Once a season, lubricate the gear
shaft with a penetrating oil, but not grease. Refer to
Figure 22 on page 17.
• Gear Case: The gear case is lubricated with
grease at the factory and does not require regular
lubrication. However, if disassembled for any
reason, lubricate with 2 ounces of Shell Alvania™
grease (part # 737-0168). Before reassembling,
remove old sealant and apply new sealant.
To check the level of grease in the gear case, remove
the vent plug on top of the gear case. You may, if
necessary, add grease using a grease gun and the
grease fitting on the side of the gear case.
IMPORTANT:
Do not overfill the gear case, since
damage to the seals could result. Be sure the vent plug
is free of grease in order to relieve pressure.
Carriage Screws /
Hex Nuts
Drift
Cutter
WARNING: Always stop engine and
disconnect spark plug wire before
performing any maintenance or adjustments.
Always wear safety glasses during operation
or while performing any adjustments or
repairs.


