Machine-Side Loaders
Quick Start Guide
Quick Start Guide
Turning on the loader:
• Locate the power switch on the left side of the
control box and move to the ‘ON’ position.
Setting the loader convey time:
• It is only possible to set the convey time when the
unit is not conveying material
1. Disconnect the flapper valve switch from the
control box, by unscrewing the plastic retainer
ring, and pulling the plug straight down.
2. Adjust the conveying time by pressing the up
arrow button (the center LED on the display lights
up). Convey time can be adjusted from 1 to 99
seconds, incrementally.
3. Make note of the conveying level and adjust time
accordingly .
• Please Note: The material level inside the loader
should never exceed the material inlet.
Setting the line clearing time or purge time:
• It is only possible to set the purge time when the
unit is not conveying material
1. Press and hold the “change-over” key, (bottom
LED on the display lights up)
2. While holding the change-over key, adjust the
purge time by pressing the up arrow. Purge time
can be adjusted from 0 to 99 seconds.
• If no line clearing valve has been installed, be sure
to set purging time to 0.
• Make note of the purge time and adjust for
optimum efficiency
Connecting the proportioning valve:
Control and power of the proportioning valve is
supplied through a 4-wire control connection.
Brown – Pos. Power X7, L
Blue – Neg. power X7, N
Black – Line signal X7, ZKW
Green/Yellow –Ground X3
3. Remove the control box face, and locate the
removable plug in the bottom of the box.
4. Remove the plug and feed the wire of the
proportioning valve through the empty hole.
5. Tighten the lock nut inside, position the wire
length for optimum use and tighten the lock nut
on the outside.
6. Strip the wires so that 1/4” of wire is showing, for
connection to terminal blocks.
7. Remove the loader control face.
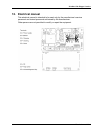
Upon removal of the loader control face you will see
two printed circuit boards. One board on the reverse
of the control face, and the other mounted inside the
control box. The ground wire will connect to the
terminal block X3 on the back of the control face. The
other three wires connect to terminal block X7 inside
the control box, in order from left to right Brown, Blue,
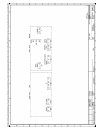
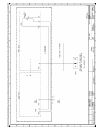
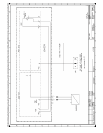
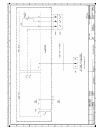
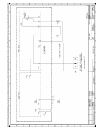
then Black. Please refer to the schematic in the back
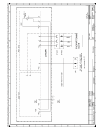
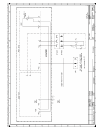
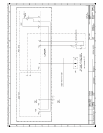
of the manual.
Connecting Material Lines:
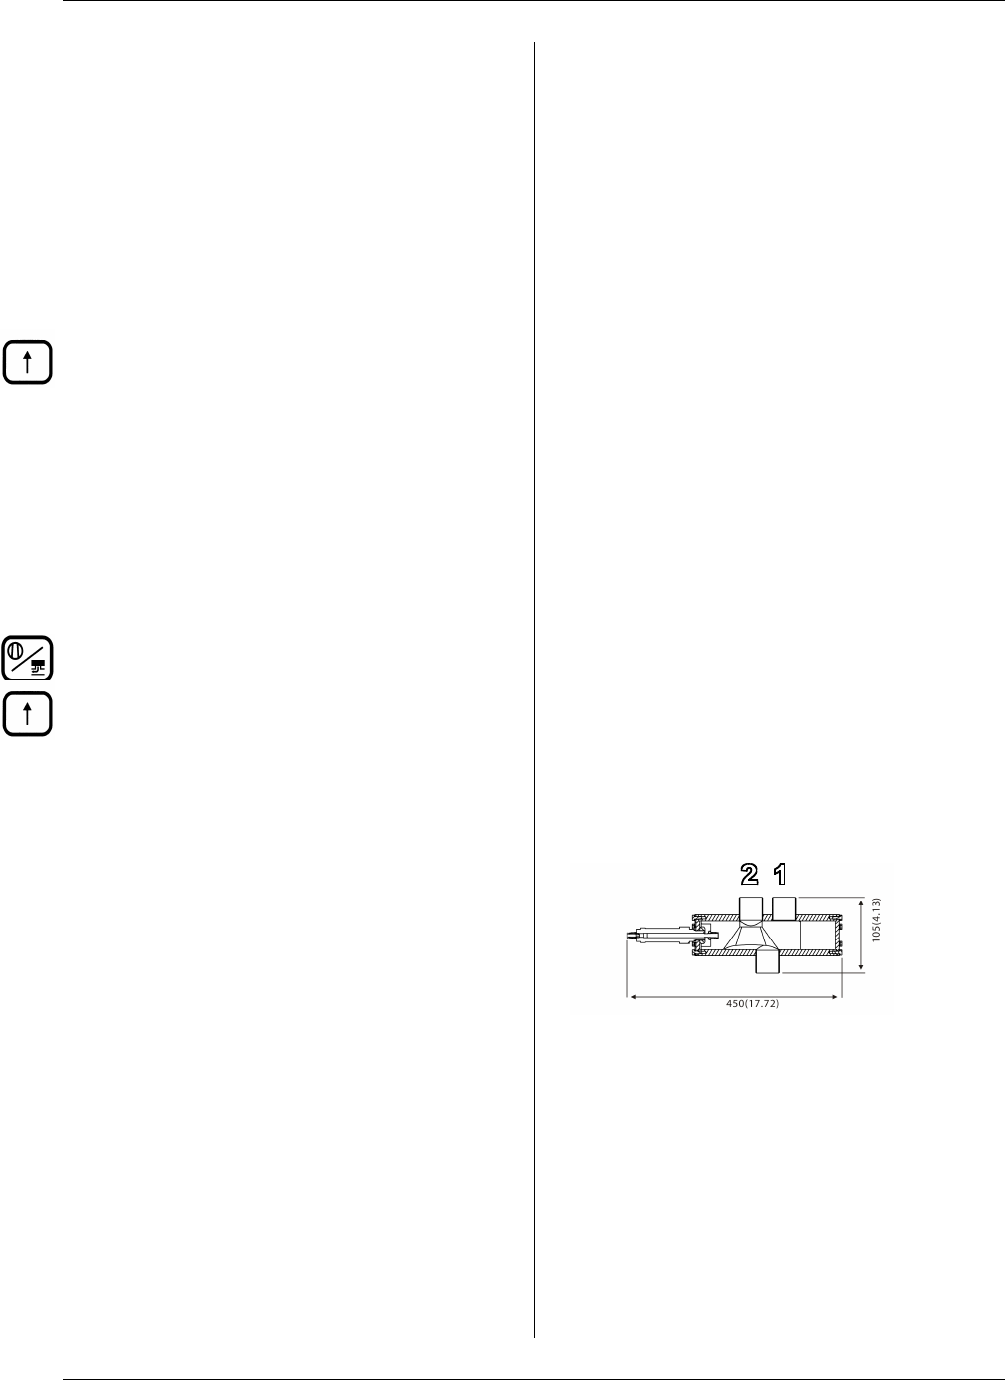
Component 1 – connected to the intake port furthest
from the air cylinder (regrind)
Component 2 – connected to the intake port closest to
the air cylinder (virgin)
Setting the ratio:
When the loader motor is not running, pressing the up
arrow key will change the percentage of component 1.
This can be set from 0% to 99%
Set the cycle switching:
Press and hold the percentage key. Then by pressing
the up arrow, you will be selecting the cycle time
period in increments of 5 seconds.
Therefore, if the convey time is 60 seconds and you
select a cycle time period of 10 seconds the valve will
switch a total of 6 times.


