12
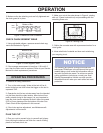
2. Make sure the bar attaching nuts are fully tightened and
the chain guard is in place.
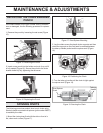
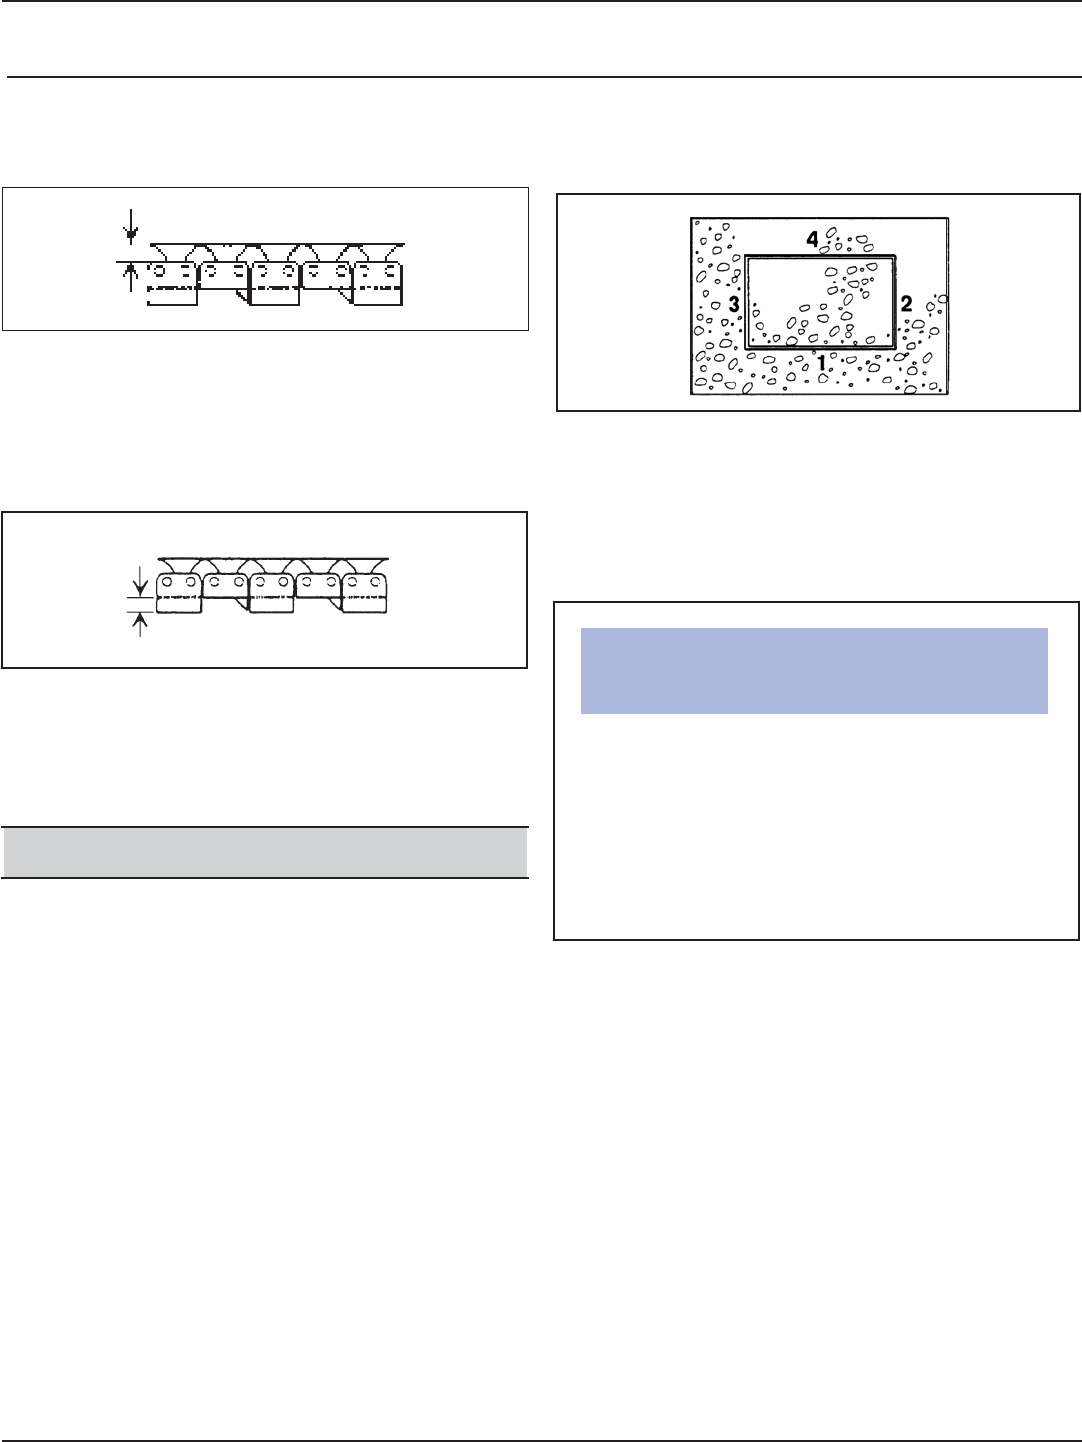
Figure 2. Maximum Chain Clearance
CHECK CHAIN SEGMENT WEAR
1. Using adjustable calipers, measure several chain seg-
ments as illustrated in Figure 3.
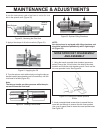
Figure 3. Chain Segment Wear
2. If the average measurement is less than 1/16-inch/1.6
mm, then the chain must be replaced. Refer to your Service
Manual for chain replacement procedures.
OPERATING PROCEDURES
1. Observe all safety precautions.
2. Turn on the water supply. Water at the tool will be di-
rected to the bar and chain when the trigger on the tool is
squeezed “ON”.
3. Operate the tool for two minutes away from the intended
cut and then check the chain tension. New chain will nor-
mallhy stretch during its fi rst usage. It is very important to
keep the chain tension adjusted so that it does not exceed
5/16 in./8 mm clearance from the bottom of the bar. See
Check Chain & Bar Adjustment in this manual.
4. If the chain requires adjustment, see Maintenance &
Adjustments in this manual.
PLAN THE CUT
1. Plan your cuts to prevent injury to yourself and to keep
from pinching the saw bar and chain as a result of falling
pieces of concrete, brick, etc.
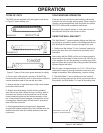
2. Make your cuts in the order shown in Figure 4, starting
with cut 1 (base horizontal cut) and proceeding with the
remaining three cuts.
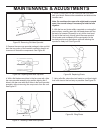
Figure 4. Planning Cuts
3. Outline the concrete area with a permanent marker for a
visual guide.
4. Know what kind of material and how much reinforcing
you are going to cut.
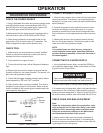
OPERATION
The following are general cutting procedures and
techniques. Differences in the terrain and the type of
material being cut will make this information more or
less valid for particular areas. For advice on specifi c
cutting problems or techniques, consult your local
Stanley Representative. He/she can often provide
information that will make your work safter and more
productive.
NOTICE
Max
5/16”
Bottom of Bar
Bottom of Bar
Min.
1/16”


