14
STANLEY is a registered trademark of The Stanley Works or its affiliates and are used under license by GXi Outdoor Power LLC.
No part of this publication can be printed or copied without written permission.
Rev2.5-15-12
Always stop engine, disconnect spark plug, and ground against engine before cleaning, lubricating or doing any kind of
maintenance on your machine.
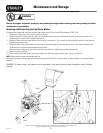
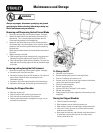
Removing and Sharpening the Limb Chute Blades
The chipper was shipped with two blades attached spare blades are sold in sets from GXi (Part Number LCSSP11-018)
1. Disconnect the spark plug wire and ground against the engine.
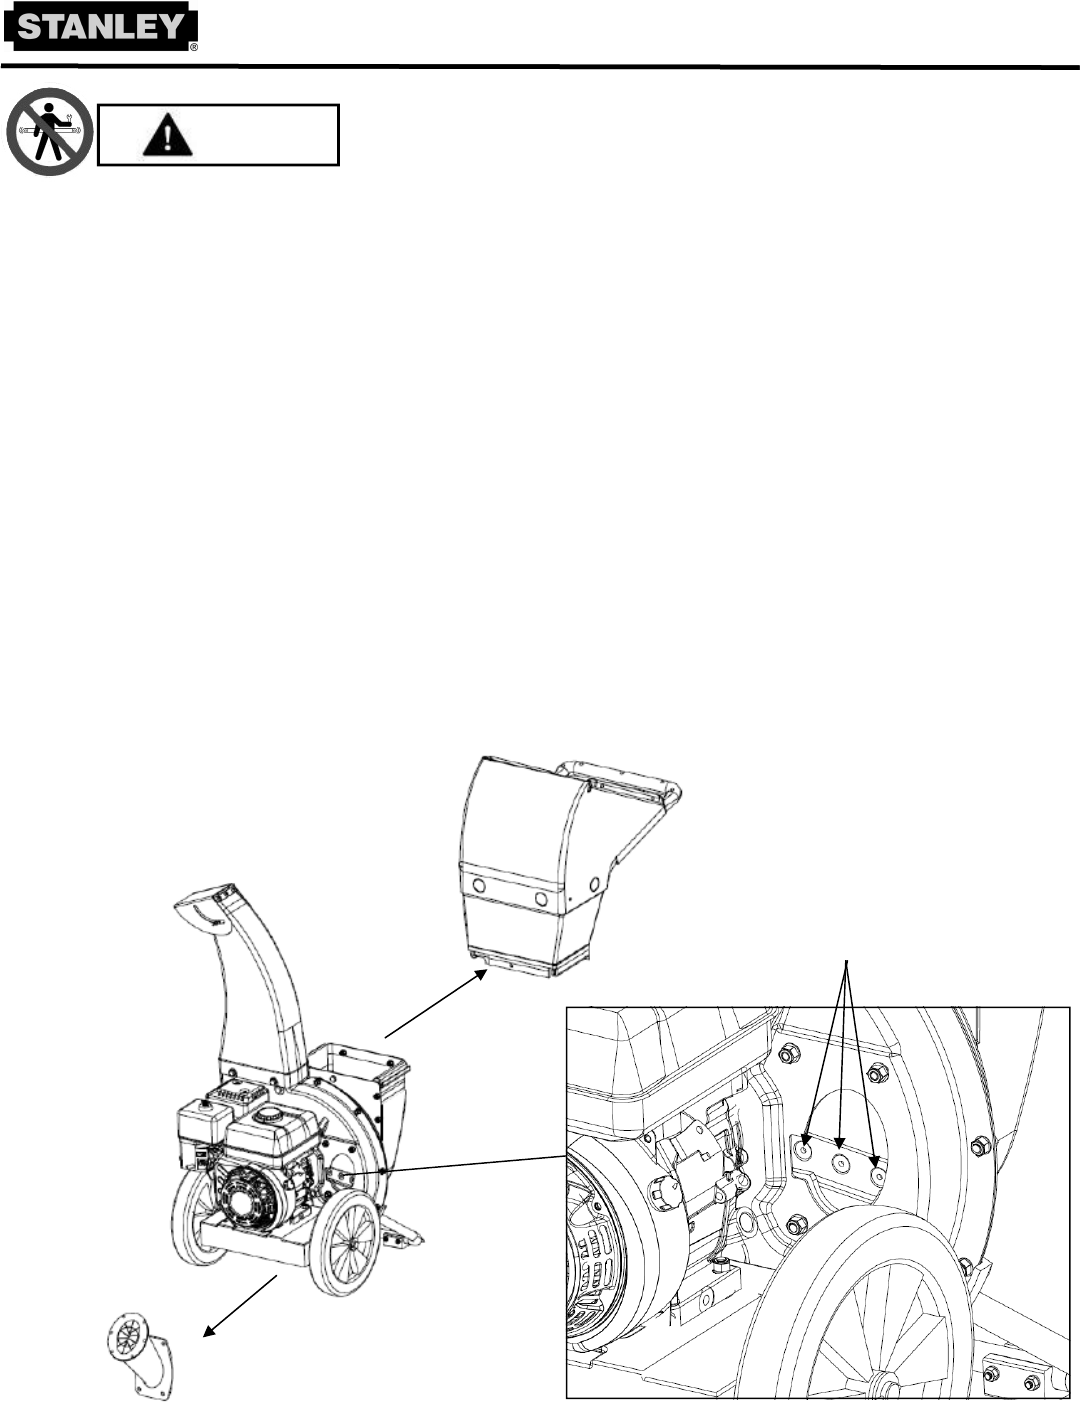
2. Remove limb chute by removing the four nyloc nuts that attach the limb chute to the flail housing using the 13mm wrench provided in the
hardware bag (do not use the thin stamped steel wrench)
3. Remove the lower section and upper section of the funnel as a subassembly. This is done by removing three bolts with the 13mm wrenches
provided in the hardware bag.
4. Remove the blade using an Allen wrench on the outside of the blade through the limb chute opening, and a 13mm wrench through the leaf
funnel opening to remove the three fasteners from each blade.
After removing one blade, turn the rotor by hand until the second blade is visible through the limb chute opening.
5. Replace or sharpen the blade.
6. When sharpening the blade, protect hands by using gloves and follow the original angle of grind. Torque to 21-25 Ft lbs.
NOTE: Make certain the blade is reassembled with the
sharp edge facing down. (The long edge of the blade will be toward the limb chute.) Always sharpen or replace blades in sets to ensure smooth
operation.
WARNING: All guards, chutes, and fasteners must be assembled in their proper locations before attempting to start the chipper
shredder.
WARNING
Step 2
Step 3
Step 4
Maintenance and Storage


