


9
STANLEY is a registered trademark of The Stanley Works or its affiliates and are used under license by GXi Outdoor Power LLC.
No part of this publication can be printed or copied without written permission.
Rev2.5-15-12
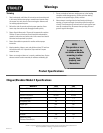
IMPORTANT: This unit is shipped without gasoline or oil in the engine. Be
certain to fill the engine with gasoline and oil as instructed before operating
your machine.
Required tools: Two 13mm wrenches
NOTE: Both wrenches are supplied in the hardware bag.
Approximate assembly time: 15 minutes
1. Remove the chipper from its carton
Remove plastic banding and cut the tape on the top of the box.
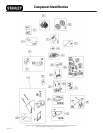
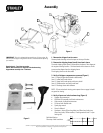
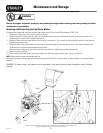
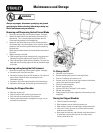
3. Verify all chipper components are present (Figure 1)
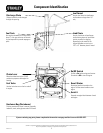
Item 1: Engine/chipper body/wheels subassembly
Item 2: Lower leaf funnel section
Item 3: Upper leaf funnel section with entry shield
Item 4: Handle section and leaf funnel base
Item 5: Discharge chute with deflector
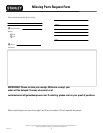
NOTE: Fill out and submit missing parts request form on page 4 should
any parts be missing.
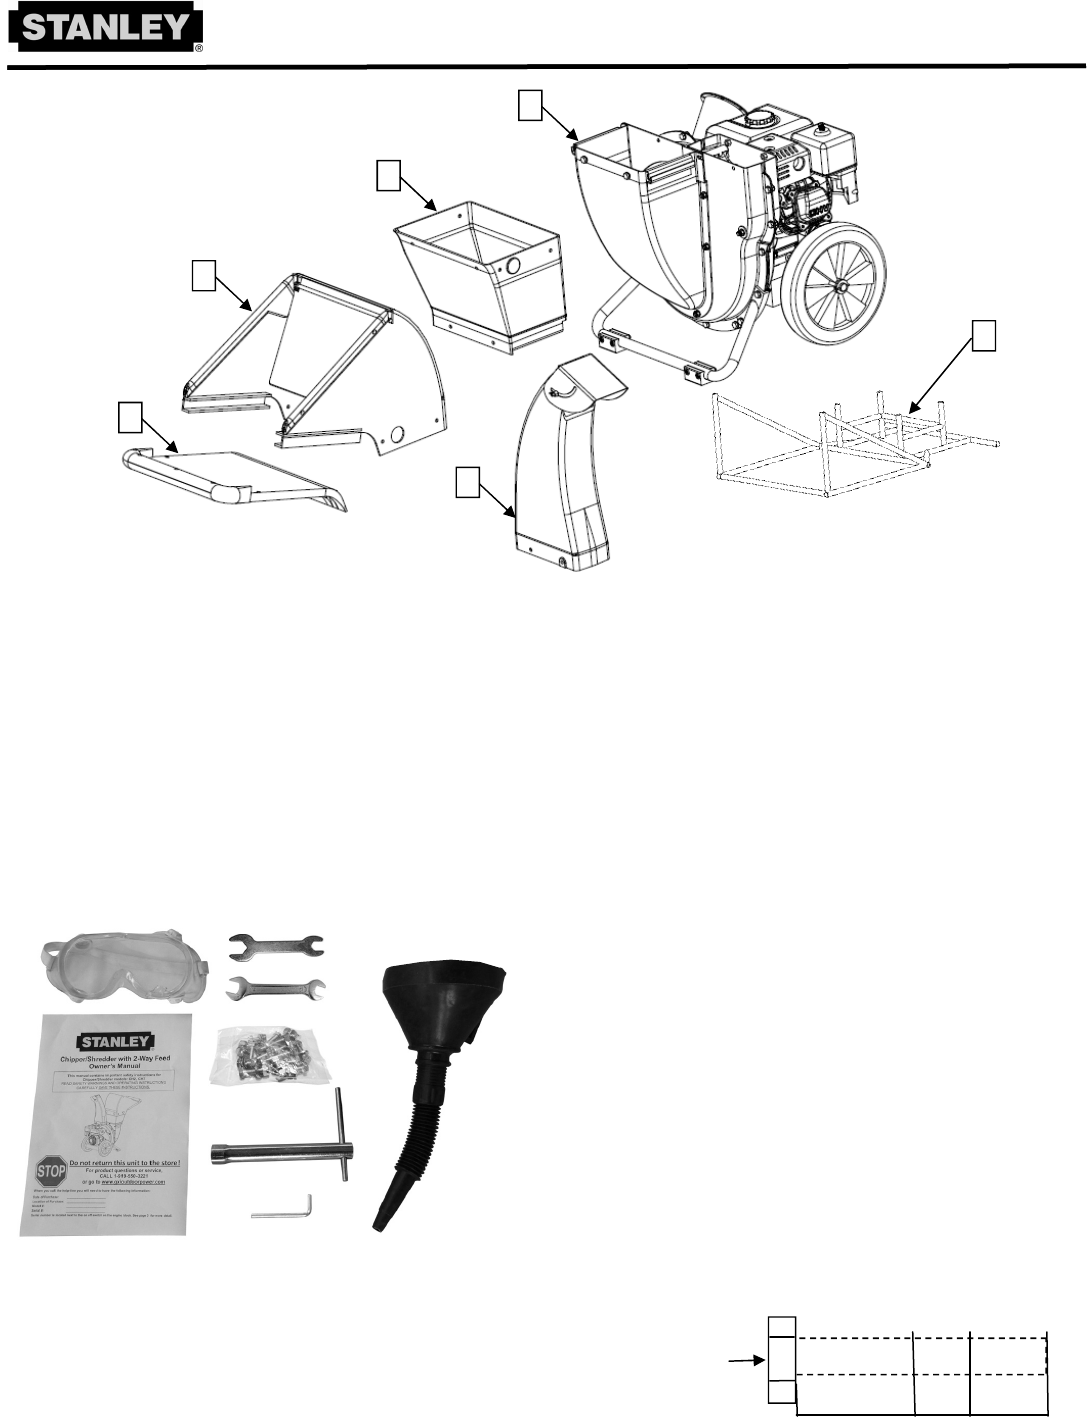
4. Verify all parts are in the hardware bag (Figure 2)
Goggles (eye protection)
Wrenches for assembly and blade maintenance
Allen wrench for blade maintenance
Oil funnel with flexible neck
Spark plug wrench
Owner’s Manual
Hardware: eleven 20mm long bolts, two 30mm long bolts, two
45mm long bolts, 26 flat washers, 4 locking washers and 11 nylon
locking nuts
Figure 2
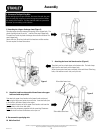
2. Remove the shipping frame (item 6) from item 1 above
The steel shipping frame (item 6) is banded to the base of the chipper at
the engine mounting location. Cut these bands with scissors or a knife
to remove the chipper from the shipping frame.
The shipping frame can be discarded.
Figure 1
1
2
3
4
5
Bolt Identification:
Place top of bolt head here
20mm
45mm 30mm
Assembly
6