


ASSEMBLY
SE10-4A/SE15-4A 03/09 Assembly Section 3-5
© 2009 Alamo Group Inc.
ASSEMBLY
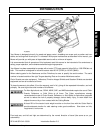
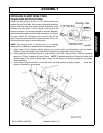
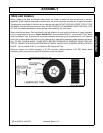
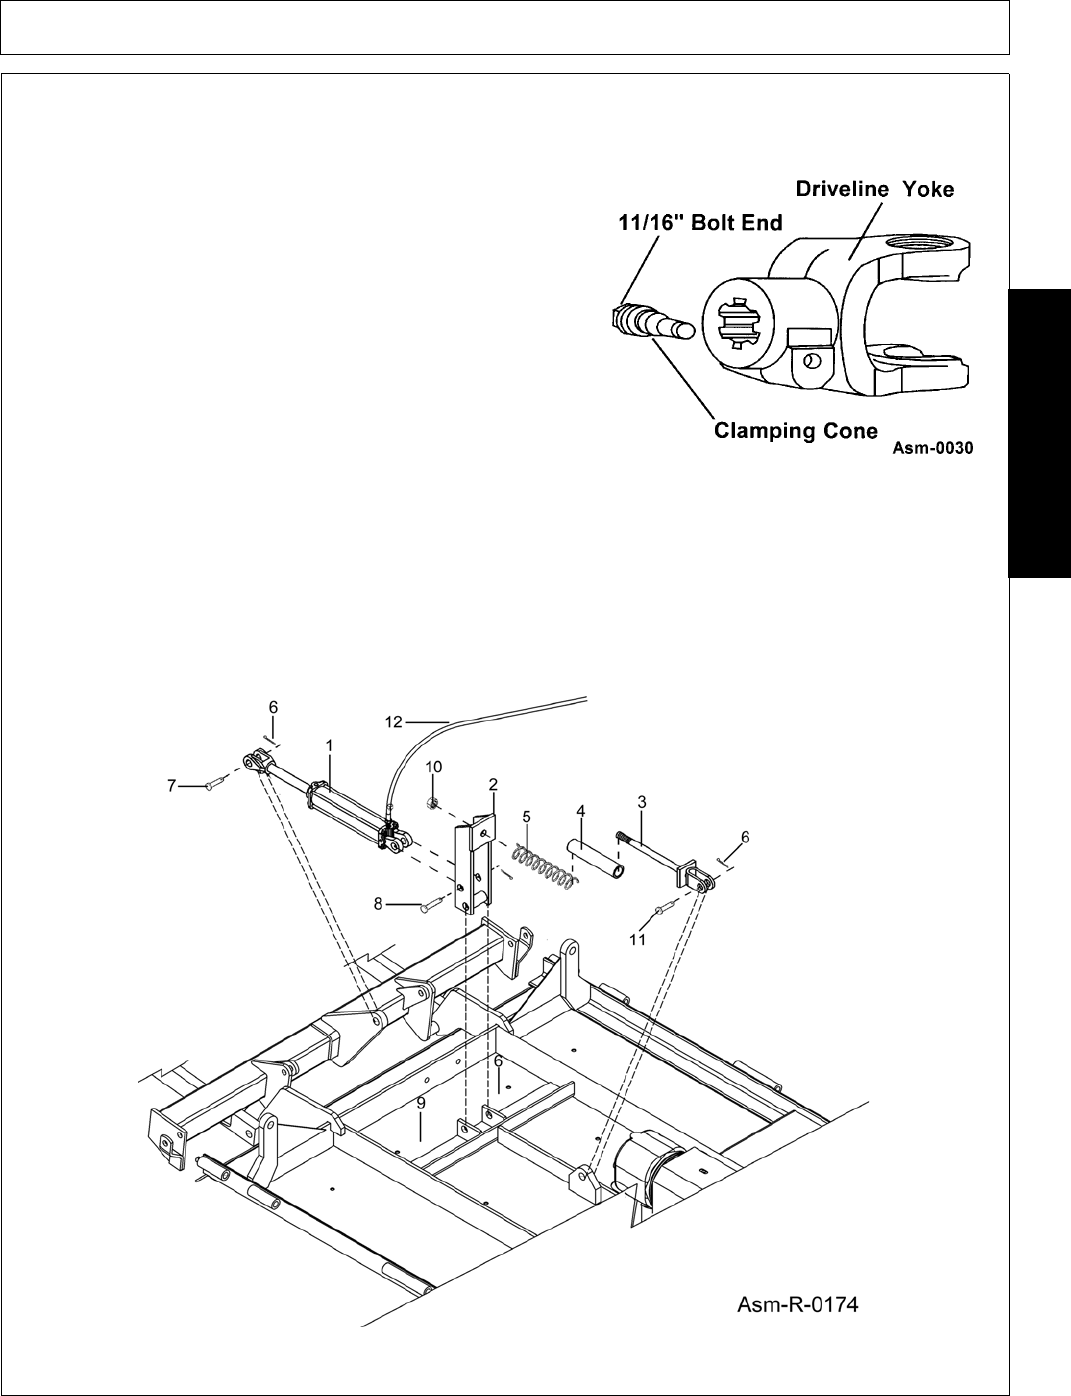
DRIVELINE CLAMP CONE YOKE
OPERATING INSTRUCTIONS
Loosen the yoke clamp cone with a 11/16” (17mm) wrench and
remove the cone from yoke. Slide yoke onto the shaft and align
hole for clamping cone with annular groove of gearbox shaft.
Reinstall cone and tighten (75 lb-ft torque). Push and pull the
driveline to ensure it is securely attached to the shaft. Regularly
check the driveline yoke to ensure a tight connection. To remove
the yoke, remove the connecting cone and pull yoke off the
shaft. If the cone cannot be easily removed by hand, drive it out
from the other side using a hammer and punch.
NOTE: The clamping cone is serviced only as a complete
assembly. Do not attempt to disassemble the clamping cone.
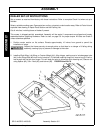
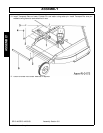
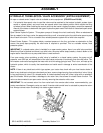
7. Install Center Divider Gearbox Shield. Remove the top two bolts and lockwashers from the Center
Gearbox. Install the shield on the Center Divider Gearbox and replace with longer hardware.
8. Install opposite end of Wing Driveline to outer Gearbox input shaft. Secure yoke on shaft by tightening
taper pin to 75 ft/lbs. located on Driveline Clamp. NOTE: To facilitate removal of Clutches and Yokes from
splined shafts in the future, it would help to place a small amount of lubricating grease on the splines
before installation.
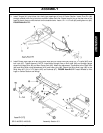
9. Install Center Section Hydraulic Lift Cylinder with base end attached to Spring Support. Note: See
hydraulic schematic for more details.