


Fig. 8
Fig. 9
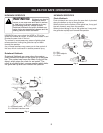
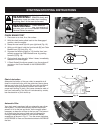
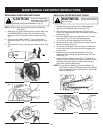
Activate the CHAIN
BRAKE® slowly and
deliberately. Keep the chain from touching
anything; don’t let the saw tip forward.
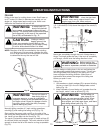
WARNING:
If chain does not
stop, turn engine off
and take your unit to the nearest Authorized
Service Center for service.
WARNING:
Fig. 10
Fig. 11
A
C
B
D
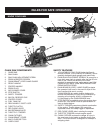
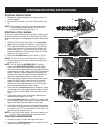
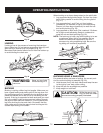
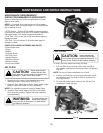
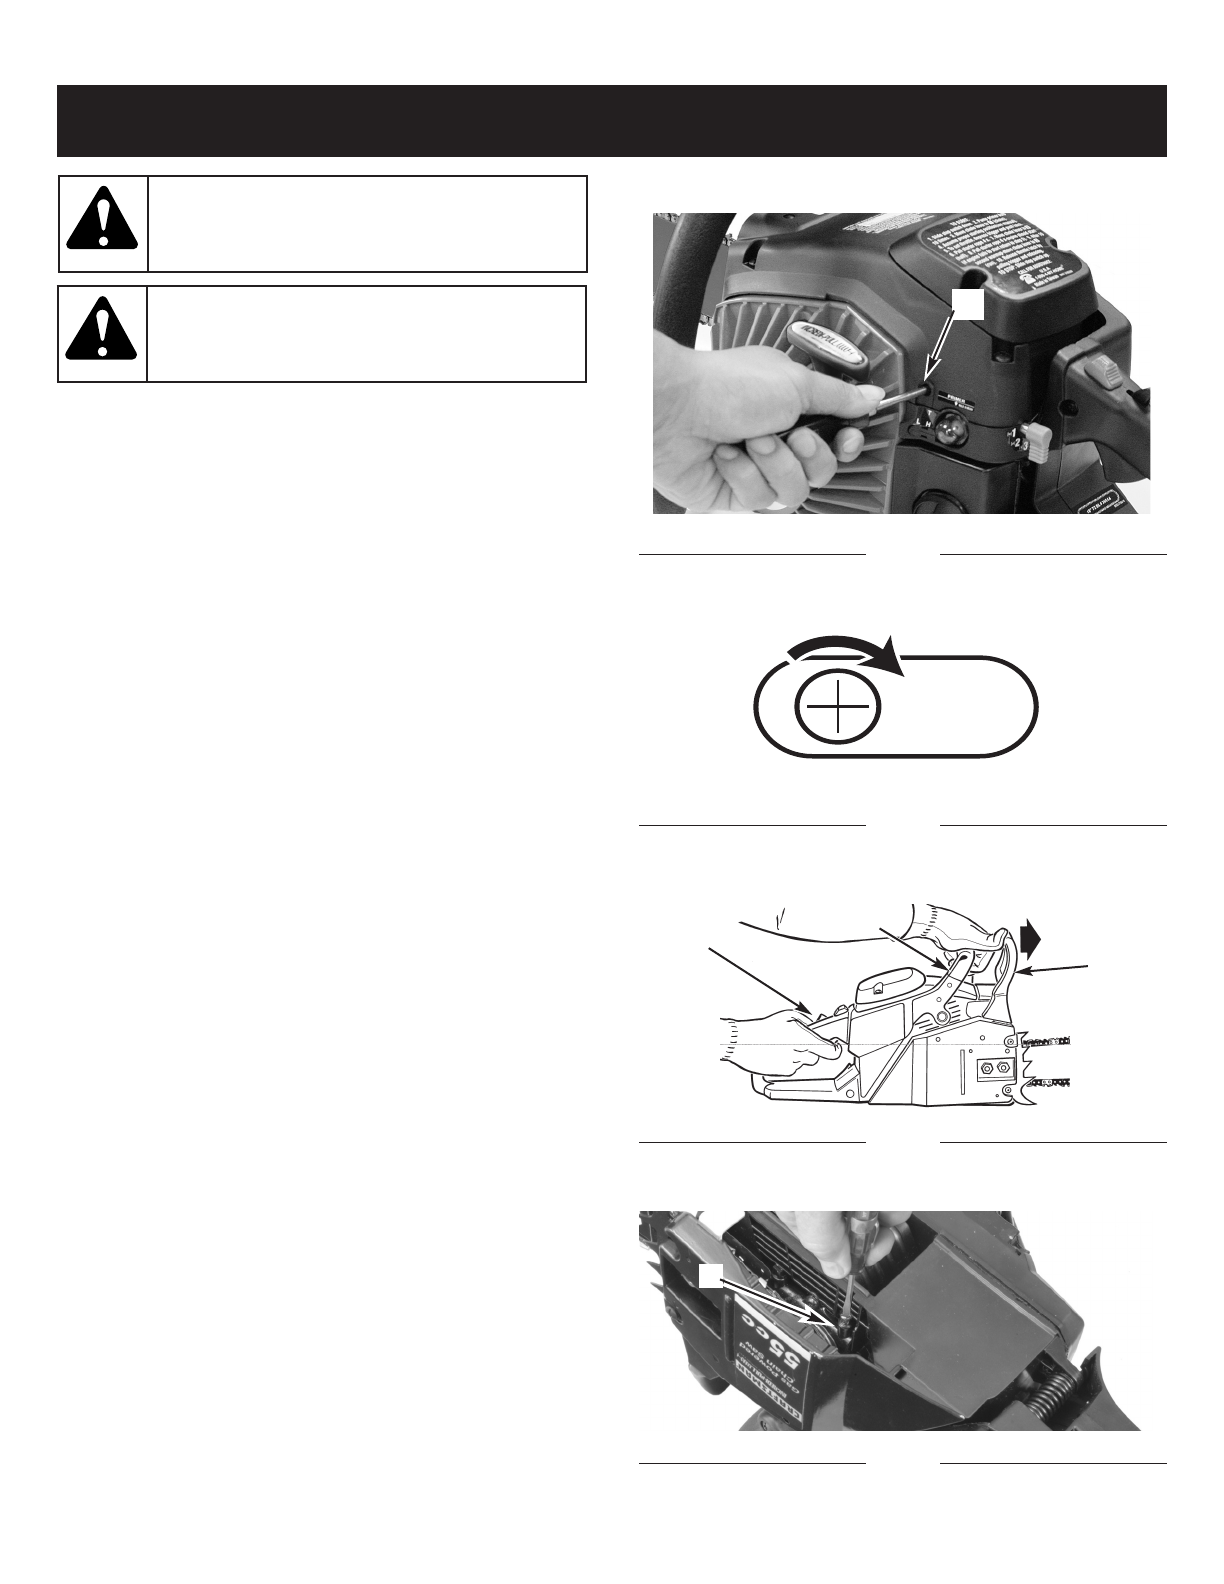
CHAIN BRAKE TEST
1. Place saw on a clear, firm, flat surface.
2. With the chain brake pulled back to the disengaged
position, start the engine.
3. Grasp the rear handle (A) with your right hand (Fig. 10).
4. With your left hand, hold the front handle (B) [not Chain
Brake® lever (C)] firmly (Fig. 10).
5. Squeeze the throttle trigger to 1/3 throttle, then imm-
ediately engage the Chain Brake® lever by pushing
forward (C) (Fig. 10).
6. Chain should stop abruptly. When it does, immediately
release the throttle/trigger.
7. If Chain Brake® functions properly, turn the engine off
and return the Chain Brake® to the DISENGAGED
position.
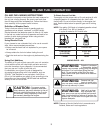
Chain Lubrication
Adequate lubrication of the saw chain is essential at all
times to minimize friction with the guide bar. Never starve
the bar and chain of oil. Running the saw with too little oil
will decrease cutting efficiency, shorten saw chain life,
cause rapid dulling of chain, and cause excessive wear of
bar from overheating. Too little oil is evidenced by smoke,
bar discoloration or pitch build-up.
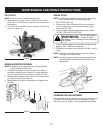
Automatic Oiler
Your chain saw is equipped with an automatic gear driven
oiler system. The oiler automatically delivers the proper
amount of oil to the bar and chain. As the engine speed
increases, so does the oil flow to the bar pad. The amount
of oil flowing to the bar and chain may be changed by
turning the adjustment screw (D) with a small slotted
screwdriver as shown in Fig. 11. Turn the screw clockwise
to DECREASE oil flow and counterclockwise to INCREASE
the flow.
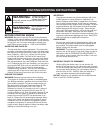
STARTING/STOPPING INSTRUCTIONS
L
12