Service Engine - 31
SERVICE ENGINE
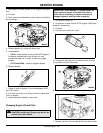
onto precleaner. Squeeze precleaner to distribute oil
evenly. Squeeze out excess oil with a clean cloth.
7. Inspect cartridge for damage or excessive dirt. Replace
if necessary.
8. Carefully clean air cleaner housing. Prevent any dirt
from falling into carburetor.
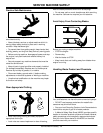
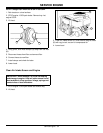
9. Install foam precleaner (E) mesh side up.
10.Install cartridge. Make sure cartridge and seal are
properly seated and sealing the carburetor air intake area.
11.Install air cleaner cover and tighten knobs. DO NOT
overtighten.
12.Lower hood.
Checking Spark Plugs
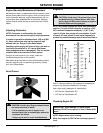
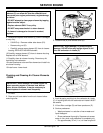
1. Stop engine. LOCK park brake. Remove key. Lift hood.
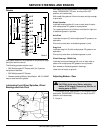
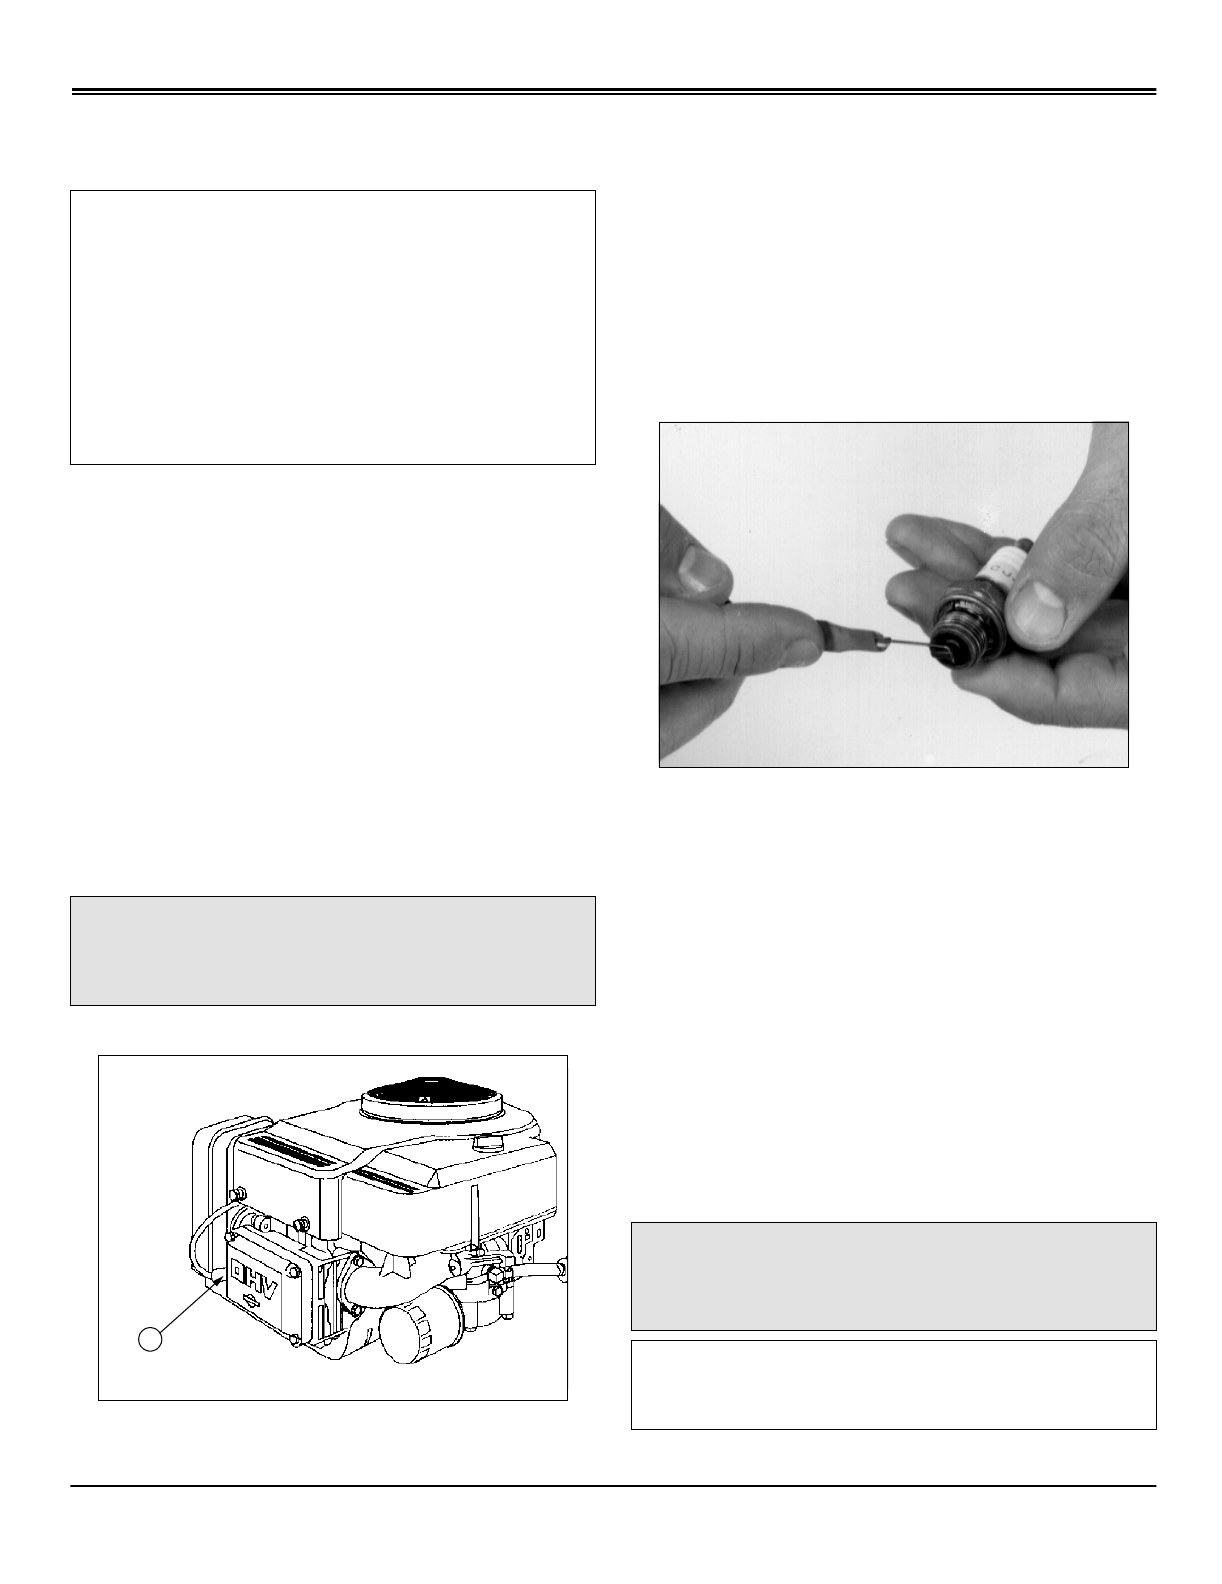
2. Disconnect spark plug wire(s) (A) and remove spark
plug(s):
• S1642 and S1742: ONE spark plug
• S2046: TWO spark plugs.
3. Clean spark plug(s) carefully with a wire brush.
4. Inspect plug for:
• Cracked porcelain.
• Pitted or damaged electrodes.
• Other wear or damage.
5. Replace spark plug(s) if necessary.
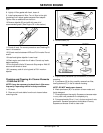
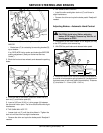
6. Check plug gap with a wire feeler gauge:
• S1742 and S2046: Gap should be 0.76 mm (0.030
in.)
• S1642: Gap should be 1.02 mm (0.040 in.)
7. To change gap, move the outer electrode.
8. Install and tighten spark plug(s):
• If you have a torque wrench, tighten plug(s) to: 20
N•m (15 lb-ft.).
9. Connect the spark plug wire(s).
10.Lower hood.
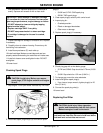
Replacing Fuel Filter
IMPORTANT: Avoid damage! A damaged cartridge
(D) can allow dirt into the carburetor and can cause
poor engine performance, engine damage or failure:
• DO NOT attempt to clean cartridge by tapping
against another object.
• Replace cartridge ONLY if very dirty.
• DO NOT use pressurized air to clean cartridge.
• If cartridge is damaged or the seal is cracked,
replace.
c
CAUTION: Avoid injury! Before you remove
spark plugs, STOP engine and wait until engine
is cool.
A
c
CAUTION: Avoid injury! Keep cigarettes,
sparks, and flames away from the fuel system.
Make sure engine is cool to the touch.
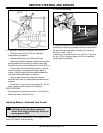
IMPORTANT: Avoid damage! When disconnecting
fuel tank hose from filter, be sure to hold hose above
fuel tank level so fuel does not run out.


