Transporting the Unit
WARNING: To prevent serious personal
injury, always stop the engine when
operation is delayed or when transporting
the unit from one location to another.
1. Stop the engine.
2. Slide the wheel bracket assembly all the way down.
3. Tilt the unit back until the tines clear the ground.
4. Push or pull the unit to the next location to be
cultivated.
OPERATING INSTRUCTIONS
13
Fig. 17
Fig. 18
OPERATING TIPS
WARNING: Dress properly to reduce the risk
of injury when operating this unit. Do not
wear loose clothing or jewelry. Wear eye and
ear/hearing protection. Wear heavy, long pants,
boots and gloves. Do not wear short pants,
sandals or go barefoot.
1. Move the cultivator to the work area prior to starting
the engine. The cultivator may be transported by
pushing it on wheels or carrying it by the shaft
tube grip.
WARNING: To prevent serious personal
injury, never pick-up or carry the unit while
the engine is running.
2. Start the unit per Starting Instructions.
3. With the engine running and the tines off the ground,
depress the throttle control to increase the engine
speed.
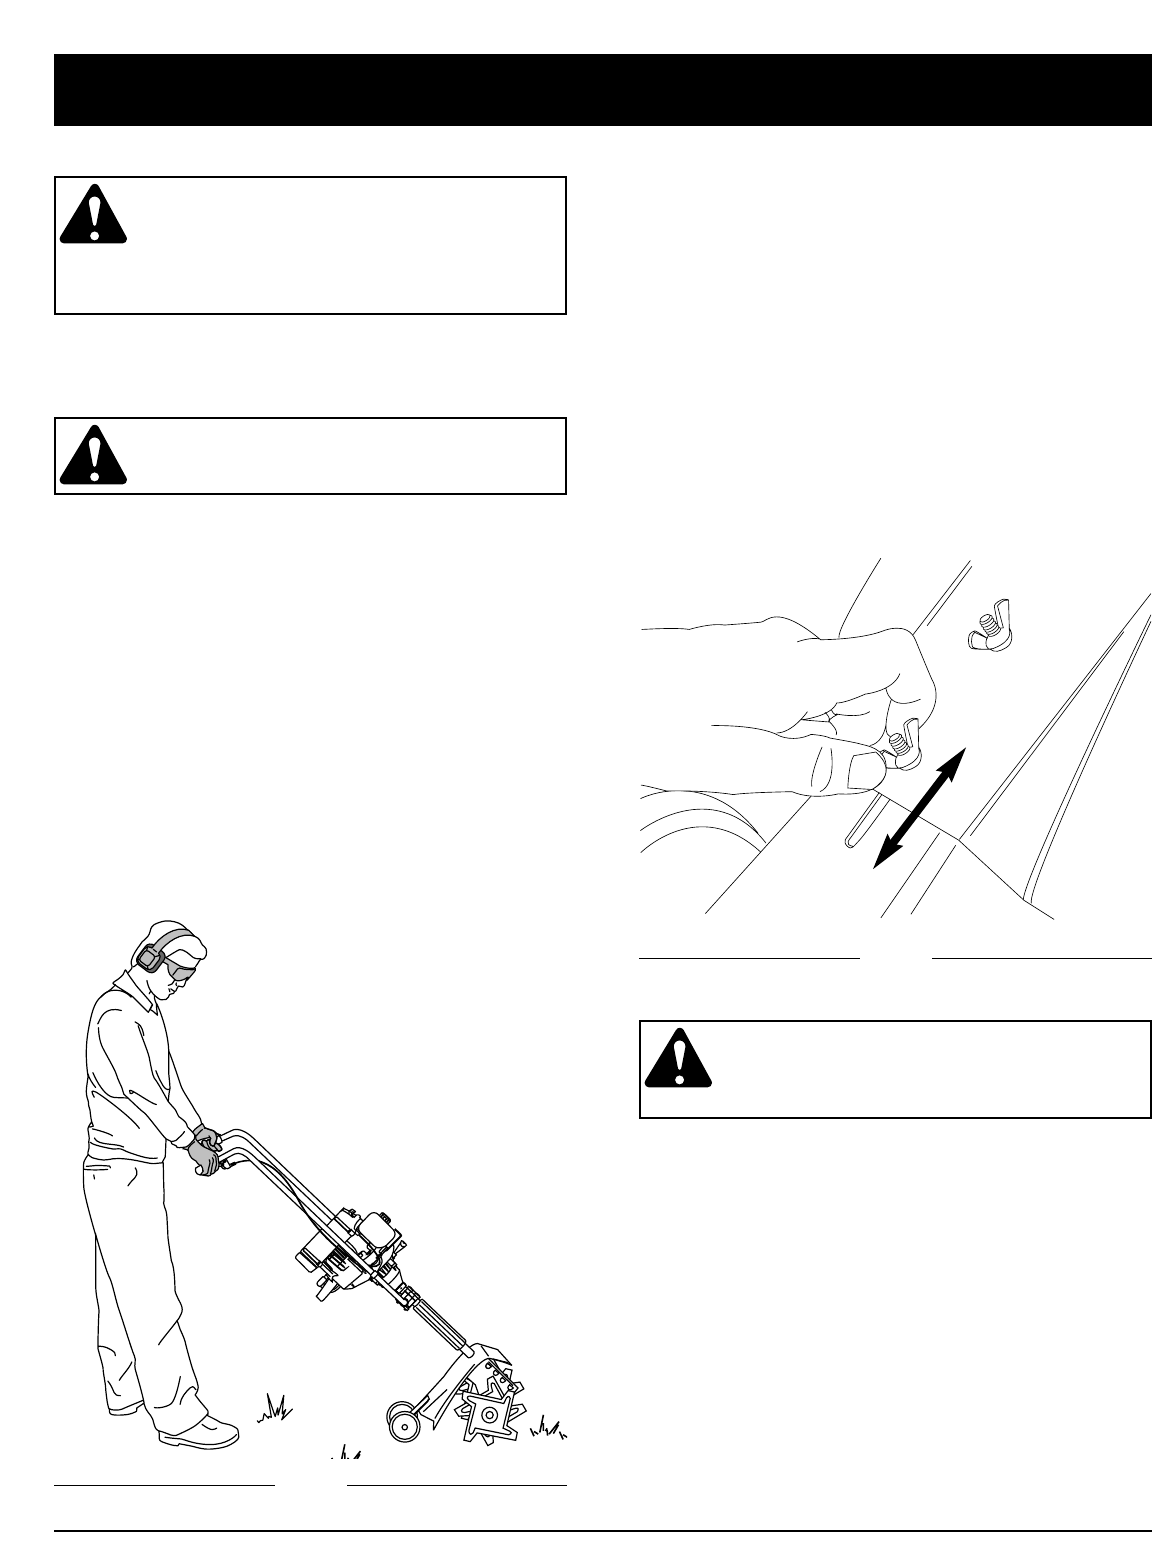
4. Holding both of the handlebar grips firmly, slowly
lower the cultivator until the tines make contact with
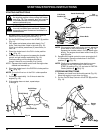
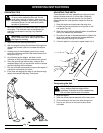
the ground (Fig. 17).
5. As cultivating action begins, pull back on the
cultivator so that the tines can penetrate the ground.
6. Once the ground has been broken, continue at a
moderate pace until you are familiar with the controls
and the handling of the cultivator.
7. Pull the cultivator backwards to improve the depth of
cultivation and reduce your effort.
8. If the tines are digging too deep or not deep enough,
adjust the tines per Adjusting Tine Depth.
ADJUSTING TINE DEPTH
Tine adjustment will vary depending on the type of soil
being cultivated and how it will be used. Generally,
adjusting the tines to break the soil 4 to 6 inches is
recommended for most gardens. Adjust the tines as
follows:
1. Stop the engine and disconnect the plug wire.
2. Loosen (do not remove) the two wing nuts on the
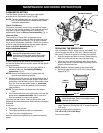
tine guard (Fig. 18).
3. Slide the wheel bracket assembly down for shallower
and up for deeper tine penetration.
4. Once the tines are in the desired position, tighten the
wing nuts, making sure that the carriage bolts are
seated properly through the bracket.
5. If the tine depth is not correct, repeat steps 2 to 4.
Down
Up


