


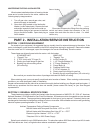

12
Securing the top panel cover- INDOOR
KIT ONLY
7. Re-install the louvered top.
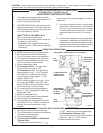
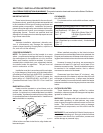
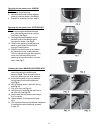
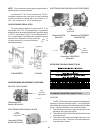
8. Mount the draft hood onto the adapter
plate lip inside the heater. See Fig. 6.
9. Proceed to installing the clips, step 14.
Securing the top panel cover- OUTDOOR KIT
ONLY
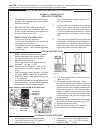
10. After removing the drafthood from the
box, slide the top panel cover over the
draft hood. See Fig. 1.
11. Holding both pieces together, mount
the draft hood on the adapterr plate
lip inside the heater. See Fig. 6.
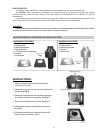
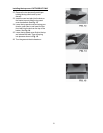
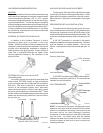
12. Take the two pieces of metal tape and
attach to each side of the drafthood
leaving 6" hanging down.
13. Slide the top panel cover up and attach
the metal tape to the underneath side.
This is to temporarily keep the top panel
cover out of the way while you are
attaching the clips as shown in the next
steps. See Fig. 7.
Installing the clips: INDOOR & OUTDOOR KITS
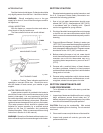
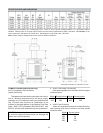
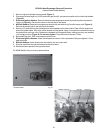
14. Notice that there are three pilot holes
above the base of the drafthood as
shown in Fig.8. These are the locations
where the three clips are to be attached.
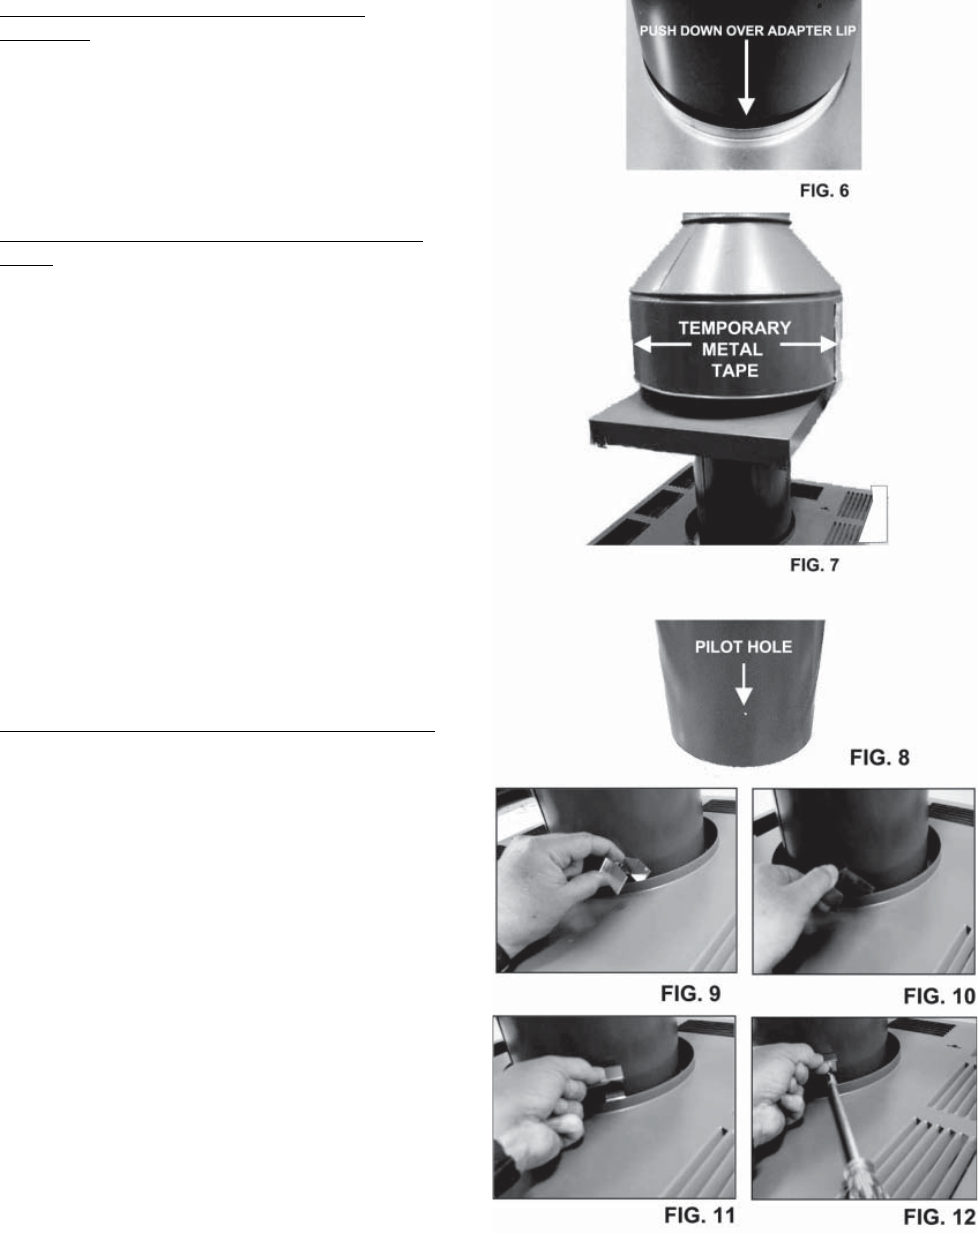
15. Insert the long edge of one clip between
the top panel cover and the drafthood,
see Fig. 9.
16. With a twisting motion, rotate the clip up,
see Fig. 10.
17. Pull up on clip, see Fig. 11.
18. Hold the clip up and align the clip hole to
the pilot hole, see Fig. 12.
19. Insert screw into hole and secure using a
5/16" nut driver.
20. Repeat steps 6-10 using remaining two
clips.
21. This completes the indoor drafthood installation.
If installing an outdoor drafthood, proceed
to step 13.