10 sectiOn 2— asseMbly & set-up10 sectiOn 2— asseMbly & set-up
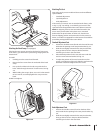
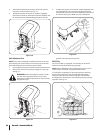
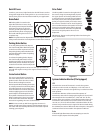
Select desired position for the seat, and secure with the
two knobs removed earlier. See Fig. 3-6.
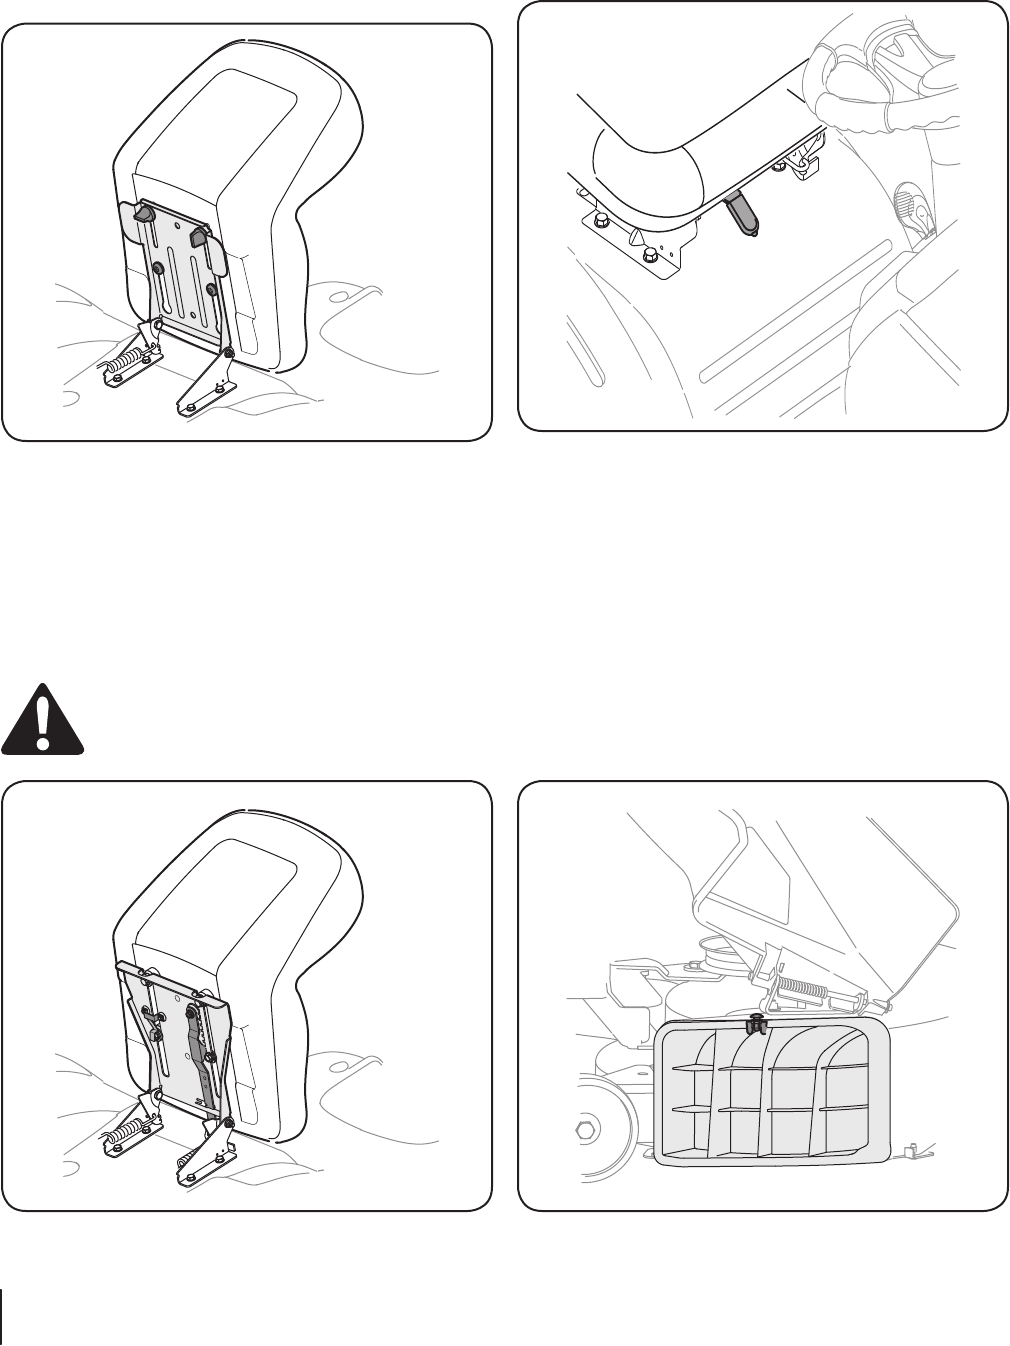
To adjust the position of the seat on models so equipped,
loosen the two knobs on the bottom of the seat. Slide the seat
forward or backward as desired. Retighten the two knobs.
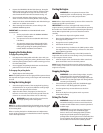
Quick Adjustment Seat
NOTE: If your seat was shipped mounted backwards on the seat
pivot bracket, pull out the tab found on the seat stop and hold it
open while sliding the seat off the seat pivot bracket.
Line the plastic seat spacers with the seat pivot bracket slots.
Slide seat in until front seat spacer engages the seat stop.
See Fig. 3-7.
WARNING: Before operating this machine, make
sure the seat is engaged in the seat stop, stand
behind the machine and pull back on seat until fully
engaged into stop.
3.
4.
1.
2.
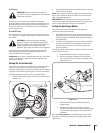
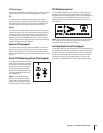
To adjust the position of the seat on models equipped with
a seat adjustment lever, move the seat adjustment lever
(located under the seat) to the left and slide the seat forward
or rearward. See Fig. 3-8. Make sure seat is locked into
position before operating the tractor.
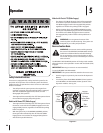
Mulch Plug
On tractor models so equipped, a mulch plug can be found
within the cutting deck’s discharge opening.
NOTE: Refer to Mulching in the “Operating Your Lawn Tractor”
section of this manual for more detailed information.
If you’d prefer to operate the cutting deck without mulching,
simply remove the mulch plug by unthreading the plastic
wing nut which fastens it to the cutting deck. This will allow
the clippings to discharge out of the discharge opening during
operation. See Fig. 3-9.
4.
Figure 3-7
Figure 3-9
Figure 3-8
Figure 3-6


