7
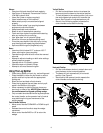
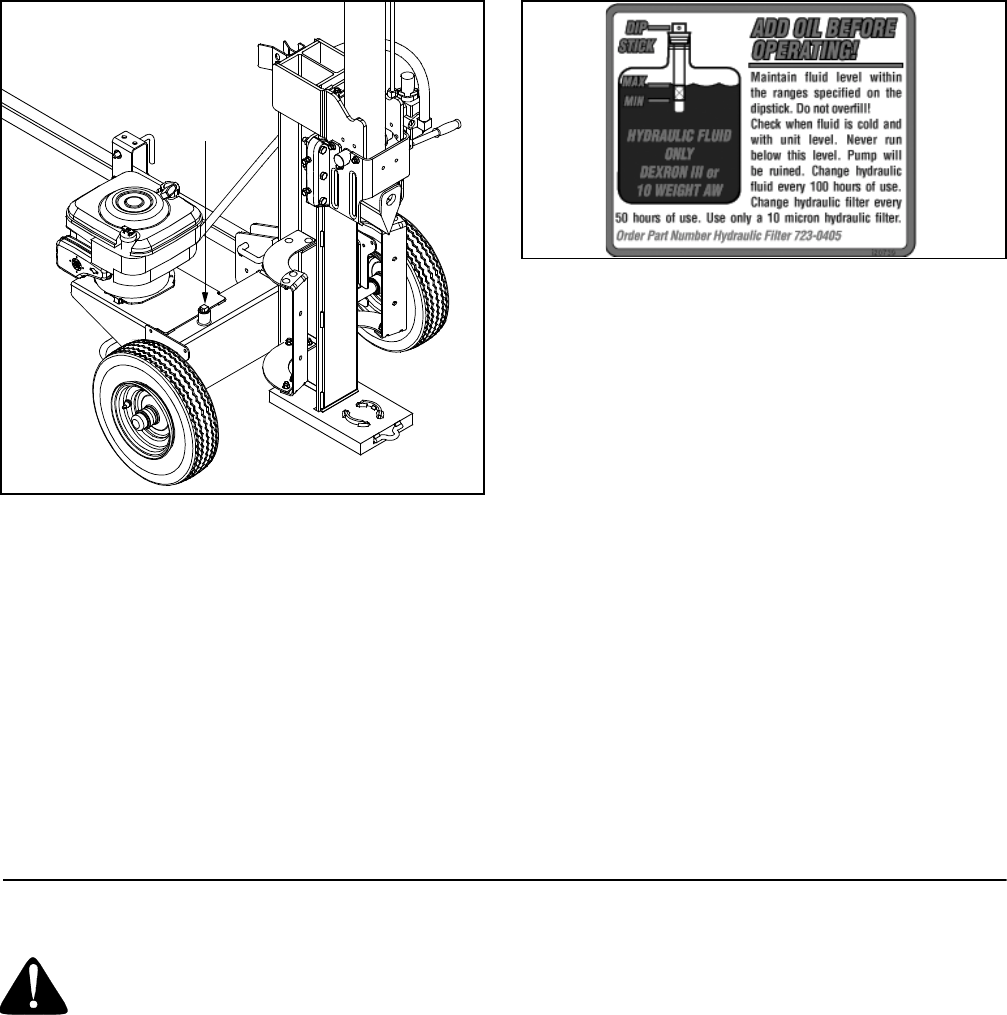
Figure 5
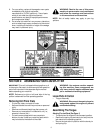
• Fill the reservoir tank with Dexron III automatic
transmission fluid or 10W AW hydraulic fluid.
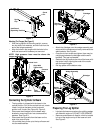
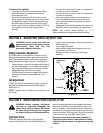
• Check fluid level using the dipstick. See Figure 6.
• Do not overfill and replace vented dipstick securely.
The dipstick should be tighten until the top of the
threads are flush with the top of the pipe.
NOTE: The reservoir tank has a capacity of 3 1/2
gallons.
• If not already, disconnect the spark plug wire and
prime the pump, by pulling the recoil starter to turn
the engine over approximately 10 times.
Figure 6
• Reconnect the spark plug wire.
• Start engine according to Starting the Engine in the
OPERATION section.
• Use the control handle to engage the wedge to the
farthest extended position and then retract the
wedge.
• Refill tank to within the range specified on the
dipstick.
• Extend and retract the wedge 12 complete cycles
to remove trapped air in the system (system is “self-
bleeding”).
• Much of the original fluid has been drawn into the
cylinder and hoses. Make certain to refill the
reservoir to prevent extreme damage to the
hydraulic pump. Failure to refill the tank will void
your warranty.
NOTE: Some fluid may overflow from the vented
dipstick as the system builds heat and the fluid expands
and seeks a balanced level.
IMPORTANT:
Do not operate the log splitter without the
proper amount of transmission fluid in the reservoir
tank.
SECTION 3: KNOW YOUR LOG SPLITTER
WARNING: Be familiar with all controls
and their proper operation. Know how to
stop the machine quickly.
Control Handle
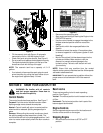
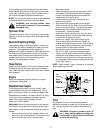
The control handle has three positions. See Figure 7.
Forward: Push the control handle forward or down.
Splitting wedge moves toward the end plate.
Neutral: Control handle will return to neutral position
when handle is released. Splitting wedges stops in
place.
Reverse: When pulling the control handle up or back,
the splitting wedge moves toward the cylinder. The
control handle will lock in the disengaged position. It will
return to neutral automatically when the return stroke is
complete.
Beam Locks
There are two position locks for each operating
position. See Figure 7.
Vertical: The vertical position lock is located next to the
oil filter.
Horizontal: The horizontal position lock is part of the
beam support latch bracket.
Engine Controls
See the separate engine manual for the location and
function of the controls on the engine.
Stopping Engine
• Move throttle control lever to STOP or OFF
position.
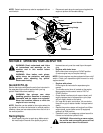
Reservoir
Dipstick


