


- 8 -
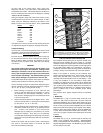
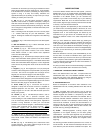
Display 20
10. Center the second alignment star in the telescope
eyepiece using the "N", "E", "W", or "S" keys on the
Keypad Hand Controller. Once the second star is
centered, press the ENTER key to complete the alignment
sequence.
Should the alignment star be hidden from the view of the
telescope, do not manually move the telescope. Simply
press the ENTER key and select another bright star from
the Alignment Star List that appears in Appendix B. Look
up the catalog number of the star. Then, press the STAR
key and type in the star catalog number using the number
keys. Press the ENTER key, and then the GO TO key. The
telescope will then slew to the approximate position of the
alternate star. Center the star with the "N", "E", "W", or "S"
keys, then press and hold the ENTER key until the display
reads "Coordinates matched". This method synchronizes
the CDS computer to the sky.
The telescope is now polar aligned and fully functional, and will
automatically track objects. From this point on, make all
telescope movements by use of the Keypad Hand Controller.
Manual movements by loosening the Dec or R.A. locks will
cause the CDS to "lose" position, requiring realignment.
USING THE #1697 COMPUTER DRIVE SYSTEM
1) The MODE Key
The CDS has 5 basic Keypad Hand Controller displays, and the
MODE key is used to move between them. The 5 modes are:
1. Telescope Functions. The TELESCOPE mode is where all
telescope functions are changed or activated. The
OBJECT LIBRARY is where the features of the object
library are accessed.
2. Telescope Position. The first display shows the telescope's
position in Right Ascension (R.A.) and Declination (Dec).
3. Time and Date. The first display shows local time and
sidereal time. The second display (accessed by pressing
the ENTER key) shows the date.
4. Timer and Freq. This display is a countdown timer and
allows the user to change drive rates. These are advanced
features.
5. All Off. This mode simply turns off all displays and
backlighting. You can also adjust the backlighting
brightness by pressing the ENTER key and using the
PREV and NEXT keys to adjust the brightness.
2) Library Object Keys
The Library Object keys, ("M" - for Messier objects, "STAR" - for
alignment stars, SAO and GCVS catalogs, and "CNGC" - for
Computerized New General Catalog) may be directly accessed
while in any of the 5 main Keypad displays. (See Appendix C of
this manual for a listing of the 64,359-Object Library). Simply
press a library object key, type in the number of the object
desired, and press ENTER.
For example: during the first part of the year, a good object to
begin with is M42—the Great Orion Nebula. Press: the "M" key,
the "4" key, the "2" key, and then the ENTER key. The display
Center Polaris
then press ENTER
Center your star choice
then press ENTER
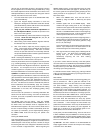
Display 18
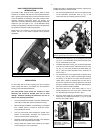
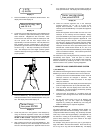
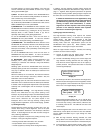
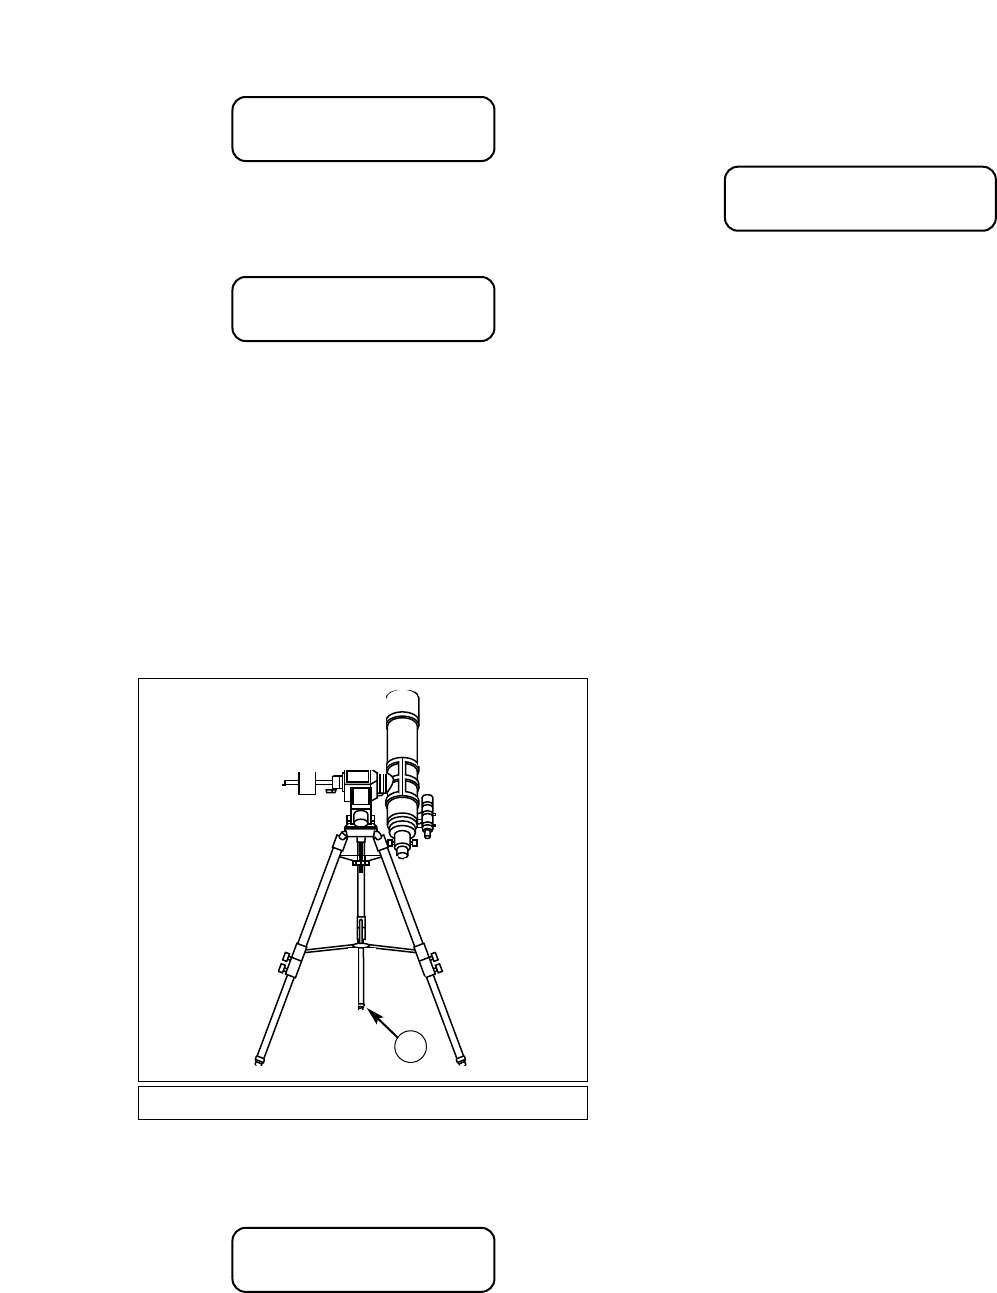
6. Loosen the R.A. and Dec lock knobs on the LXD Equatorial
Mount. Position the optical tube assembly so that the Dec
Circle reads 90°. Retighten the Dec Lock Knob. Then
loosen the R.A. lock knob and rotate the telescope so that
the R.A. pointer and the Hour Angle Pointer are
approximately in line with each other. This will position the
tube assembly and the counterweight so that they are
parallel to the ground and the Power Panel is facing the sky,
as shown in Fig. 7. This step is necessary for the CDS to
work. The telescope has some "illegal" positions (places
where the telescope will not go) and these two steps insure
proper operation.
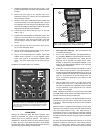
7. Press the ENTER key. The CDS electronics will slew the
LXD Equatorial Mount to the calculated position of the pole
star. The display will look like Display 19.
Fig. 7: Aligning the Telescope. (1) Alignment tripod leg.
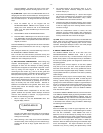
Display 19
8. Center the pole star in the eyepiece of the telescope by
using the Azimuth adjustment knobs and the Latitude
adjustment knob on the LXD Equatorial Mount. Do not use
the R.A. or Dec controls. Using the R.A. and Dec slow-
motion controls will destroy the alignment procedures.
9. After centering the pole star, press the ENTER key. The
telescope will slew to one of the 33 bright and well known
stars as a second alignment star. Appendix B can be used
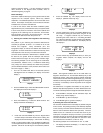
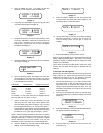
1) SITE
→2) ALIGN
Move to 90 deg., dec.
and 00 H.A.
Display 17
5. Press the ENTER key to activate the ALIGN function. The
display will look like Display 18.
1
as a reference for the position and the catalog number of
these prominent stars. The display will look like Display 20.