9
Section 2: Adjustments
10/29/08
GS2584 & GS2596 Grading Scrapers 303-268M
Land Pride
Table of Contents
Section 2: Adjustments
Leveling Scraper
!
CAUTION
Always keep your feet and legs out from under the Grading
Scraper. Hydraulics can drop equipment if controls are
actuated or if hydraulic lines burst even when power to the
hydraulics is shut off.
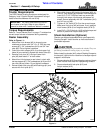
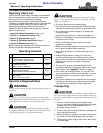
The Grading Scraper should be leveled from left to right
and front to back.
1. Park tractor with Grading Scraper on a level surface.
2. Engage tractor park brake, shut tractor engine off
and remove key before dismounting from tractor.
3. Manually adjust one of the lower lift arms on the
tractor up or down to level the Grading Scraper from
left to right.
4. Manually adjust length of top-center-link to level
scraper from front to rear.
Blade Height Adjustment
!
CAUTION
Always keep your feet and hands out from under the blade
carrier when adjusting cutting blade height. Blade carrier
will fall when loosening bolts.
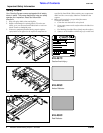
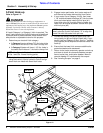
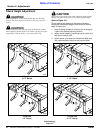
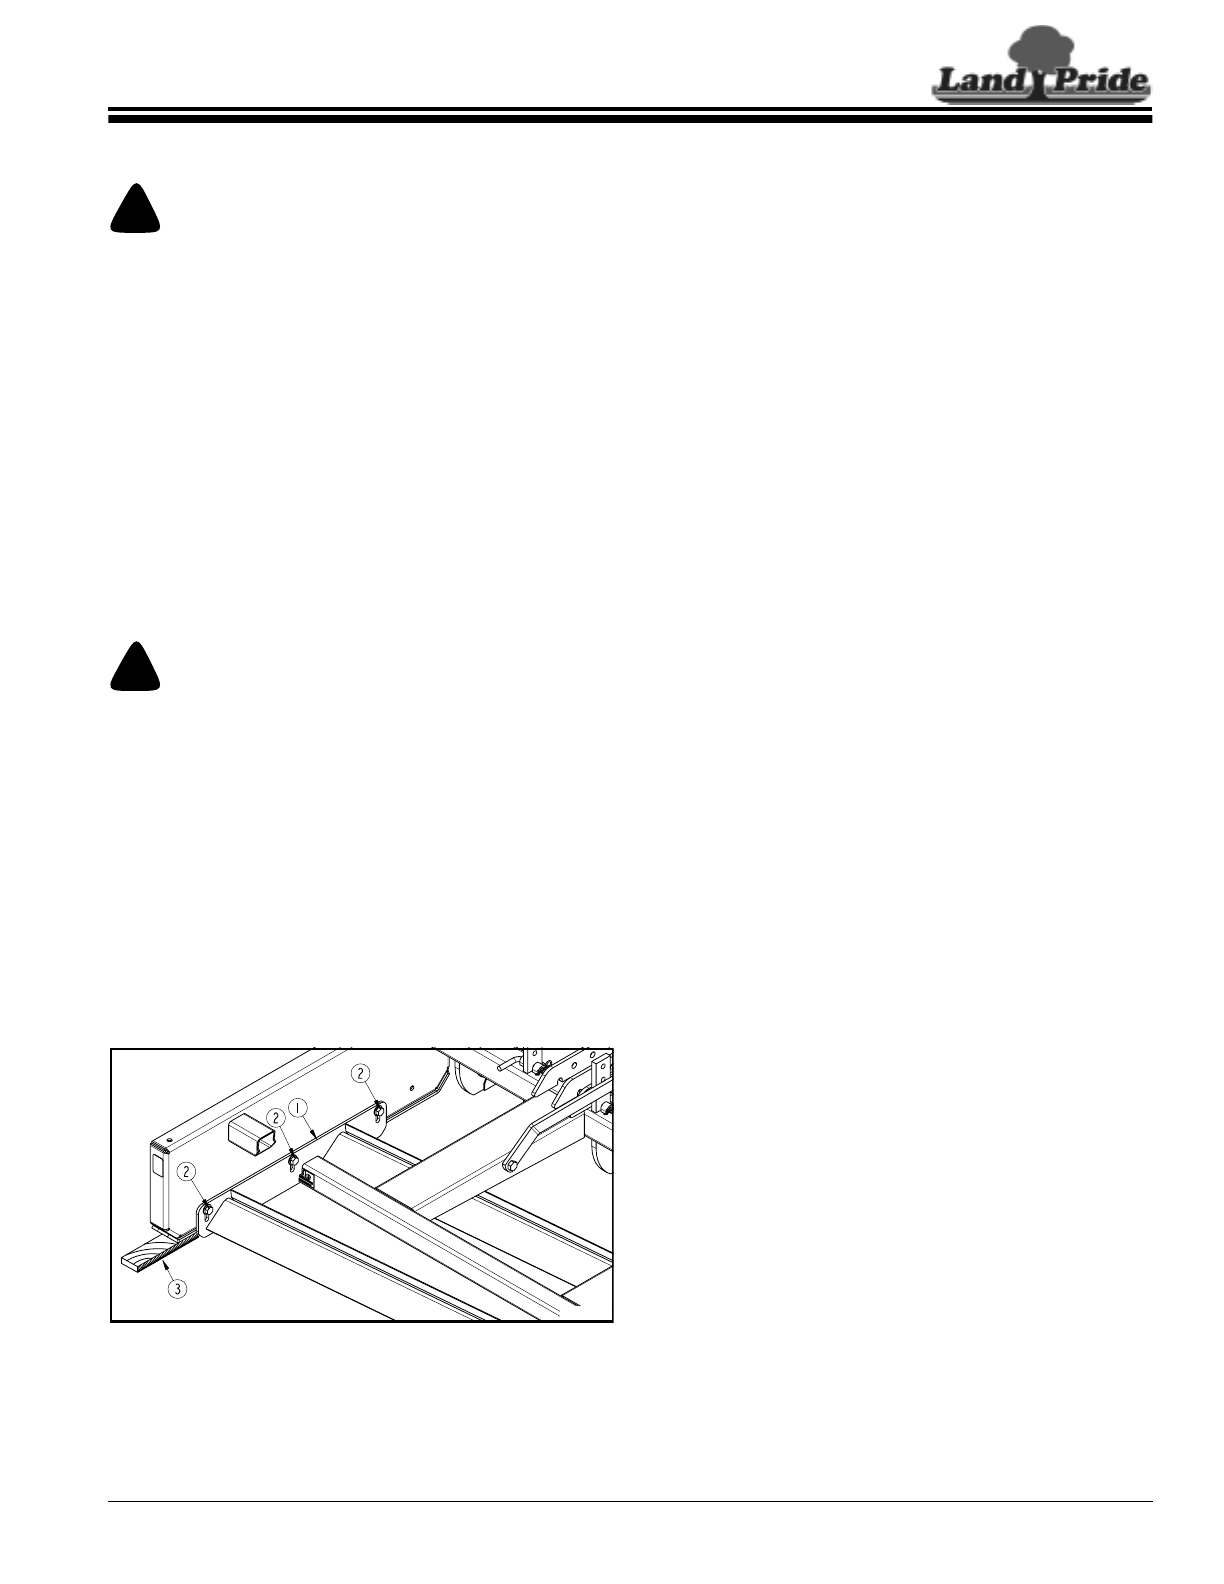
Refer to Figure 2-1:
The blade carrier (#1) can be lowered or raised equal
amounts on both sides of the scraper to grade a surface
level. Position cutting edges even with the bottom of skid
shoes for non-aggressive grading action or adjust the
cutting edges infinitely downward to 1 1/2" below the skid
shoes for highly aggressive cutting action. The most
commonly used setting is 1/4" below the skid shoes.
The blade carrier (#1) can also be lowered on the right
side more than on the left side to grade a crown in the
middle of a roadway.
Blade Height Adjustment (Left Side Shown)
Figure 2-1
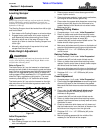
Initial Preparation
Refer to Figure 2-1:
1. Park Grading Scraper on a level hard surface such
as a concrete pad.
26658
2. Raise scraper several inches above ground with
tractor 3-point controls.
3. Place tractor gear selector in park and/or set brakes,
shut engine off and remove ignition key.
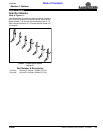
4. Place under the scraper skid shoes two narrow long
blocks of wood (#3) equal to the thickness to be
graded. Make sure the blocks do not extend under
blade carrier (#1).
Lowering Cutting Blades
1. Complete steps 1 to 4 under “Initial Preparation”.
2. Return to tractor seat and without starting tractor,
operate 3-point control lever to slowly lower scraper
skid shoes onto the blocks of wood (#3).
3. Loosen bolts (#2) on both ends of blade carrier. The
blades should drop to ground level.
4. Make sure skid shoes are fully down on the blocks of
wood and the blades are on the ground at both ends.
5. Retighten 5/8"-11 x 1 1/2" GR8 bolts (#2) to the
correct torque.
Raising Cutting blades
1. Complete steps 1 to 4 under “Initial Preparation”
2. Loosen bolts (#2) on both ends of blade carrier.
3. Return to tractor seat and without starting tractor,
operate 3-point control lever to slowly lower scraper
skid shoes onto the blocks of wood.
4. Make sure skid shoes are fully down on the blocks of
wood and the blades are on the ground at both ends.
5. Retighten 5/8"-11 x 1 1/2" GR5 bolts (#2) to the
correct torque.
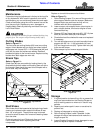
Crown Adjustment
1. Complete steps 1 to 3 under “Initial Preparation”
2. Place under the right skid shoe a narrow long block
of wood (#3) equal to the thickness to be graded.
Make sure this block does not extend under the blade
carrier.
3. Place under the left skid shoe & blade carrier
a second long block of wood (#3) equal to the
thickness to be graded.
4. Loosen bolts (#2) on both ends of blade carrier.
5. Return to tractor seat and without starting tractor,
operate 3-point control lever to slowly lower unit onto
the blocks of wood.
6. Check to make sure skid shoes are fully down and
that the blade carrier is on the block of wood on the
left side and on the ground on the right side.
7. Retighten 5/8"-11 x 1 1/2" GR5 bolts (#2) to the
correct torque.
8. Make all grading passes with the middle of the
roadway on the left side of the scraper.


