ASSEMBLY
8
MTF-041007C
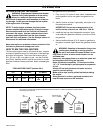
PARTS BAGS CONTENTS:
1 - 2.6 ounces 2-cycle oil
1 - Owner’s Manual
TOOLS REQUIRED FOR ASSEMBLY
1-Knife
1-Pliers
WARNING: Always wear safety glasses or eye
shields while assembling the snowthrower.
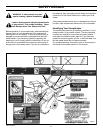
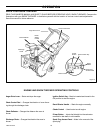
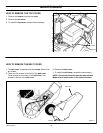
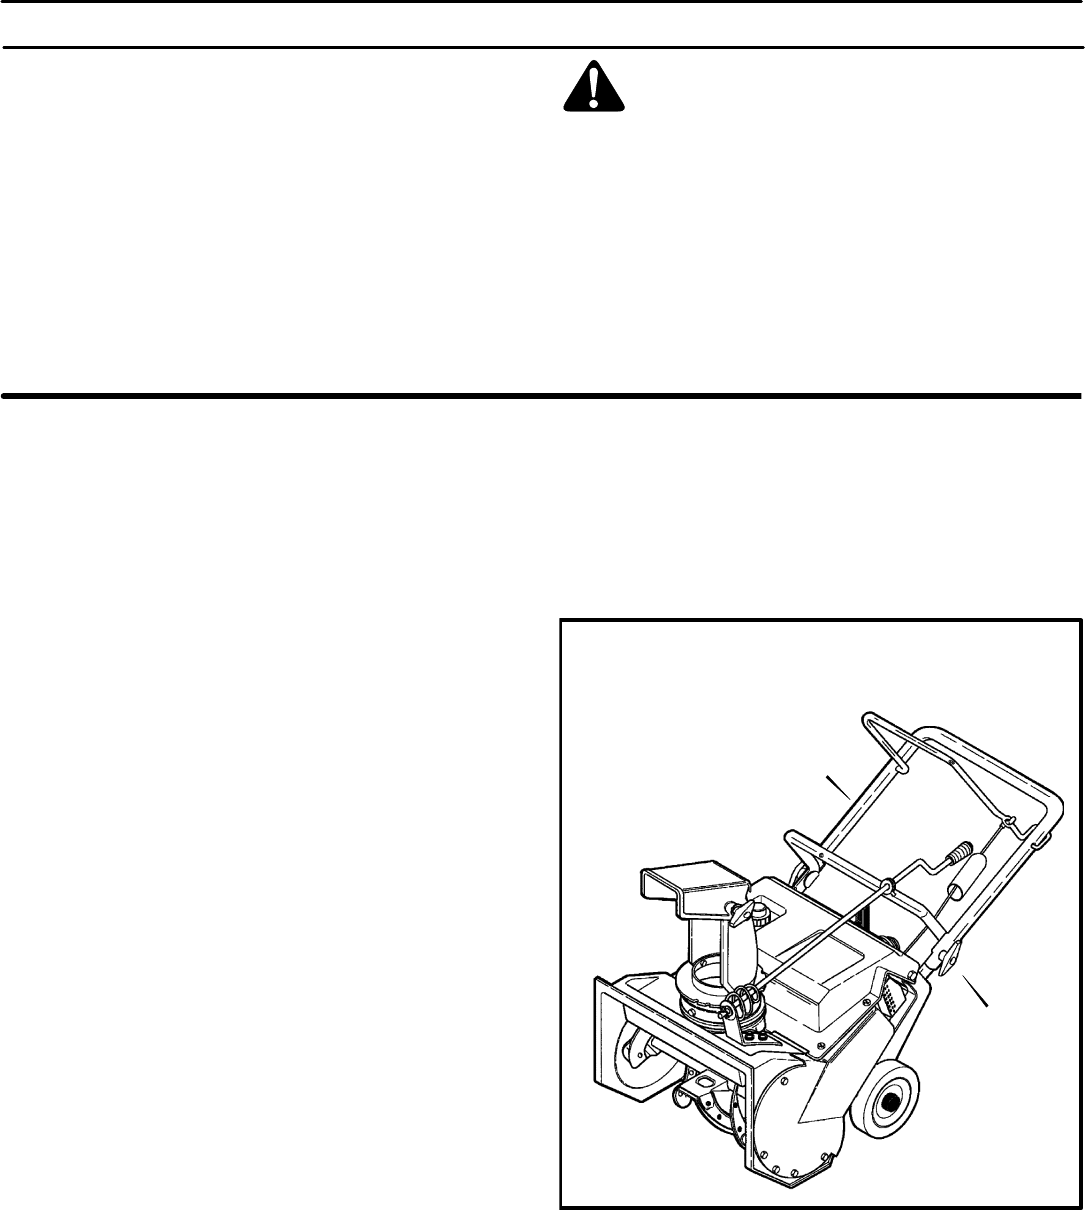
Figure 2 shows the snow thrower in the operating position.
References to the right or left hand side of the snow throw-
er are from the viewpoint of the operator’s position behind
the unit.
HOW TO REMOVE THE SNOW THROWER
FROM THE CARTON
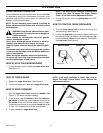
1. Locate all parts that are packed separately and remove
from the carton.
2. Remove and discard the packing material from around
the snow thrower.
3. Cut down all four corners of the carton and lay the side
panels flat.
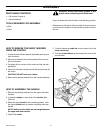
4. Hold onto the lower handle and pull the snow thrower off
the carton.
CAUTION: DO NOT back over cables.
5. Remove the packing material from the handle assembly.
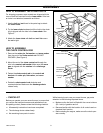
HOW TO ASSEMBLE THE HANDLE
1. Remove the packing material from the upper and lower
handles.
2. Loosen the knobs on each side of the handle. (See
Figure 2)
3. Raise the upper handle to the operating position. Hold
the upper handle apart to prevent scratching the lower
handle.
NOTE: Make sure the cables are not caught between
the upper and lower handle.
4. Tighten the knobs.
5. Cut and discard the cable tie from the lower end of the
chute control rod.
6. Turn the chute deflector around toward the front of the
snow thrower.
Figure 2
Knob
Handle


