


Assembly 29
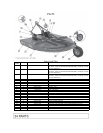
ASSEMBLY
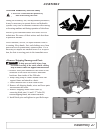
• Install Tailwheel
1. If necessary, attach using axle bolt, castle nut,
and cotter pin.
2. Tighten hardware.
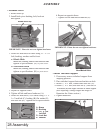
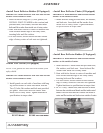
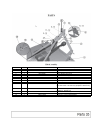
• Install Driveline
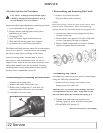
1. Remove snap ring and shear/retaining bolt from
gearbox input shaft or PTO shaft.
2. Remove paint from gearbox input shaft.
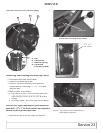
3. Install slip clutch shield (if equipped).
a. Open access panel on shield.
b. Attach shield to gearbox using four
5/16” x 3/4” bolt Gr2 and flat washers.
Tighten to specifications.
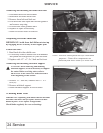
4. Install driveline. (See REMOVING AND
INSTALLING DRIVELINE in Service section.)
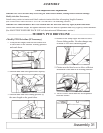
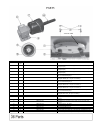
• Fill Gearbox
IMPORTANT: Cutter is shipped without gearbox
lubricant. DO NOT operate the cutter without fill-
ing gearbox with specified amount of lubricant listed
below, or gearbox will be damaged. (See Lubrication
and Maintenance section).
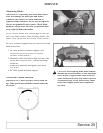
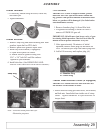
1. Remove breather plug (A) from filler hole.
2. Fill gearbox according to initial fill with 32
ounces of EP80W-90 gear oil.
IMPORTANT: Oil will move into lower cavity of
gear-
box during initial operation. Check oil level after 30
minute break-in period and before every use.
3. After approximately 30 minutes of initial
operation, remove check plug (B) and check oil
level. Oil should just seep from check plug hole.
4. Add oil if necessary and replace plug (A).
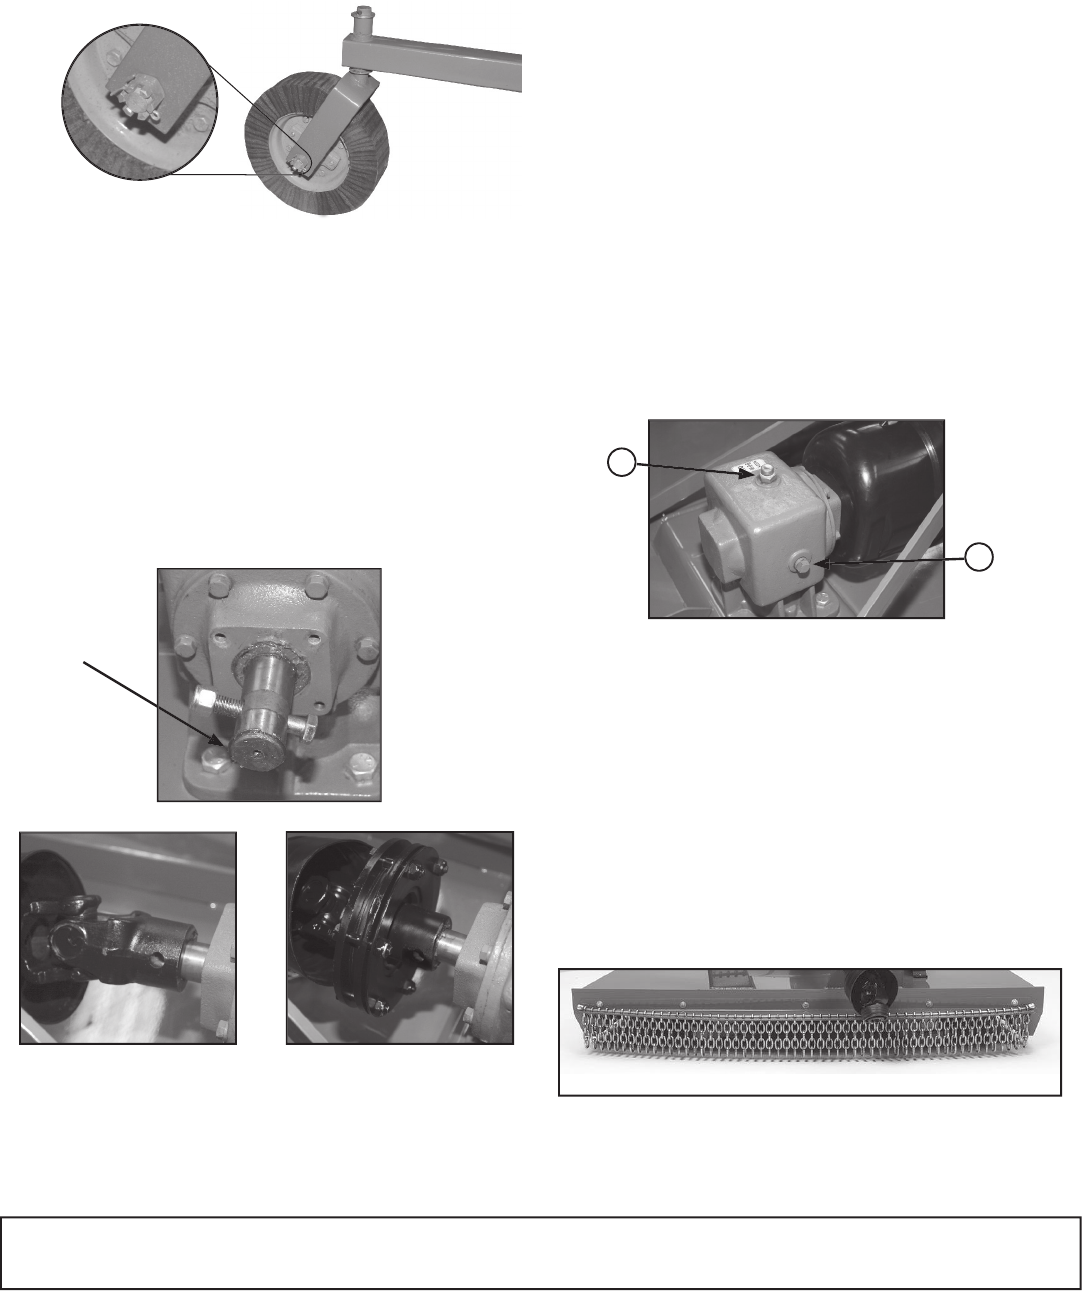
• Install Front Deflector-Chains (If Equipped)
IMPORTANT: Install hardware with lock nuts and
flat
washers on the outside of cutter.
1. Install deflector using provided bolts, flat washers,
and lock nuts. Insert bolts from inside out of rotary
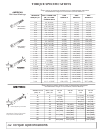
cutter. Tighten hardware to specifications in
torque chart.
Snap Ring
Note: Driveline shield pulled back for
illustration purposes.
Slip Clutch PTO ShaftShear Bolt PTO Shaft
A
A - Breather Plug
B - Check Plug
B