


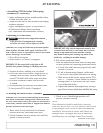

• Attaching Cutter to Tractor with Quick
Coupler Hitch
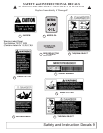
CAUTION: To avoid bodily injury or machine
damage whenever an implement is attached,
put transmission in PARK position and check
the full range of hitch for interference, binding,
or PTO separation. Do not stand between
tractor and implement.
1. Slowly push hitch control lever to lower hitch until
quick coupler hooks are lower than cutter hitch pins.
2. Back up tractor to cutter hitch.
3. Raise hitch high enough to engage cutter hitch
pins in hooks.
4. Engage tractor parking brake and/or place
transmission in “Park”.
5. Shut off tractor engine and remove key.
6. See ATTACHING PTO DRIVELINE in this section.
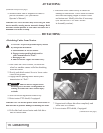
• Attaching Cutter to Tractor with
Three-Point Hitch
CAUTION: To avoid bodily injury or machine
damage whenever an implement is attached,
put transmission in PARK position and check
the full range of hitch for interference, binding,
or PTO separation. Do not stand between tractor
and implement.
1. Back up tractor to cutter with hitch points
approximately in alignment.
2. Engage tractor parking brake and/or place
transmission in “Park”.
3. Shut off tractor engine and remove key.
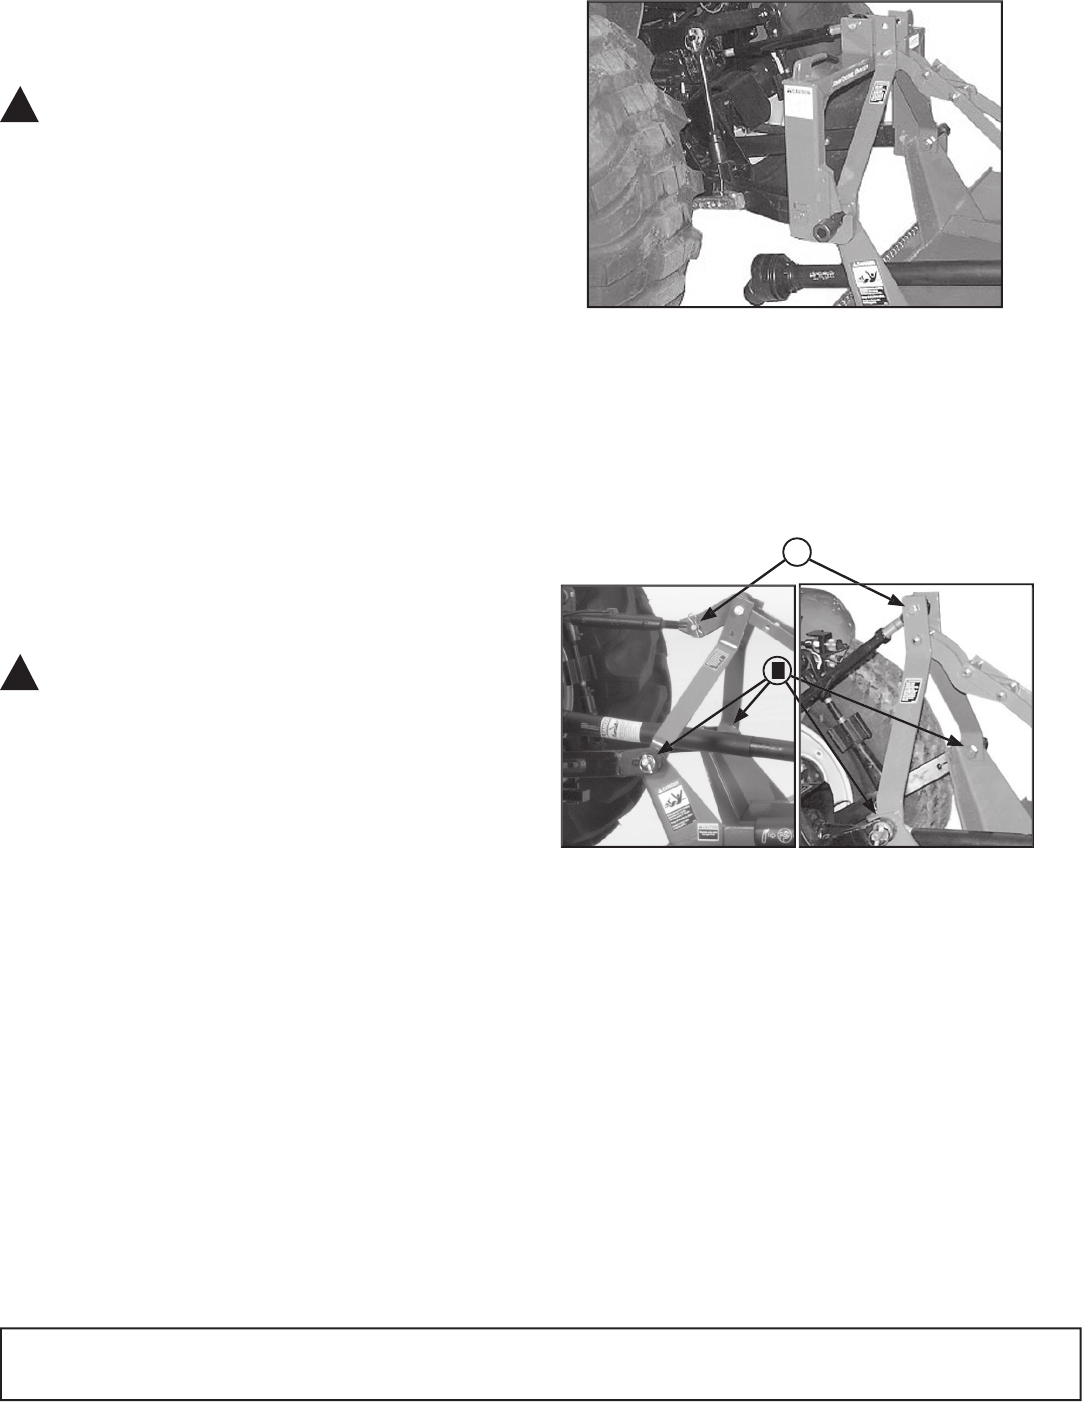
4. Remove center link mounting hardware and hitch
pin assemblies at both hitch masts.
5. Install tractor draft links on hitch pins. Secure with
quick-lock pins (stored on tractor draft links.)
6. Align center link with upper hole in cutter mast
straps and install center link mounting hardware.
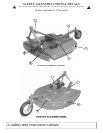
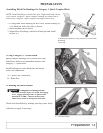
7. Tighten all link and brace hardware on iMatch
Hitch (A).
8. Non iMatch Hitch link clevis should rotate
360
o
freely after all hardware have been installed.
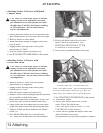
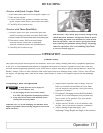
ATTACHING
7. Start tractor engine.
8. Slowly pull hitch control lever to raise
cutter. Check for interference. (See
CHECKING DRIVELINE/CUTTER
CLEARANCE in this section.)
9.
Lower cutter to ground and adjust if necessary.
A-Tractor Center Link B-Tractor Draft Links
!
!
14 Attaching
A
B
Non iMatch Hitch
iMatch Hitch
NOTE: Non iMatch Hitch - After installing hardware
link clevis should rotate 360
o
freely. (if it does not
rotate freely, use a shorter Cat 1 top link hitch pin)
9.
See ATTACHING PTO DRIVELINE in this section.
10. Start tractor engine.
11. Slowly pull hitch control lever to raise
cutter. Check for interference.
(See CHECKING DRIVELINE/CUTTER
CLEARANCE in this section.)
12. Lower hitch to ground and adjust center link
and/or lift links if necessary.
(See procedures in your tractor Operator’s Manual.)