22 English
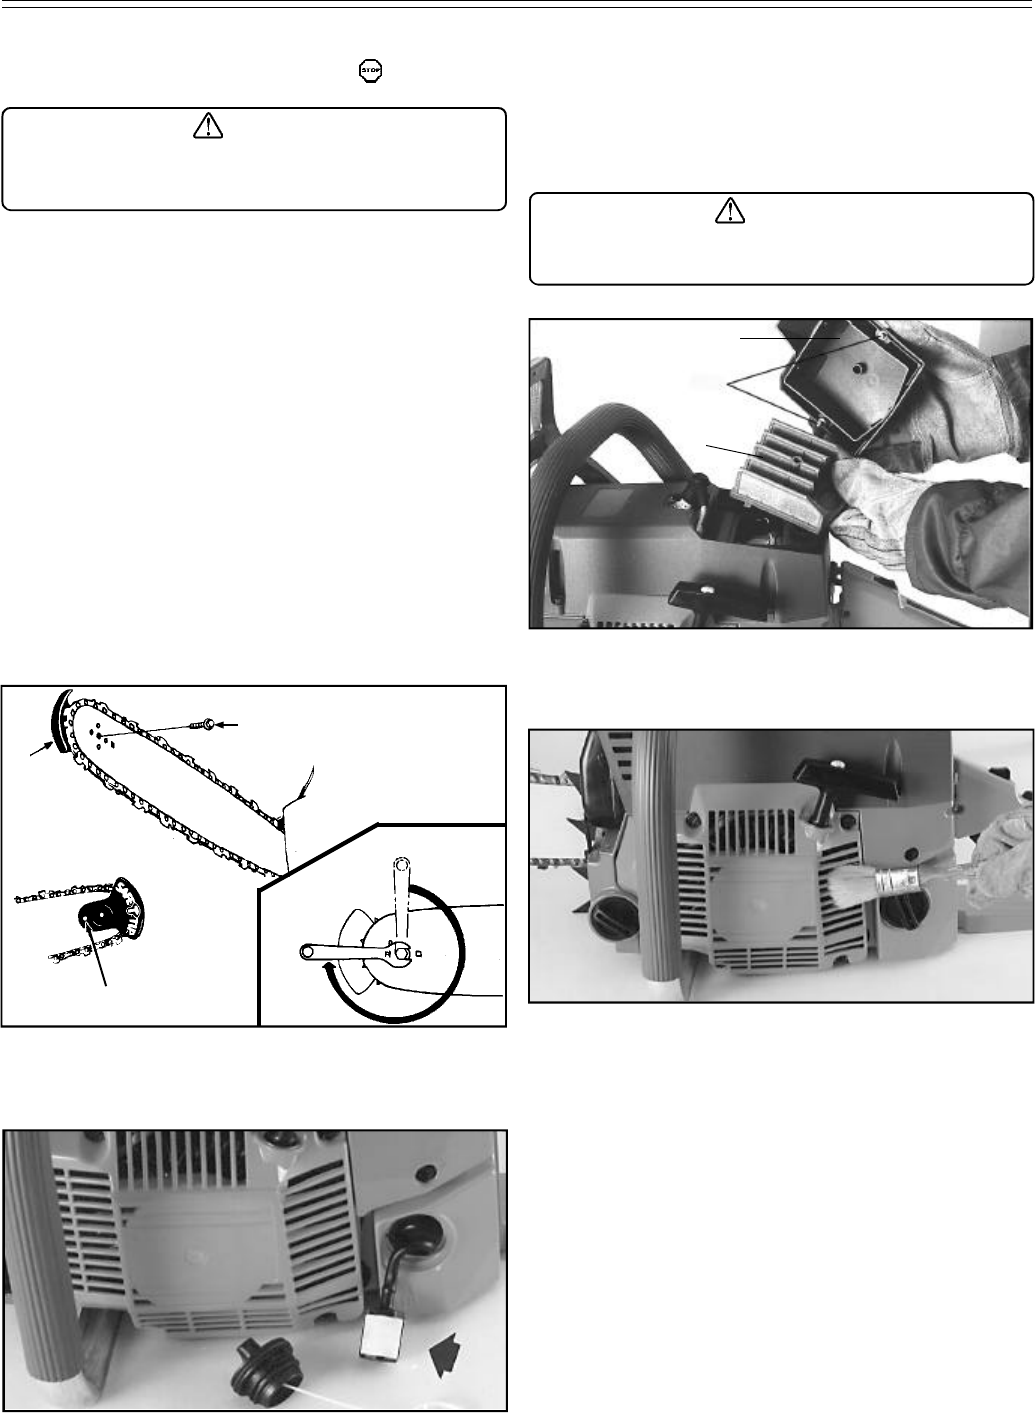
Air Filter
Loosen the two air filter screws (G) by turning counterclockwise,
remove air filter cover (H) and check the air filter (I) each day;
shake the filter and clean with a soft brush. If heavily contami-
nated, clean with soapy water, rinse, and dry thoroughly prior to
installing. Reinstall the air filter. Place the air filter cover onto the
chain saw. Tighten the two air filter cover screws securely.
MAINTENANCE
Starter Unit
Use a brush or compressed air to keep the cooling vents of the
starter assembly free and clean of debris.
WARNING
Never run the engine without the air filter, serious
damage could result.
Installing the Safe-T-Tip® Nose Guard
CAUTION: Check that the switch is in the “ ” stop position
before you do any work on the saw.
B
A
D
E
C
Fuel Filter
Check the fuel filter (F) periodically. Replace it if contaminated
or damaged.
Tighten the mounting screw (A) of the nose guard as instructed
below. These are specially hardened screws. If the screw
cannot be installed tightly, replace both the screw and the SAFE-
T-TIP® before further operation. Do not replace with an ordinary
screw.
1. In addition to preventing chain contact with solid objects at the
nose of the bar, the SAFE-T-TIP® also helps keep the chain
away from abrasive surfaces such as the ground. Keep it on
the right hand side of the bar (B), where it will be between the
chain and the ground during flush-with-ground cutting.
2. The mounting screw requires a 3/8" wrench (or adjustable
wrench) to achieve the recommended tightness of 70-100
inch-pounds (8-11 Nm). A tightness within this range can be
achieved by the following method.
a) Mount the SAFE-T-TIP® on the bar nose. (See illustration
for details.) Locking rivet or tab fits in square hole in guide
bar (C). Tighten the screw with your finger.
b) From the finger-tight position (D), tighten the screw an
additional 1/2 - 3/4 of a turn using a wrench (E).
WARNING
Although the guide bar comes with a SAFE-T-TIP® anti-
kickback device already installed, you need to check the
tightness of the mounting screw (A) before each use.
F
G
I
H


