


Service - 19
SERVICE
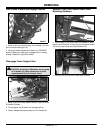
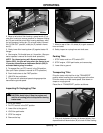
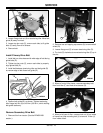
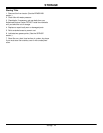
2. Loosen flange lock nut (A) on tensioning idler. Move belt
guide (B) away from belt.
3. Loosen top jam nuts (C), one on each side, to tilt guide
bolts (D) away from drive sheave.
4. Remove belt.
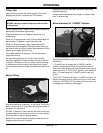
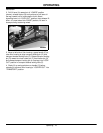
Install Primary Drive Belt
1. Install belt on drive sheave with wide-edge of belt facing
guide bolts (D).
2. Tighten top jam nuts (C), one on each side, to properly
align guide bolts (D).
3. Install belt between tensioning idler and belt guide (B)
so narrow-edge of belt faces belt guide (B).
4. Position belt guide (B), as shown. Tighten tensioning
idler flange lock nut (A) to 40 N•m (354 lb-in.) while holding
belt guide stationary.
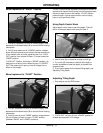
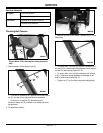
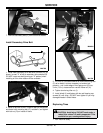
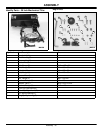
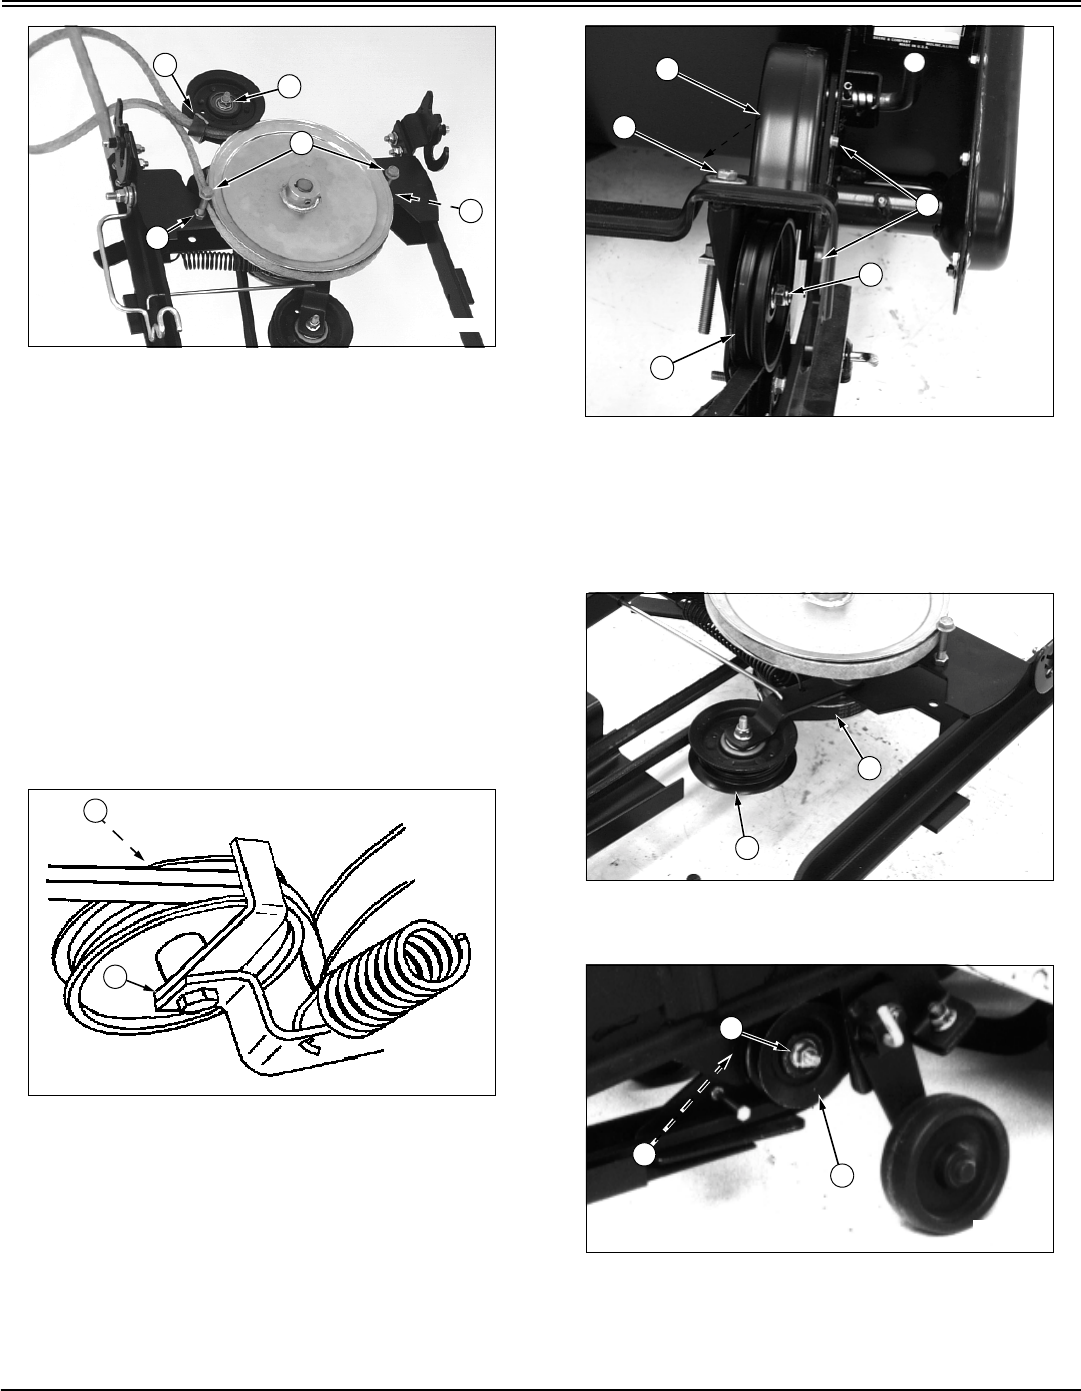
Remove Secondary Drive Belt
1. Remove tiller from tractor. (See the REMOVING
section.)
2. Removetwoself-tappingcapscrews(A)toremovebelt
shield (B).
3. Loosen flange nut (C) to loosen tensioning idler (D).
4. Turn bolt (E) clockwise to move tensioning idler (D) up in
the slot.
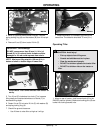
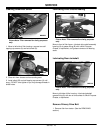
5. Move to front of tiller frame—remove secondary belt
from front idler (F) and front drive sheave (G).
6. Move to left rear of tiller—remove lock nut (H) on inside
of frame from idler mounting bolt (I) to remove V-idler (J)
from inside of belt.
B
A
C
C
D
M96301
M97633
B
A
A
B
E
C
D
M96300
F
G
M96306
M41764
I
J
H