


Operating - 12
OPERATING
Operating
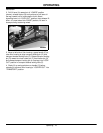
Tilling Tips
Install correct front and rear tractor weights. See Install
Weights and Chains in Installing the Tiller section.
Till with engine at FAST throttle, control ground speed with
appropriate transmission speed range.
Check tines before you till. Replace missing, bent, or
broken tines.
When you till hard ground or sod, till at a shallow depth for
the first pass. Till deeper on each pass after that.
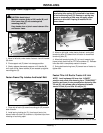
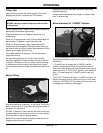
When you till a small area, make a pass through the
middle, then circle alongside the original pass, working to
the outside. After you finish, make a few passes around the
edge to cover ridges left by turning.
Till straight ahead when possible. This will leave fewer
ridges from turning.
For seed bed preparation, till the soil once in the fall.
Decaying vegetation will add valuable nutrients to the soil
by spring. If the terrain is hilly or uneven, wait until spring,
or leave some untilled strips, to help reduce soil erosion.
The climate and terrain will help you decide the best time to
till.
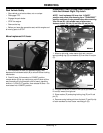
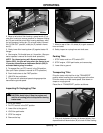
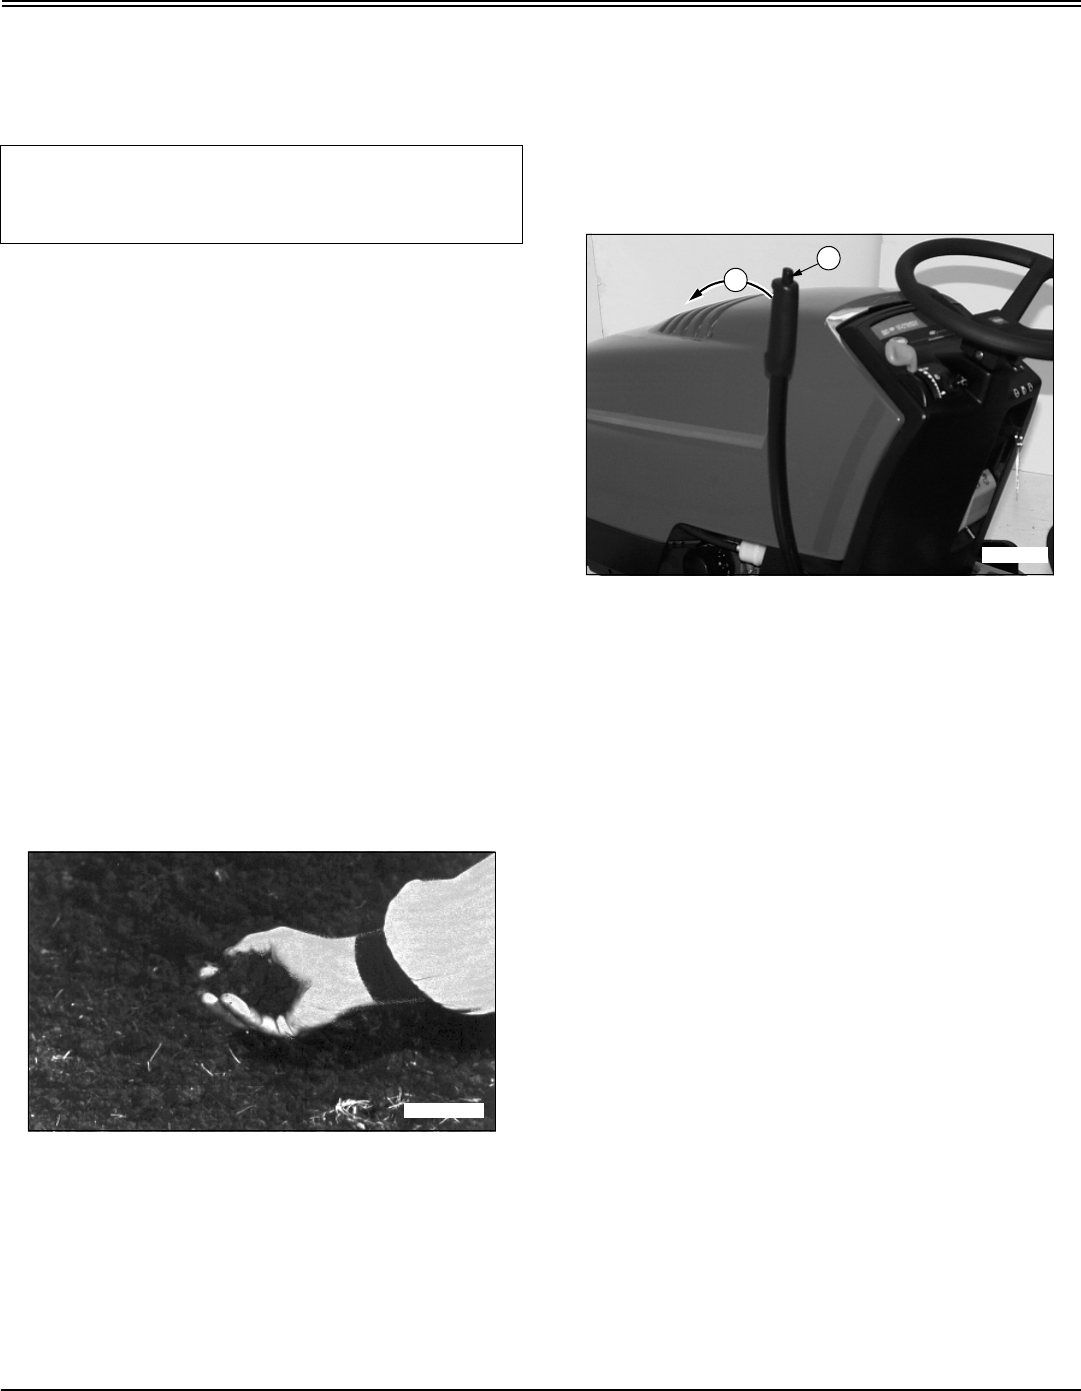
Before Tilling
Test soil condition by squeezing it in your hand. If soil forms
a ball, it is too wet to till. If soil does not compress easily or
falls apart, it is ready to till.
DO NOT till when soil is wet. Wet soil will stick to tines and
tine shaft. Wet soil will clump-up and dry out hard, making it
difficult to work during the growing season.
Before tilling mow tall weeds and grass to keep them from
wrapping around tines or tine shaft.
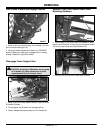
Always pick up rocks, branches, and other objects that
might damage tiller.
Always check tines before tilling. Repair or replace loose,
bent, or broken tines.
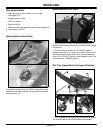
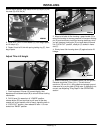
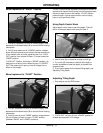
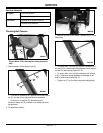
Move Implement to “LOWER” Position
1. First pull implement lift lever (A) rearward slightly, then
depress and hold down button (B) to unlock lift lever locking
mechanism.
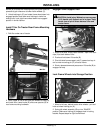
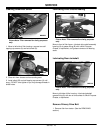
2. Push lift lever (A) forward out of “RAISE” position
(shown), release button (B) as you continue to push lift
lever all-the-way forward until a loud metallic-click is heard,
signalling lever is in “LOCK-OUT” position, then release lift
lever—it is now locked into “LOWER” position (see next
figure).
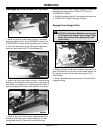
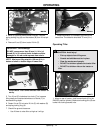
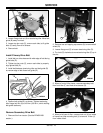
“LOCK-OUT” Position: locks tiller in “LOWER” position—for
difficult conditions, such as, heavy soils, clay, or sod. When
lift lever is “LOCKED-OUT” this means the lift spring in the
lift linkage has no effect on tiller weight.
IMPORTANT: Avoid damage!
DONOTbackupormakesharpturnswiththetiller
in the ground.
M34147
M97160
B
A