Troubleshooting - 8
TROUBLESHOOTING
MX39213
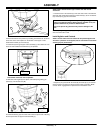
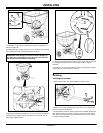
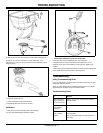
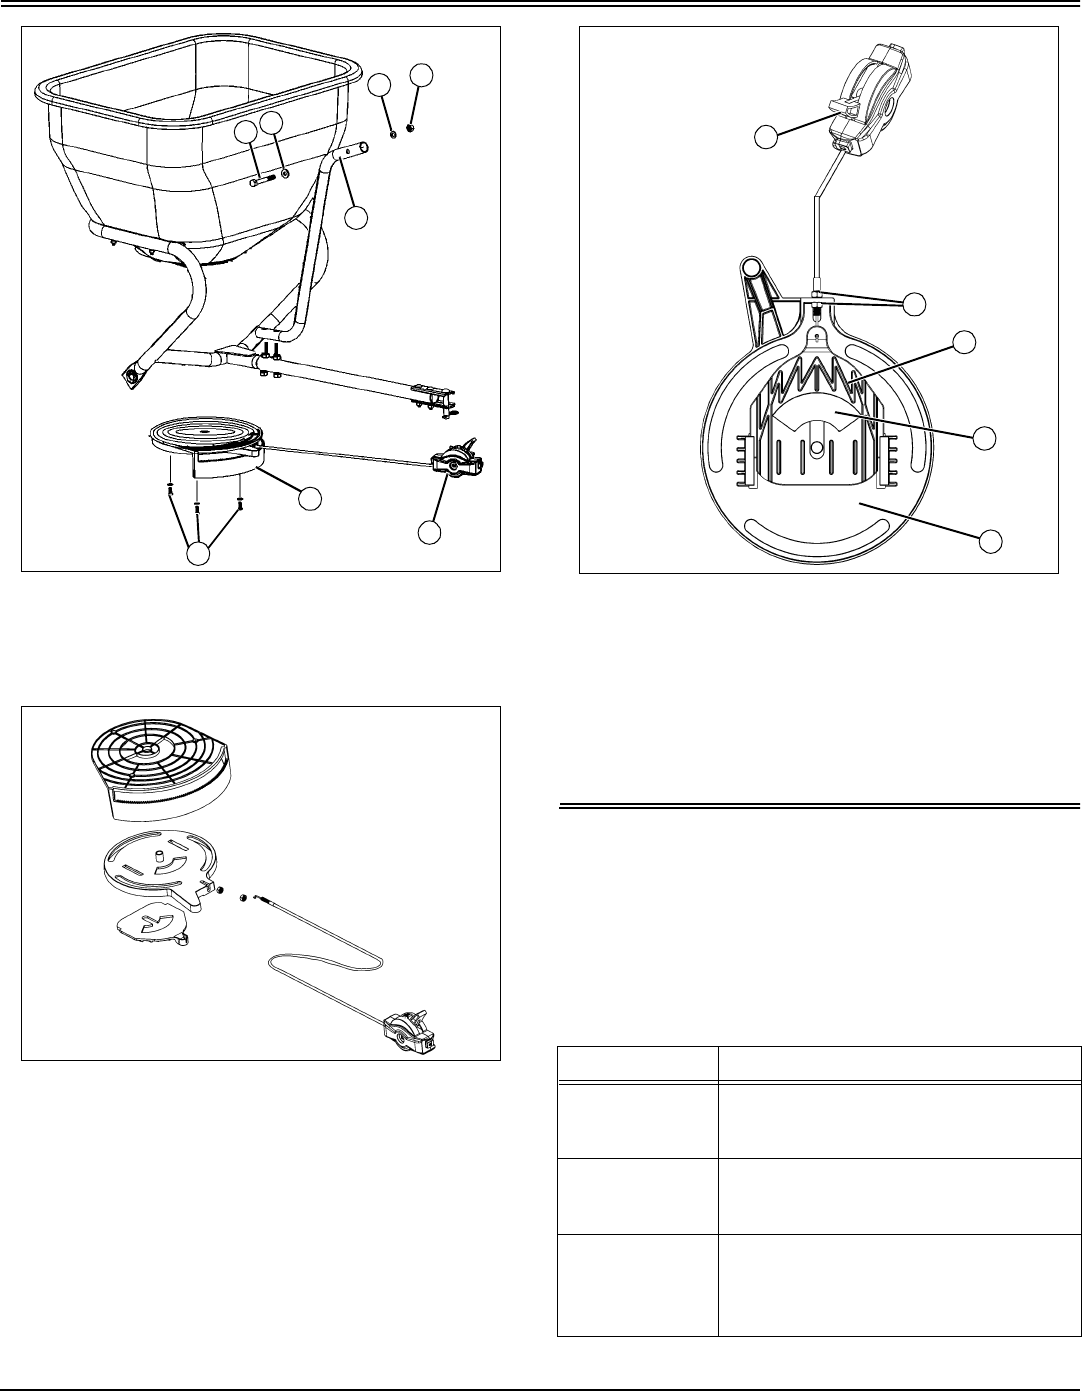
8. Remove three screws (P) that secures control plate assembly (Q).
9. Remove 1/4 x 2-1/2 in. bolt (R), 1/4 in. flat washer (S), 1/4 in.
lockwasher (T), and 1/4 in. nut (U) and flow control assembly (V) from
support tube (J).
MX34611
10. Separate parts as shown.
11. Clean thoroughly using soap and water.
12. Assemble parts reverse order of removal.
Calibration
1. Move the flow control assembly lever to OFF setting.
2. If parts are disassembled, assemble all parts.
MX34612
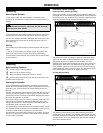
Picture Note: View from top and rear of spreader.
3. Move the flow control assembly lever to “10” setting (A).
4. Adjust the two nuts (B) on directional control plate (C) in or out
(together) so the flow control plate (D) is fully open (E). Tighten nuts
together.
5. Move flow control assembly back and forth and to the OFF setting. Flow
control plate will move freely and be in closed position.
Troubleshooting
Using Troubleshooting Chart
If you are experiencing a problem that is not listed in this chart, see your
authorized dealer for service.
When you have checked all the possible causes listed and you are still
experiencing the problem, see your authorized dealer.
Troubleshooting Chart
P
R
S
T
U
V
J
Q
IF CHECK
Flow control lever
does not snap into
flow control pointer.
Tighten 1/4 x 2-1/2 in. hex bolt on flow control
lever assembly.
Not enough or too
much fertilizer
dispensed.
Calibrate the plates.
Flow control lever
hard or will not
operate.
Loosen 1/4 x 2-1/2 in. hex bolt on flow control
lever assembly.
Take control plates apart, and clean plates out
with water.
A
B
D
E
C


