Assembly - 4
ASSEMBLY
MX38962
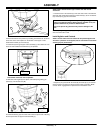
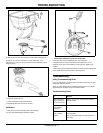
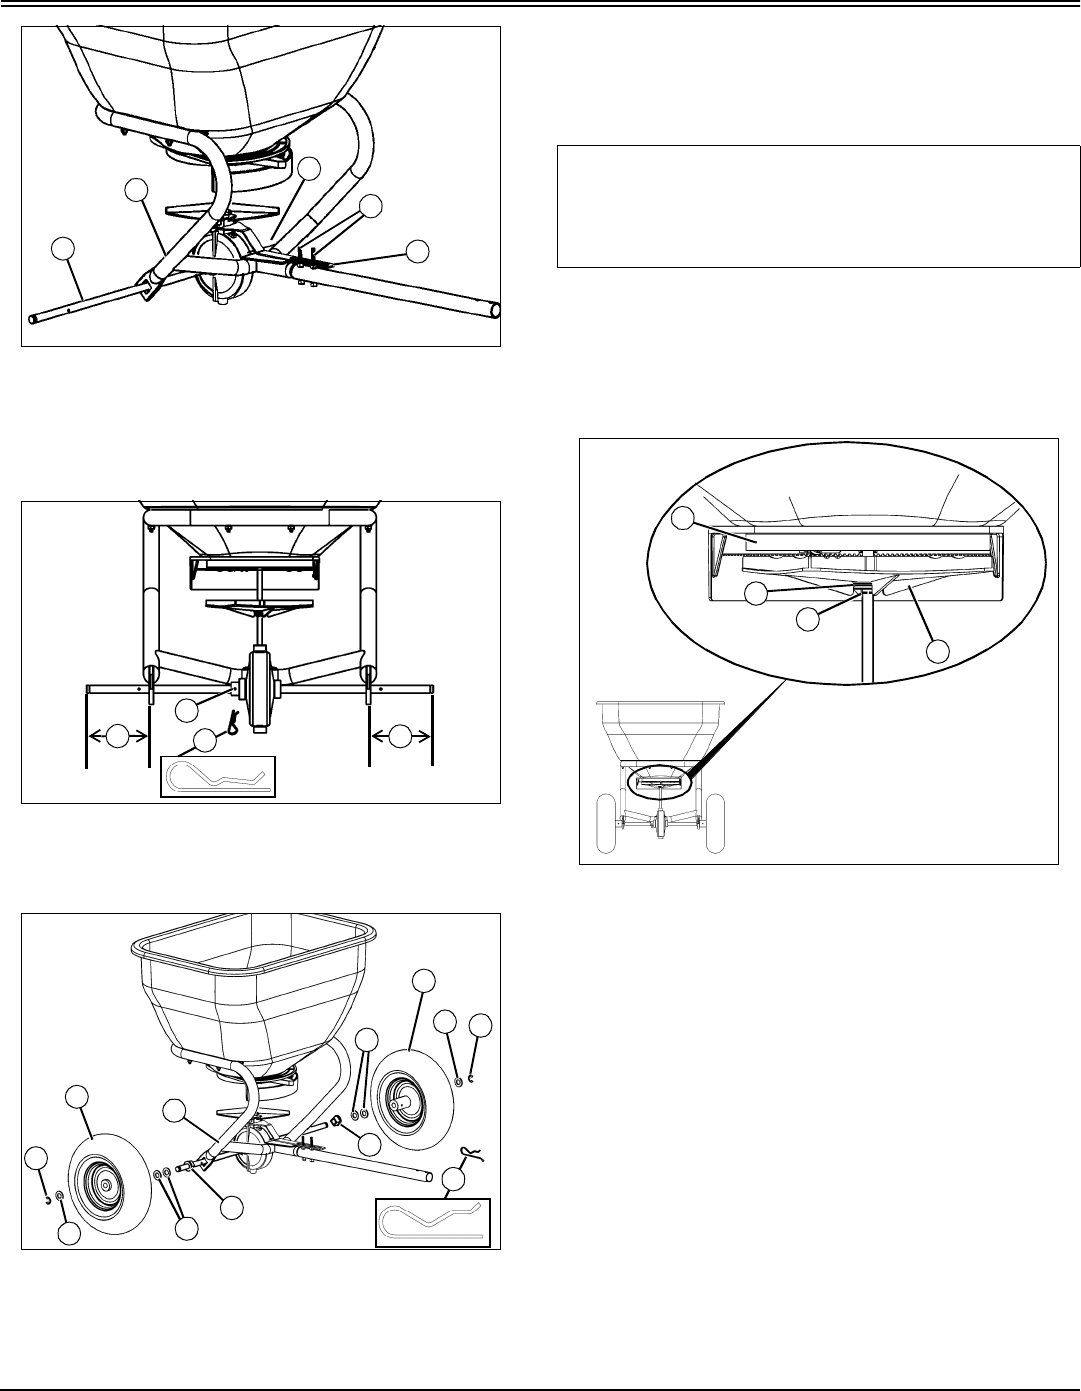
3. Raise transmission into position by installing transmission fan shaft into
center hole of the control plates on the bottom of the hopper. Lower
transmission bracket (F) onto bolts (G).
4. Install axle (H) through support frame assembly (I) with offset hole near
center of axle installed toward left side (J) of spreader.
MX34599, MX21908
Picture Note: View from rear of spreader.
5. Slide axle until lengths (K) are equal, and install spring locking pin
(closed) (L) into left side hole (M).
MX38963, MX21907
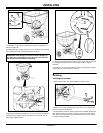
6. Install axle bearing (N) onto each side of axle so square end of bearing
fits into square hole of support frame assembly (I).
NOTE: Add or delete washers (O) to reduce axle side to side
movement.
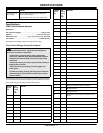
7. Install two 5/8 in. flat washers (O) onto each side of axle. Lubricate the
axle ends and wheel sleeve bearings. Install wheel (P), 5/8 in. flat washer
(Q), and snap ring (R) onto end of axle.
8. Install spring locking pin (open) (S) through inside hole in wheel rim and
axle onto either side of axle.
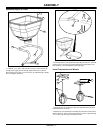
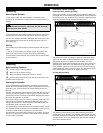
Install Agitator and Controls
NOTE: The four tabs on the fan should be compressed against the
fan driver. If pressure is not applied, the fan connection will be loose
resulting in poor performance.
MX34601
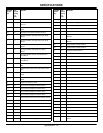
1. Adjust fan (A) upwards with fan driver (B) and lock clip (C) on shaft as
close to bottom of hopper (D) without touching during operation. Make
sure fan driver engages the four plastic tabs on the bottom of fan.
H
I
G
F
J
L
KK
M
R
P
Q
O
N
N
S
Q
R
P
I
O
IMPORTANT: Avoid damage! Use only one spring locking pin
(open) to engage the wheels. When using the spreader on ice, the
opposite wheel can be pinned for added traction.
Use of two pins on dry pavement may result in damage to the
unit.
A
C
D
B


