7
SAFETY INSTRUCTIONS
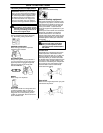
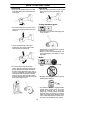
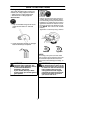
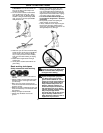
Locking nut
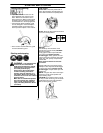
S Protect your hand from injury during as-
sembly. Always wear protective gloves.
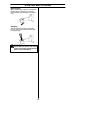
Use the blade guard as protection when
tightening nut. T ighten the nut by turning
against the direction of rotation. Loosen
the nut by turning in the direction of rota-
tion. (NOTE: The nut has a left--handed
thread.)
S Tighten the nut securely using a wrench.
NOTE!
The locking nut’s nylon lock must not be
worn so that it can be turned by hand. The
nut should be replaced after it has been
removed and reinstalled approximately 10
times.
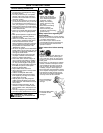
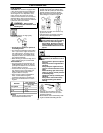
W ARNING: Never use a machine
with faulty safety equipment. The
machine’s safety equipment must be
checked and maintained as
described in this section.
If your machine fails any of these
checks contact your service agent to
get it rep aired.
W ARNING: A lways stop the en-
gine before doing any work on the
cutting attachment. This continues
to rotate even after the throttle has
been released. Ensure that the
cutting attachment has stopped
completely and disconnect the HT
lead from the spark plug before
you start to work on it.
Cutting equipment
This section describes how to choose and
maintain your cutting equipment in order to:
S Obtain maximum cutting performance.
S Extend the life of cutting equipment.
General rules
:
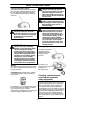
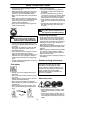
1. Only use the blade and guard we recom-
mend! See the section on “Technical
Dat a ”.
2. Check the blade for damage. A damaged
blade should always be replaced.
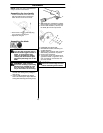
Loosen
Tighten


